Backing up a database in PrestaShop via cPanel
Backing up a database for your PrestaShop store via cPanel is a straightforward process. cPanel is a popular web hosting control panel that simplifies website and server management. Regular backups are essential for website security and integrity, especially for dynamic sites like those powered by PrestaShop. Here’s a detailed guide on how to perform a database backup for PrestaShop using cPanel:
Step 1: Log into cPanel
- Accessing cPanel: Navigate to your hosting provider’s login page and enter your credentials to access the cPanel dashboard. The URL is typically in the format of
http://yourdomain.com/cpanel.
Step 2: Locate phpMyAdmin
- Finding phpMyAdmin: Once logged in, look for the “Databases” section and click on the “phpMyAdmin” icon. phpMyAdmin is a free tool included in most hosting services for managing MySQL databases.
Step 3: Access the Database in phpMyAdmin
- Selecting the Database: In phpMyAdmin, you’ll see a list of databases on the left-hand side. Click on the database that corresponds to your PrestaShop installation. If you’re unsure of the database name, you can find it in your PrestaShop’s
settings.inc.php file, located in the config folder.
Step 4: Export the Database
- Export Process:
- After selecting the database, click on the “Export” tab at the top of the page.
- Choose the export method. For most users, the “Quick” method is sufficient. This method uses default settings to export the entire database.
- Select the format as “SQL” which is the standard for database backups.
Step 5: Download the Backup
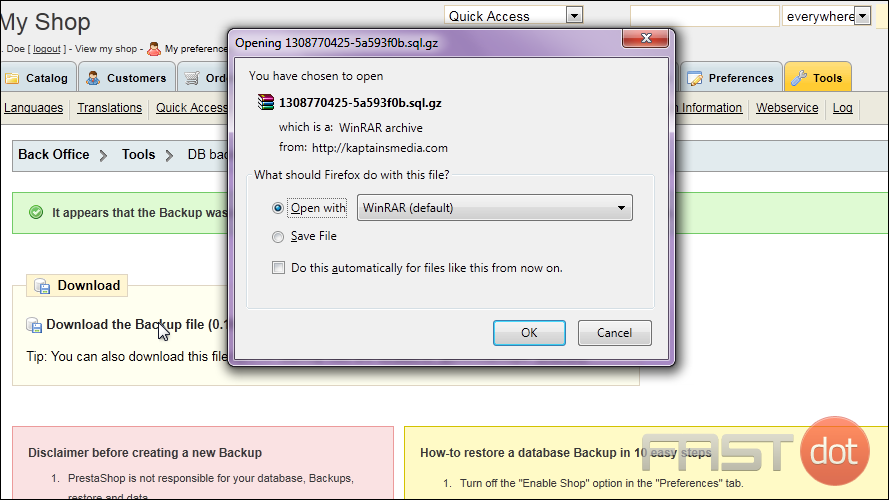
- Downloading: Click on the “Go” button. A file will be downloaded to your computer. This file is the backup of your PrestaShop database and typically has a
.sql extension.
Step 6: Secure Storage
- Storing the Backup: Store the downloaded SQL file in a secure location. It’s advisable to keep multiple copies in different locations, such as an external hard drive or cloud storage, for added security.
Best Practices for Database Backups
- Regular Backups: Schedule regular backups to ensure you have the latest version of your store’s data. The frequency can depend on how often your site’s content changes.
- Automate Backups: Some hosting providers offer automated backup solutions through cPanel. Explore these options to simplify the backup process.
- Test Your Backups: Periodically test your backups by restoring them to a test environment to ensure they are functioning correctly.
- Secure Your Backups: Ensure your backup files are stored securely and are encrypted if necessary. Backups contain sensitive data and should be protected.
Conclusion
Backing up your PrestaShop database via cPanel is an essential routine task for maintaining the health and security of your online store. It ensures that you have a recent copy of your store’s data, which can be invaluable in case of data loss, corruption, or other unforeseen issues. As a website developer and server administrator, integrating this practice into your regular maintenance schedule will help safeguard your and your clients’ data, providing peace of mind and continuity for the business operations.

