This tutorial will show you how to install PrestaShop
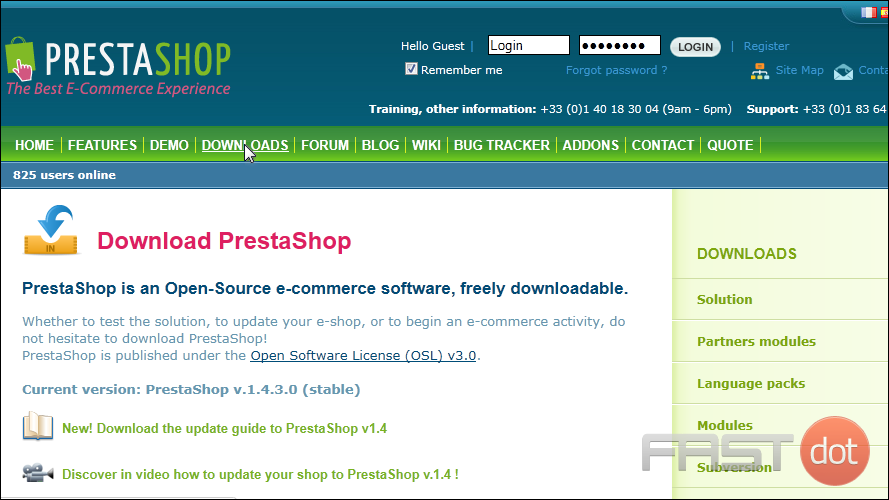
PrestaShop is a free shopping cart system. Before you can begin installing it, you will need to go to http://www.prestashop.com
1) Click Downloads.
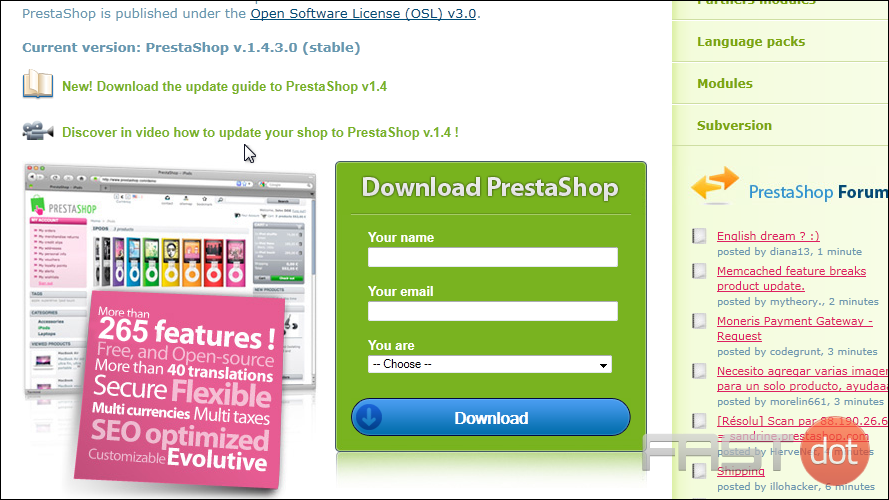
2) Optionally enter your email and information to subscribe to updates and click Download.
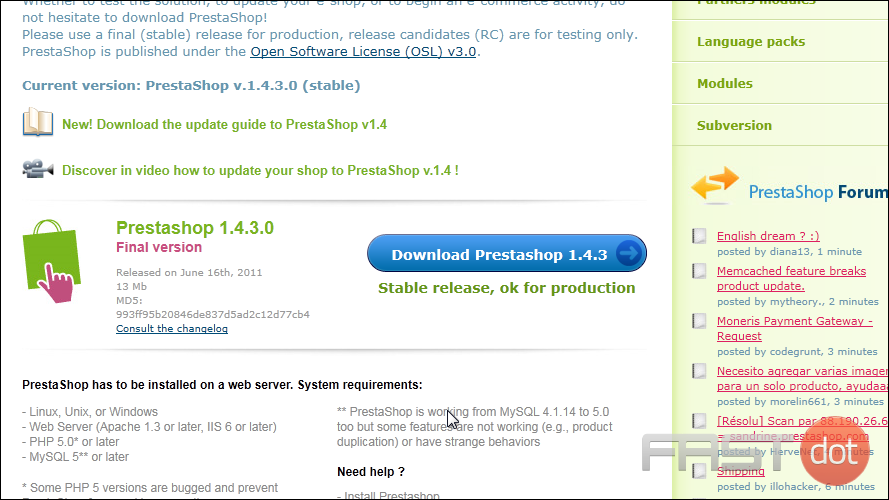
3) Click Download.
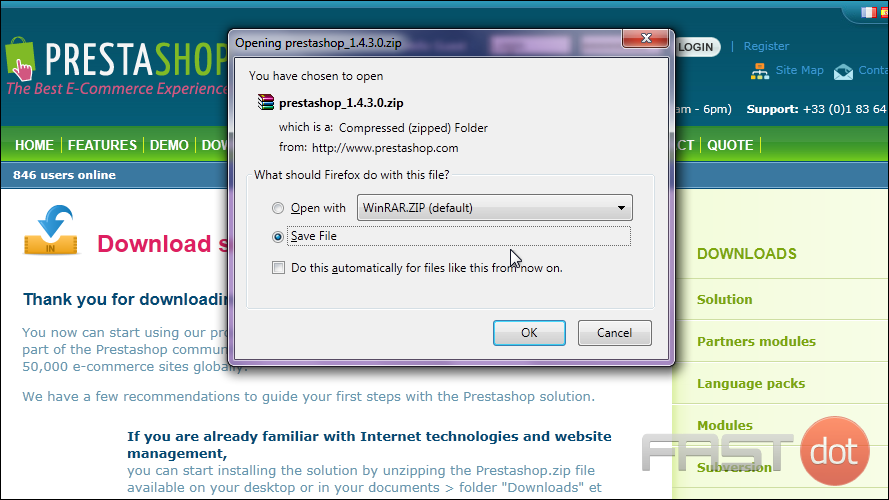
4) Choose to Save the file and click OK.
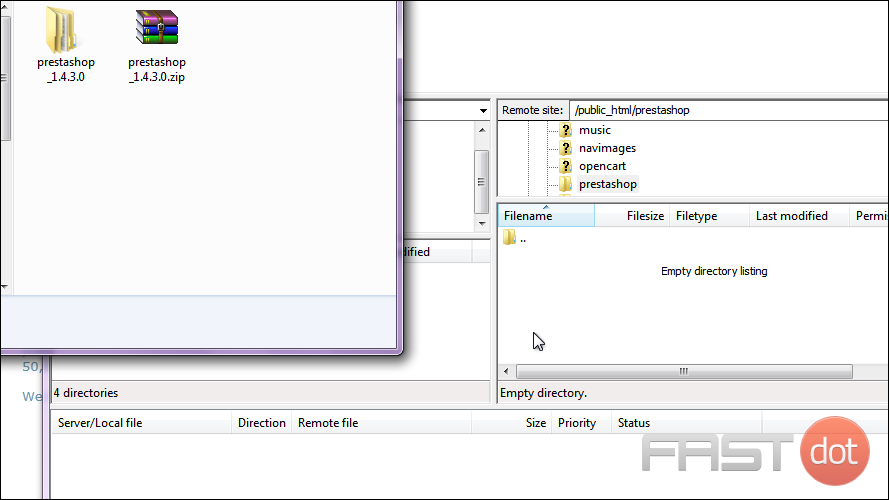
5) Once the download has completed, browse to where the file is located and unzip the folder.
You will now need to upload the entire folder to your server. For this tutorial, we will use FileZilla.
You will need to enter the host name and your username and password, then browse to the folder where you want to upload PrestaShop.
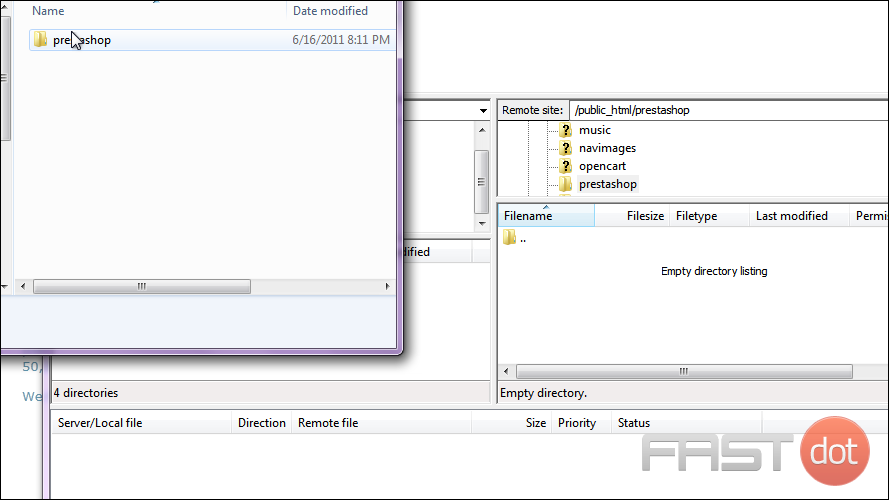
6) Double click the folder to open it.
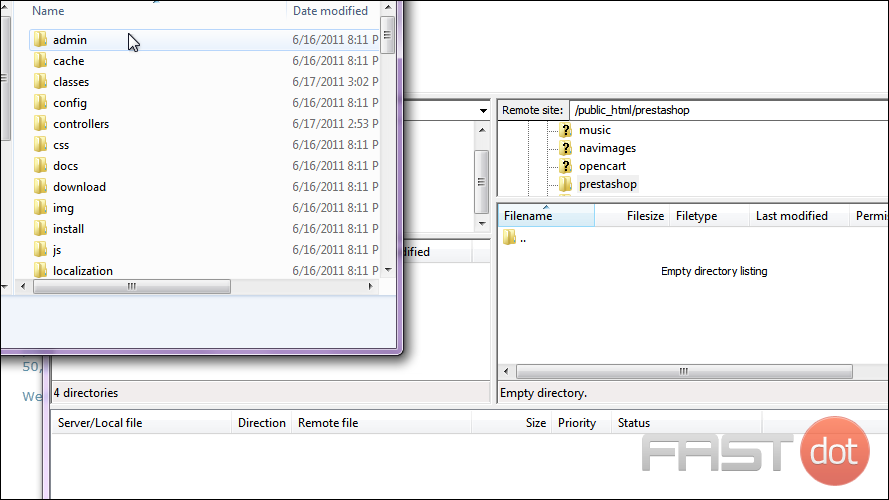
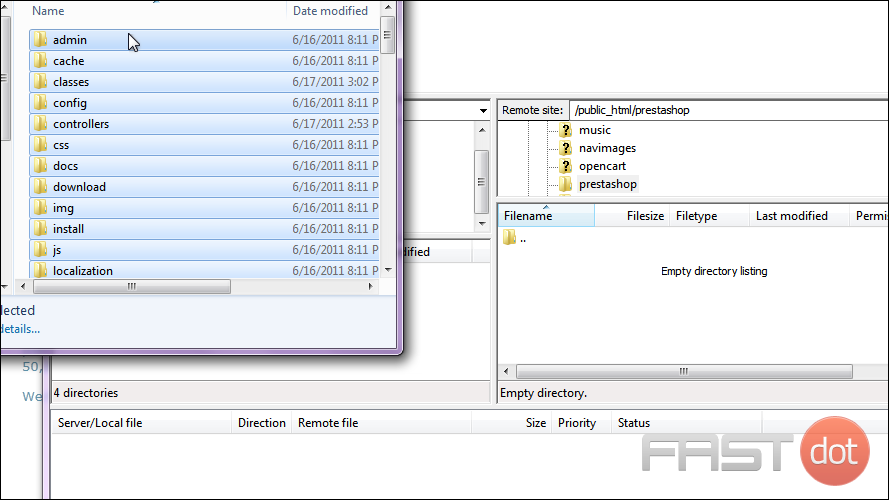
7) Press Control + A to select the entire contents of the upload folder.
8) Now drag and drop the files into FileZilla.
9) Once all the files have been uploaded, go to your web browser and enter the address where you uploaded PrestaShop.
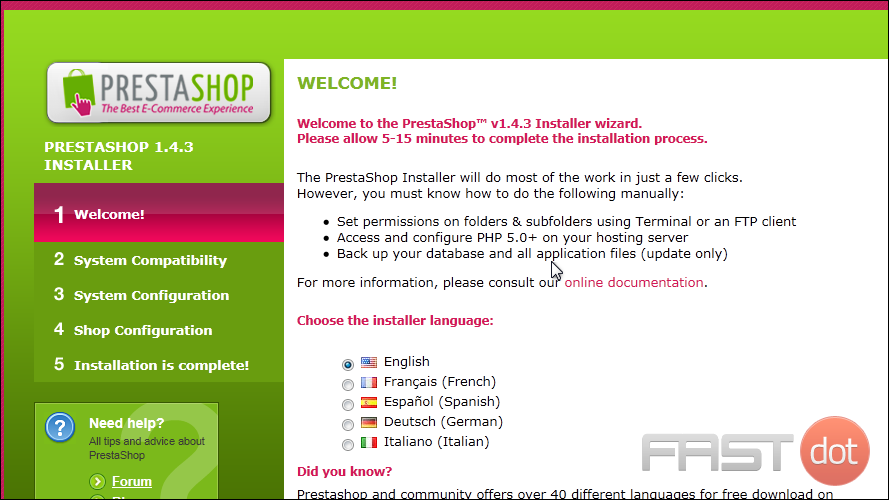
Now, we will go through the steps to install PrestaShop.
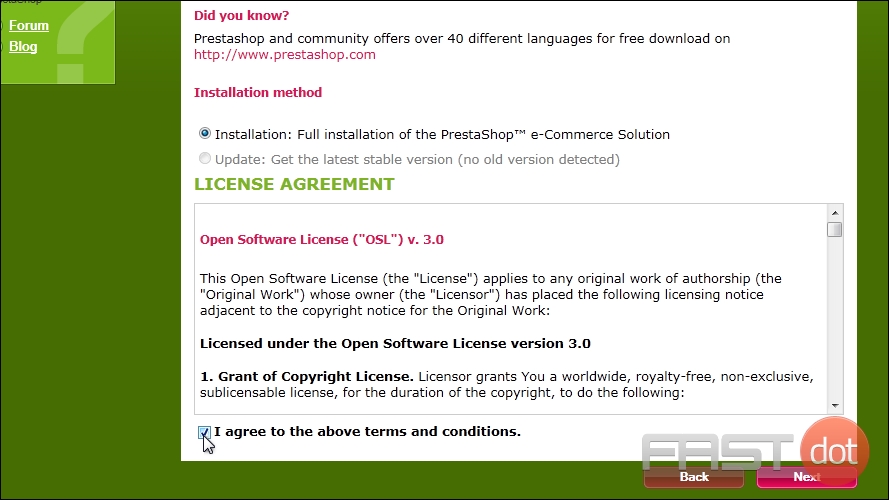
10) You must agree to the license conditions in order to install PrestaShop.
11) Click Next.
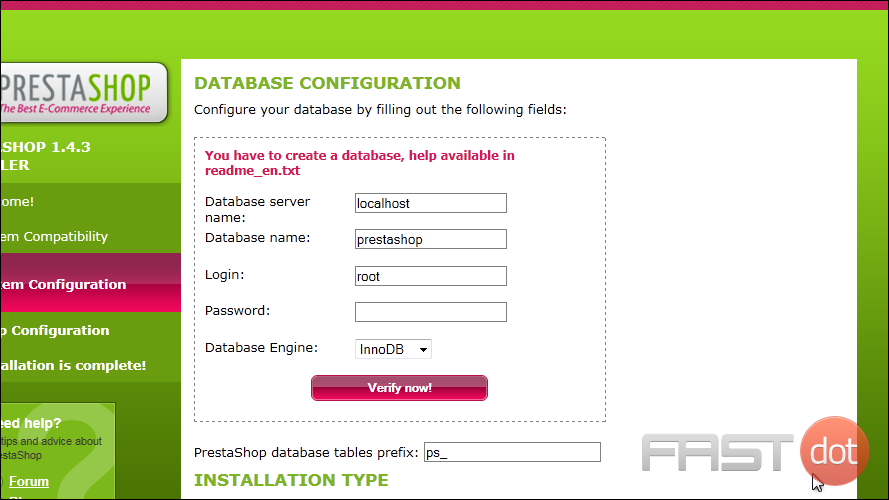
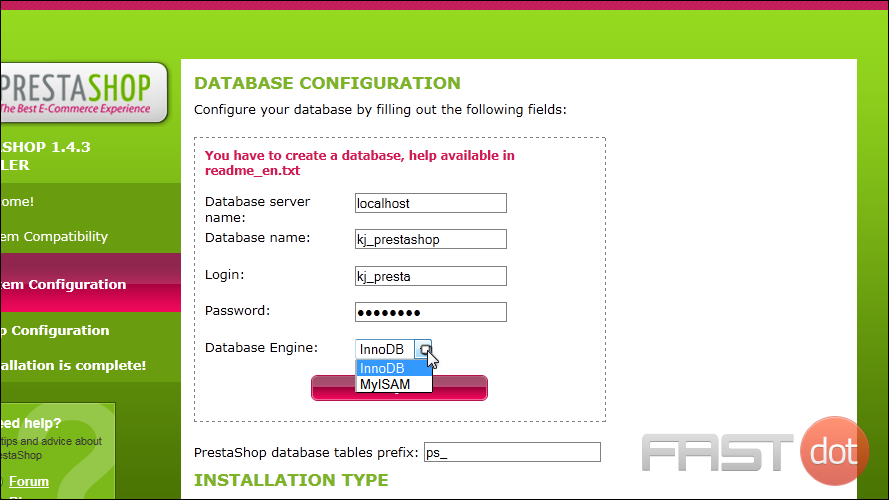
The database host is entered by default. If it is different than the information shown, you can change it now.
12) You will also need to create a database on the server before continuing.
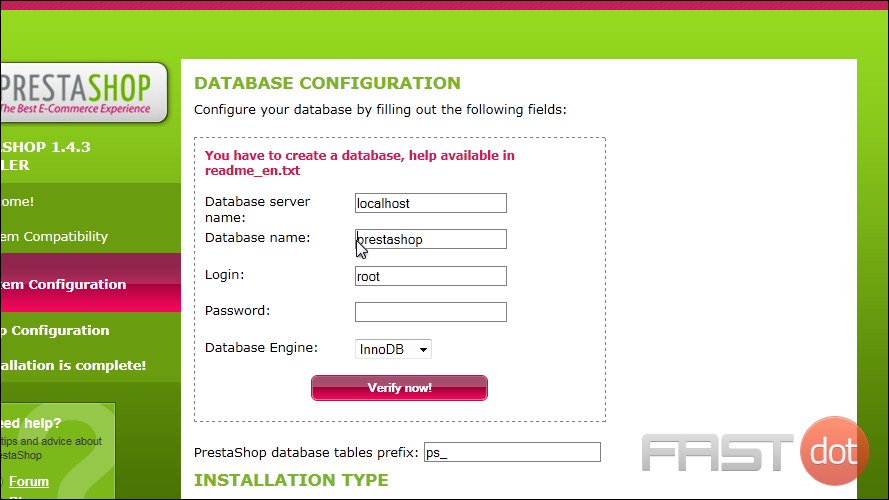
13) Enter the username, password, and database name you created.
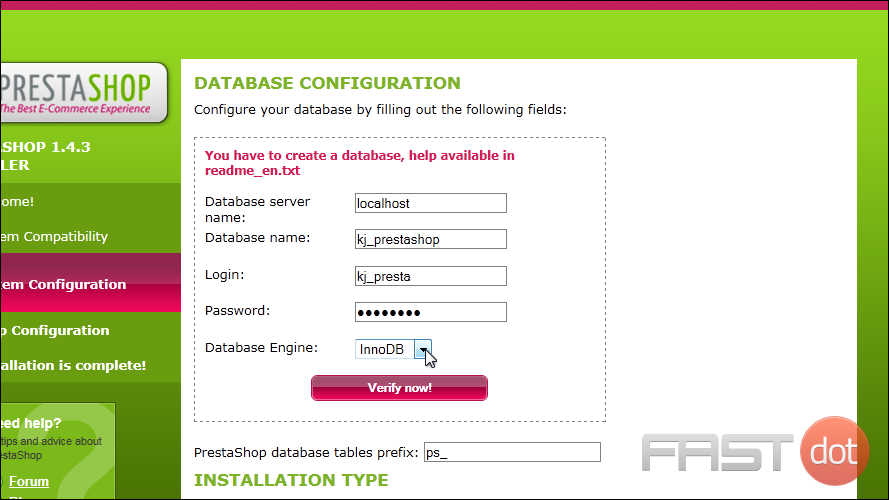
14) Select the Database Engine to use.
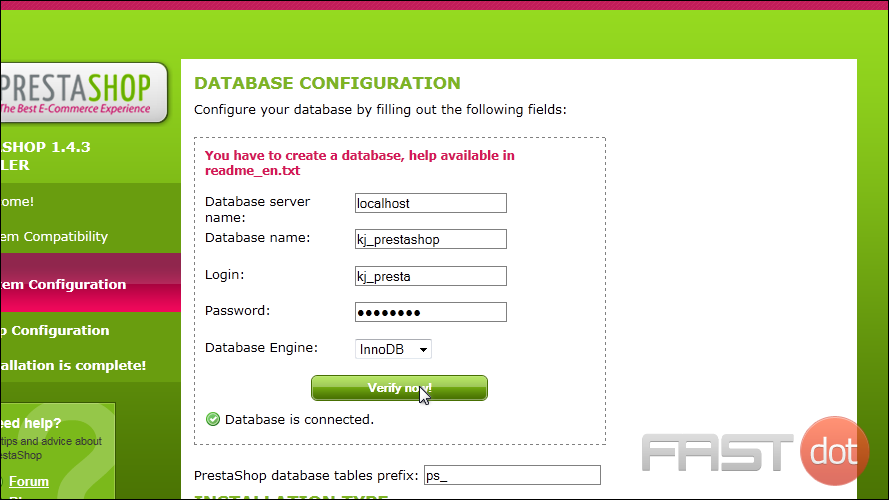
15) Click Verify Now.
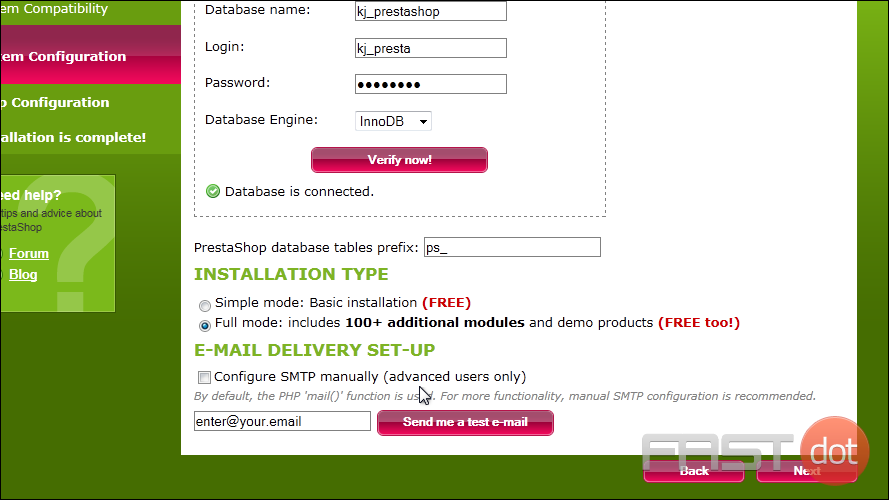
If you see this message, then PrestaShop was successfully able to connect to your database.
16) Click Next.
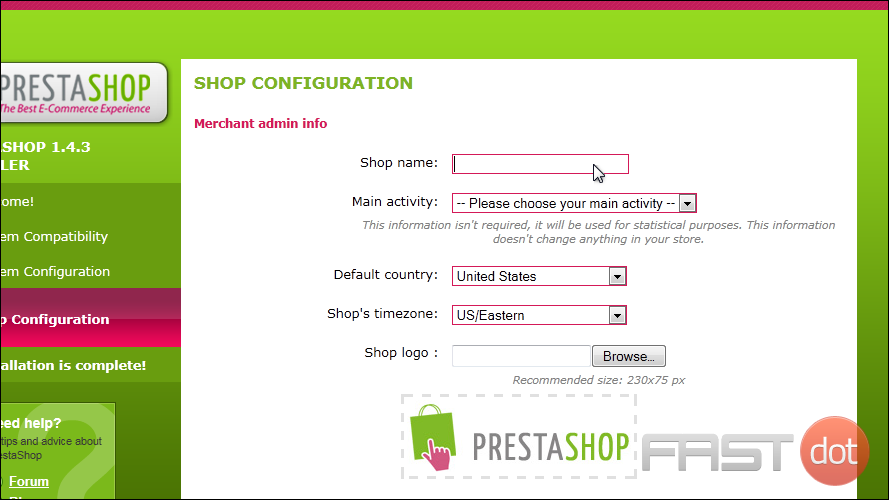
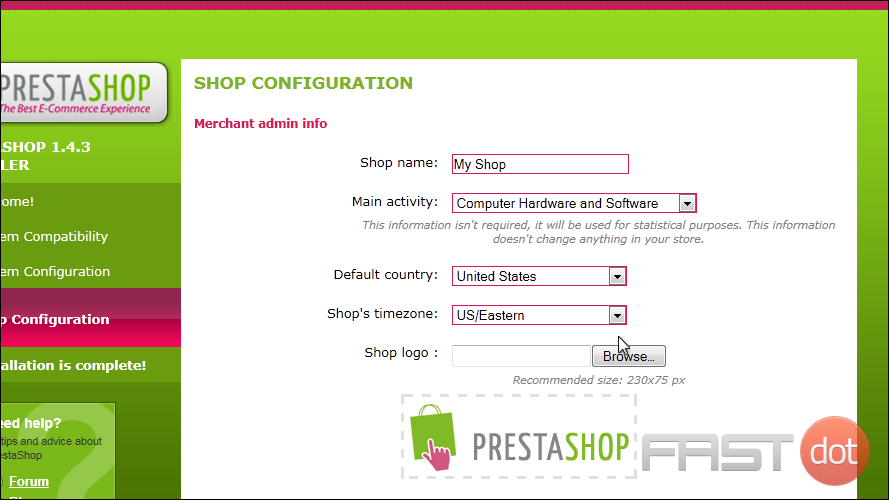
17) Type a name for your shop here.
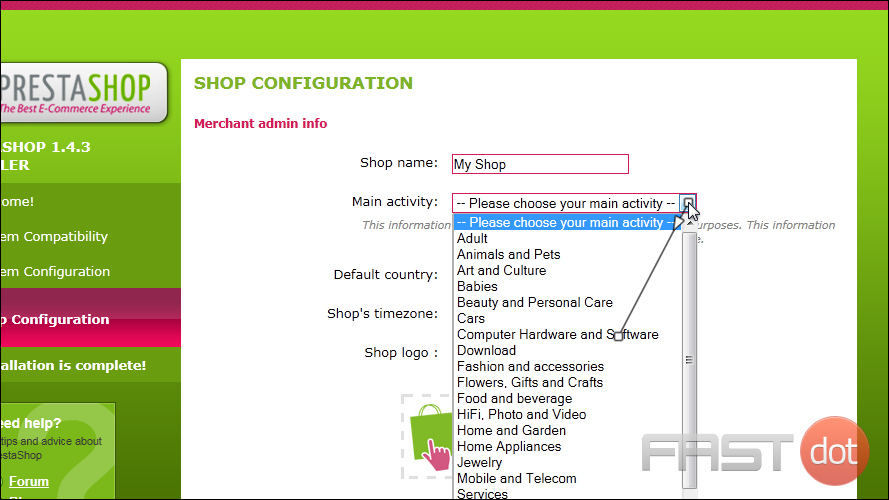
18) Select the Main Activity for your store.
19) Select your default country and the shop’s timezone from the dropdown menus. Also, you can choose to upload your own logo.
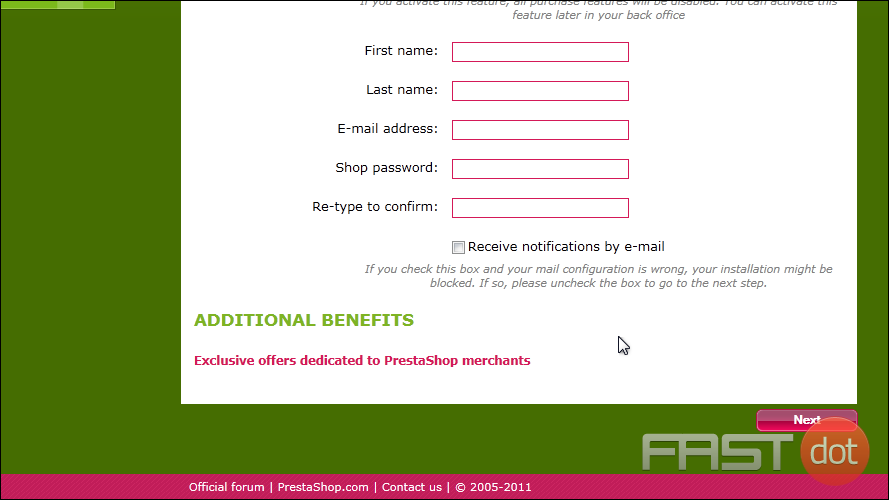
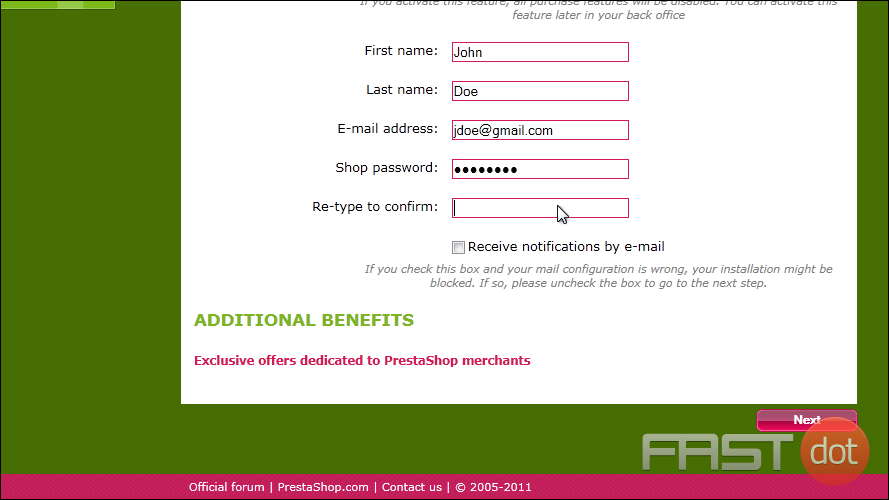
20) Enter your personal information here including your first and last name, e-mail address, and the shop password.
21) Click Next.
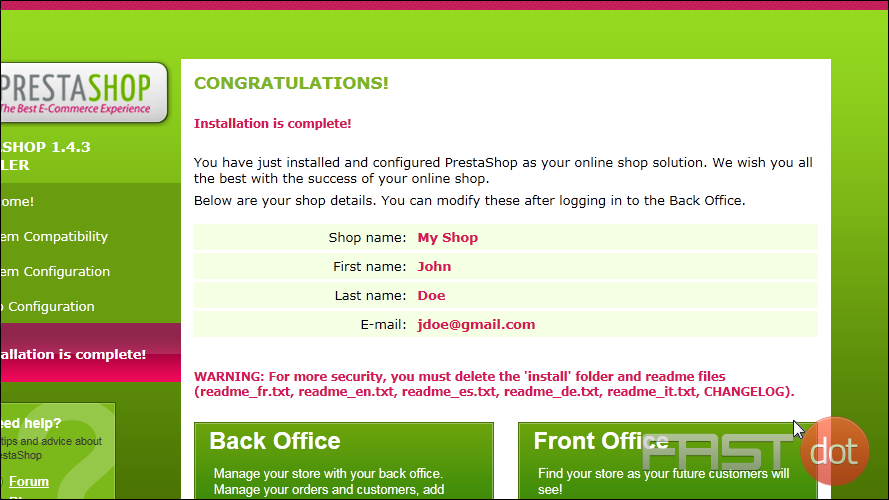
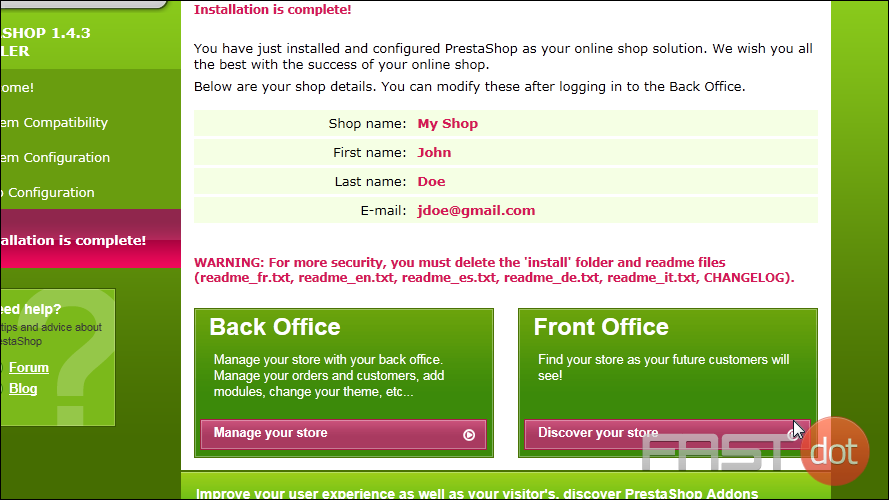
If you see this page, PrestaShop has been successfully installed.
You now have the choice to view your store front or go to the admin panel to begin setting up your store. Don’t forget to delete or rename your installation directory.
That’s it! Now you know how to download PrestaShop and install it on your server.
Installing PrestaShop, a popular open-source e-commerce platform, can be a straightforward process, especially if you have experience with website development and server administration. Below is a comprehensive guide on how to install PrestaShop on your web hosting server.
Prerequisites
- Web Hosting: Ensure you have web hosting that supports PHP and MySQL.
- Database: You will need a MySQL database. Have the database name, username, and password ready.
- FTP Access: Have your FTP client configured with your server’s FTP details (server, username, password).
- PrestaShop Files: Download the latest version of PrestaShop from the official PrestaShop download page.
Installation Guide
Step 1: Upload PrestaShop Files
- Unzip the Downloaded File: Extract the PrestaShop files on your computer.
- Upload to Server: Using your FTP client, upload the extracted PrestaShop files to the desired location on your web server.
- If you want to install PrestaShop on your main domain (e.g.,
www.yourdomain.com), upload the files to the root directory (often namedpublic_htmlorwww). - For a subdomain or a specific folder (e.g.,
www.yourdomain.com/shop), upload the files to the appropriate subdirectory.
- If you want to install PrestaShop on your main domain (e.g.,
Step 2: Create a MySQL Database
- Access cPanel or Hosting Panel: Log into your hosting control panel.
- MySQL Database Wizard: Navigate to the “MySQL Databases” section and use the database wizard to create a new database. Note down the database name, username, and password.
Step 3: Run the Installation Script
- Initiate the Installation: In your web browser, navigate to the location where you uploaded the PrestaShop files.
- If uploaded to the main domain, visit
www.yourdomain.com. - If in a subdirectory, visit
www.yourdomain.com/subdirectory.
- If uploaded to the main domain, visit
- Installation Wizard: The PrestaShop installation wizard should now start automatically.
- Language Selection: Choose your preferred language for the PrestaShop installation.
Step 4: Store Information and Database Configuration
- Store Information: Enter details about your store, such as the store name, main activity, and your personal information (name, email, and password for the admin account).
- Database Configuration: Enter the database details you noted earlier (database name, username, password). The database server address is typically
localhost.
Step 5: Installation Process
- Install: Click on the ‘Install’ button. PrestaShop will start installing. This process may take a few minutes.
- Progress: Monitor the installation progress. Ensure there are no errors during the process.
Step 6: Post-Installation Steps
- Delete the Install Folder: For security reasons, use your FTP client to delete the ‘install’ folder from your PrestaShop directory on the server.
- Rename the Admin Folder: It is also recommended to rename the ‘admin’ folder to something unique for security purposes.
- Access Back Office: Access the PrestaShop back office by navigating to the renamed ‘admin’ folder URL. Log in using the email and password you set during the installation.
Troubleshooting Common Issues
- Permission Errors: Ensure that your PrestaShop files and folders have the correct permissions (typically, folders: 755, files: 644).
- Time-Out Errors: Increase the PHP time-out limits if the installation process is interrupted.
- Database Connection Issues: Double-check your database details and ensure your server supports MySQL.
Conclusion
Once the installation is complete, you can start customizing and configuring your new PrestaShop store. PrestaShop offers extensive features and modules to cater to a wide range of e-commerce needs.
For any specific issues or advanced configurations, feel free to seek further assistance. Given your background in website development and server management, exploring PrestaShop’s more advanced features and customization options might be particularly relevant and interesting.


