This tutorial will show you how to manage modules in Drupal
1) Click the Administer link
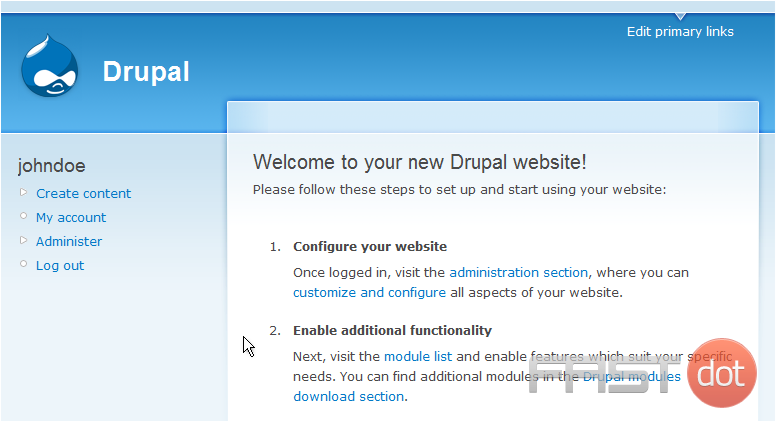
Now let’s learn how to manage modules
Modules are plugins that extend Drupal’s core functionality. You can add modules for blogs, search, comments, contact forms, forums, and more
2) Then click the Modules link here
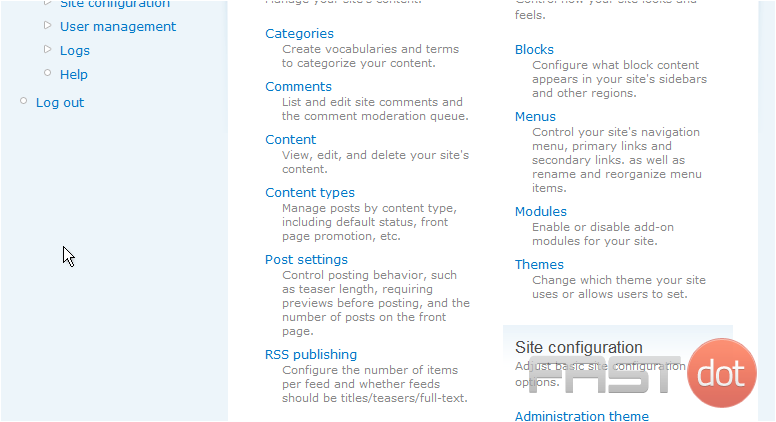
This is the Modules main page
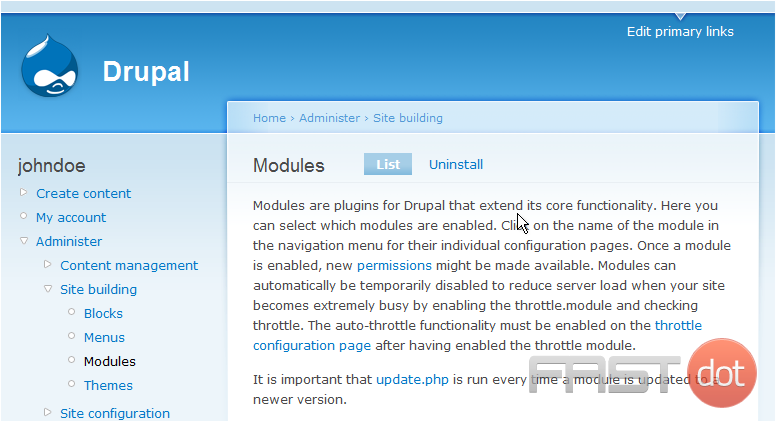
3) Let’s use the Search module… select it here
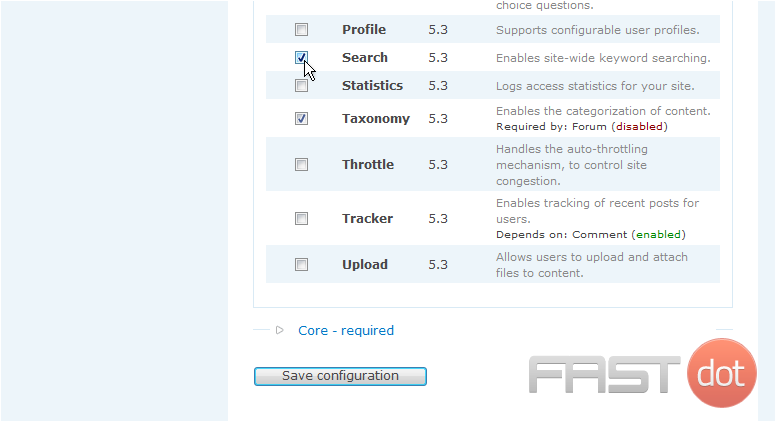
4) Then click Save configuration
That’s it! The Search module has has been activated, as we can see here
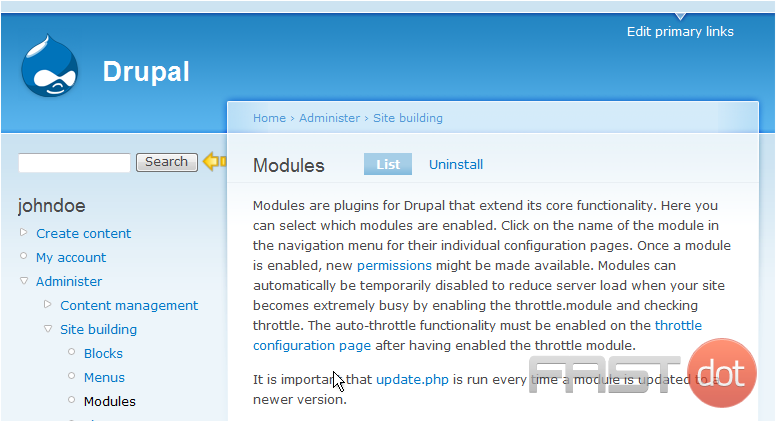
We can return to this page at any time to activate, deactivate, or uninstall modules
This is the end of the tutorial. You now know how to manage modules in Drupal
How to Manage Modules in Drupal
Managing modules in Drupal involves installing, enabling, disabling, and configuring various modules to extend the functionality of your site. Follow the steps below to effectively manage modules in Drupal.
Steps to Manage Modules in Drupal
Step 1: Log in to Your Drupal Admin Panel
- Access the Drupal site: Open your browser and go to the Drupal site where you want to manage modules.
- Log in: Click on the Log in link usually located at the top right corner of the page. Enter your username and password, then click Log in.
After logging in, navigate to the Extend page:
- Click on Manage in the top menu.
- In the submenu, click on Extend.
Step 3: Install a New Module
To install a new module, follow these steps:
- On the Extend page, click on the Install new module button.
- Enter the URL of the module archive file (usually a .tar.gz or .zip file) or upload it from your computer.
- Click on Install to upload and install the module.
Step 4: Enable a Module
- On the Extend page, find the module you want to enable in the list of available modules.
- Check the box next to the module’s name.
- Scroll down and click on the Install button to enable the module.
Step 5: Disable a Module
- On the Extend page, find the module you want to disable in the list of enabled modules.
- Uncheck the box next to the module’s name.
- Scroll down and click on the Uninstall button to disable the module. Note that some modules may require additional steps for complete uninstallation.
Step 6: Configure a Module
Many modules offer configuration options that allow you to customize their functionality:
- After enabling a module, go to the Configuration page by clicking on Manage > Configuration.
- Find the section related to the module you want to configure.
- Click on the appropriate link to access the module’s settings and make any necessary changes.
- Click on Save configuration to apply your changes.
Additional Tips
- Update Modules Regularly: Keep your modules up to date to benefit from new features and security patches. Check the Drupal website for updates and follow the same process to upload and install the new version.
- Backup Your Site: Before installing or updating modules, always make a backup of your Drupal site, including the database and files.
- Check Compatibility: Ensure that the modules you install are compatible with your version of Drupal. Compatibility information is usually available on the module’s page.
- Read Module Documentation: Always read the documentation provided by the module developers to understand how to use and configure the module correctly.
Conclusion
By following these steps, you can effectively manage modules in Drupal, allowing you to extend the functionality of your site to meet your specific needs. Regularly reviewing and updating your modules will help maintain the security and performance of your Drupal site.