IMCE (Image Manager for Drupal Content Editor) is an image file manager module for Drupal, a popular content management system (CMS). It allows site administrators and content editors to easily manage and insert images into their Drupal site.
Having a reliable image file manager is essential for any Drupal site. IMCE offers a user-friendly interface and convenient features that make it a top choice for Drupal users. It was created by Drupal expert and developer, Nikolay Kolev, and has been downloaded over 4 million times.
To install IMCE in your Drupal site, simply download and enable the module through the Drupal administration interface. Once installed, you can easily access it through the WYSIWYG editor on your content creation page.
Using IMCE is straightforward and intuitive. Some key features include:
- Uploading Images: You can easily upload images from your computer or an external URL.
- Creating Folders: IMCE allows you to organize your images into folders for better management.
- Renaming and Deleting Images: You can easily rename or delete images within the IMCE interface.
- Inserting Images into Content: With IMCE, you can insert images directly into your content without having to leave the editor.
IMCE also offers advanced features such as image editing, resizing, sorting, and filtering. It also supports multiple languages, making it accessible for users around the world.
While IMCE is a popular choice for managing images in Drupal, there are other alternatives such as the CKEditor Image Plugin, Media Module, and File Entity Module. Each has its own unique features and can be tailored to fit specific needs.
In conclusion, IMCE is a valuable tool for Drupal users looking to easily manage and insert images into their site. With its user-friendly interface and convenient features, it is a must-have for any Drupal site.
Key Takeaways:
- IMCE is a powerful image file manager for Drupal that allows you to easily manage and insert images into your content.
- An image file manager is essential for organizing and optimizing images on your website, improving the overall user experience.
- There are several alternatives to IMCE, such as the CKEditor Image Plugin and the Media Module, but IMCE remains a top choice for its comprehensive features and ease of use.
What Is IMCE?
IMCE is a highly sought-after image file manager module in Drupal. Not only does it enable users to upload, manage, and insert images into their content, but it also offers a WYSIWYG integration for effortless image insertion. By simplifying image handling within the Drupal platform, IMCE greatly enhances the content creation experience. If you’re seeking to streamline image management in Drupal, IMCE is the perfect solution. Its intuitive interface and seamless integration make it the go-to choice for efficient image handling.
Why Do You Need an Image File Manager in Drupal?
An image file manager is a crucial element in Drupal for effectively organizing media and creating seamless content. It simplifies the process of uploading, editing, and managing images, resulting in a cohesive visual experience throughout the website. With an image file manager, finding, updating, and utilizing images becomes effortless, improving the overall aesthetic and user engagement of the site. Moreover, it streamlines image-related tasks for content creators and administrators, promoting a more user-friendly and productive Drupal environment.
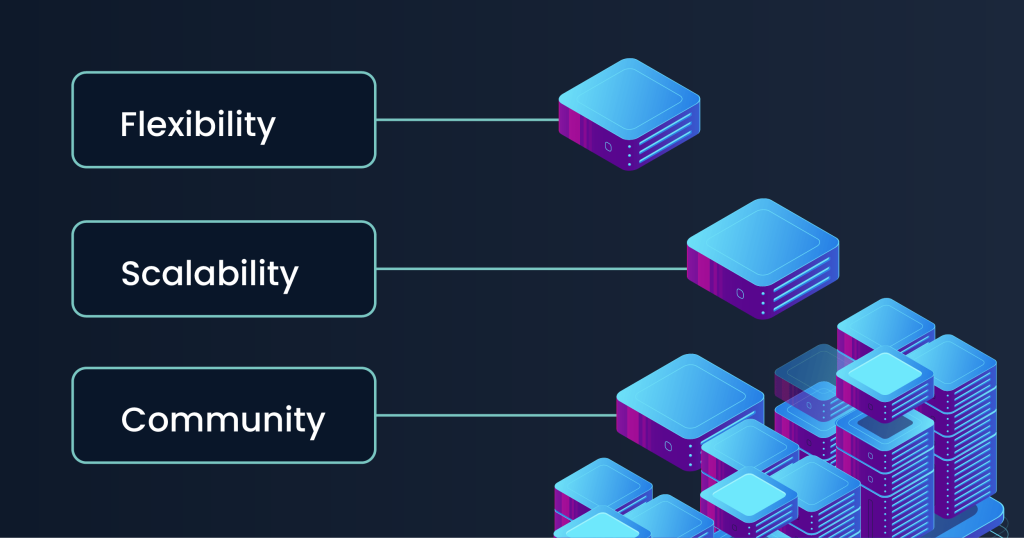
Get Started with Drupal Hosting Today
Drupal can be installed instantly and for free using our 1-Click script installer:
Get Started with Drupal Web Hosting Today
How to Install IMCE in Drupal?
- To install IMCE in Drupal, first download the module from the official website.
- Next, upload the module to the ‘sites/all/modules’ directory in your Drupal installation.
- Then, log in as an administrator and enable the IMCE module in the ‘Modules’ section.
- After that, configure IMCE by navigating to ‘Configuration’ and then ‘Content Authoring’ > ‘IMCE file browser’.
- Finally, set permissions for IMCE usage in the ‘People’ section under ‘Permissions’.
How to Use IMCE in Drupal?
If you’re looking for a reliable image file manager for your Drupal website, look no further than IMCE. This powerful tool allows you to easily manage and organize your image files within Drupal. In this section, we’ll guide you through the step-by-step process of using IMCE, from uploading images and creating folders to renaming and deleting images. We’ll also show you how to insert images into your content seamlessly using IMCE. Get ready to take your Drupal website to the next level with IMCE.
1. Uploading Images
- Access your Drupal website and go to the content editing section.
- Choose the specific content where you would like to upload images.
- Click on the ‘Add Media’ or ‘Add Image’ button to open the image uploader.
- Select the desired images from your computer and upload them to your website.
Pro-tip: For better website performance, be sure to optimize your images for web use before uploading them.
2. Creating Folders
- Access your Drupal website and go to the IMCE module.
- Click on the ‘File’ link and choose ‘Add directory’ to generate a new folder.
- Provide a name for the folder and click ‘Create’ to finish the procedure.
- You have now successfully created a new folder in IMCE.
The concept of organizing digital files into folders was first introduced by Xerox PARC in the 1970s, changing the way users managed computer systems.
3. Renaming and Deleting Images
- To rename an image in IMCE, select the image, click on the Rename button, enter the new name, and press OK.
- To delete an image in IMCE, select the image, click on the Delete button, confirm the deletion, and the image will be removed.
Pro-tip: Regularly review and organize your images to maintain a tidy and efficient media library in Drupal. This includes properly renaming and deleting images to keep your library organized and clutter-free.
4. Inserting Images into Content
- To insert images into content, click on the ‘IMCE’ button located in the body section of the content editor.
- Next, select ‘Add file’ to upload the desired image or choose from existing files.
- Once the image is selected, click ‘Insert file’ to embed it into the content.
When integrating images, make sure they align with the content and add value to it. Optimize images for web viewing and consider accessibility for all users.
What Are the Features of IMCE?
If you are a Drupal user looking for a reliable and efficient image file manager, look no further than IMCE. This powerful tool offers a wide range of features to enhance your image management experience. In this section, we will delve into the various features of IMCE, including image editing, resizing, sorting and filtering, and multi-lingual support. Each of these features plays a crucial role in streamlining your image management process and ultimately improving the overall appearance of your website.
1. Image Editing
- Access IMCE in Drupal by navigating to the content creation section and clicking on the image icon in the text editor.
- Once in IMCE, select the image you wish to edit and click on the ‘Edit’ button.
- Utilize the available image editing tools to make desired adjustments such as cropping, rotating, and adding filters.
- After completing the edits, save the changes and the edited image will be updated in your Drupal content.
2. Image Resizing
- To resize an image in IMCE, locate the image in the file browser.
- Right-click on the image and choose the ‘Resize’ option from the context menu.
- Enter the desired dimensions for the image in the popup window.
- Click ‘OK’ to confirm the resizing process.
- IMCE will then automatically resize the image to the specified dimensions.
3. Image Sorting and Filtering
- Access the IMCE module in Drupal.
- Navigate to the ‘File’ field settings of the content type where the Image Sorting and Filtering feature is needed.
- Enable the ‘Enable Image Sorting and Filtering’ option.
- Save the settings and go to your content type to see the Image Sorting and Filtering feature in action.
Pro-tip: Make use of the Image Sorting and Filtering feature to easily organize and locate images within your Drupal site.
4. Multi-lingual Support
- To enable multi-lingual support in IMCE, go to the Drupal administration panel.
- Navigate to the Configuration section and select Regional and Language.
- Click on the Languages link and enable the desired languages for multi-lingual support.
- Save the changes and ensure that IMCE now supports multiple languages for a more inclusive user experience.
If multi-lingual content management is crucial, consider using IMCE for a seamless multi-lingual image file management experience in Drupal.
What Are the Alternatives to IMCE?
While IMCE may be a popular choice for managing image files in Drupal, there are several alternatives available that may better suit your needs. In this section, we will discuss three alternatives to IMCE: the CKEditor Image Plugin, the Media Module, and the File Entity Module. Each of these options offers unique features and functionality that may be more suitable for your specific website or project. Let’s take a closer look at these alternatives and see how they compare to IMCE.
1. CKEditor Image Plugin
- Download and install the CKEditor module and the CKEditor library.
- Enable the CKEditor module and configure it to replace text fields with the CKEditor.
- Download and place the CKEditor Image Plugin in the plugins directory of CKEditor.
- Enable the CKEditor Image Plugin in the CKEditor profile settings.
- Configure the image settings in CKEditor to define the default image styles and alignment options.
Did you know? The CKEditor Image Plugin supports various image file formats and provides options for image alignment within content.
2. Media Module
- Install the Media module by navigating to the Extend page and enabling the Media Module.
- Create a new Media type for your specific media needs.
- Configure the Media library by selecting the media types and managing the display settings.
- Integrate the Media module with other modules for extended functionalities.
The Media Module was created as a response to the need for a more comprehensive and flexible media management solution in Drupal, allowing users to efficiently manage various types of media assets within their websites.
3. File Entity Module
- Download the File Entity module from the official Drupal website or by using Composer.
- Install the module by placing it in the ‘modules’ directory of your Drupal installation and enabling it through the Drupal administration interface.
- Configure the File Entity module settings as per your requirements, including file display options and permissions.
- Utilize the File Entity Module to create and manage custom file types and fields within Drupal, offering enhanced file management capabilities.
The File Entity Module was first released in 2011 as a response to the need for a more structured file management system within Drupal. It has since evolved to become an essential tool for organizing and managing files within the Drupal framework.
Get Started with Drupal Hosting Today
Drupal can be installed instantly and for free using our 1-Click script installer: