You can use the Gmail interface to send and receive emails using an email account you create with your domain. By setting up your domain’s email address as a POP3 and SMTP account in your Gmail account, you can use Gmail as an email client (much like you would use Outlook, Mac Mail, or Thunderbird). This is how you do it:
Set up Gmail to Send/Receive Email for Your Domain
- 1 Set up Gmail to Send/Receive Email for Your Domain
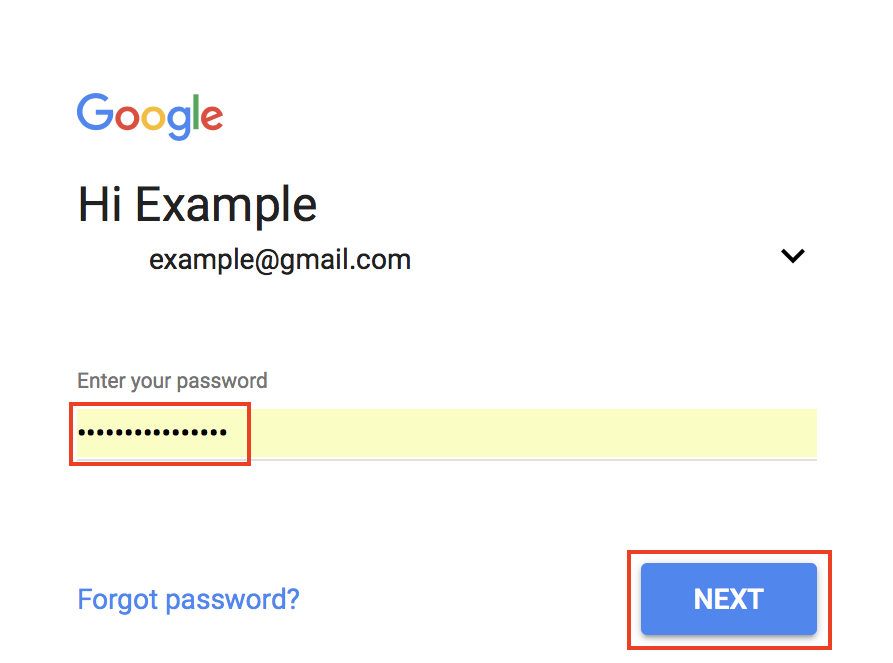
- 1.0.1 1/ Log into your Gmail account.
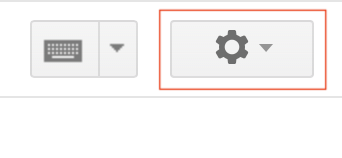
- 1.0.2 2/ Click on the Cog drop-down menu (in the upper-right) and select Settings.
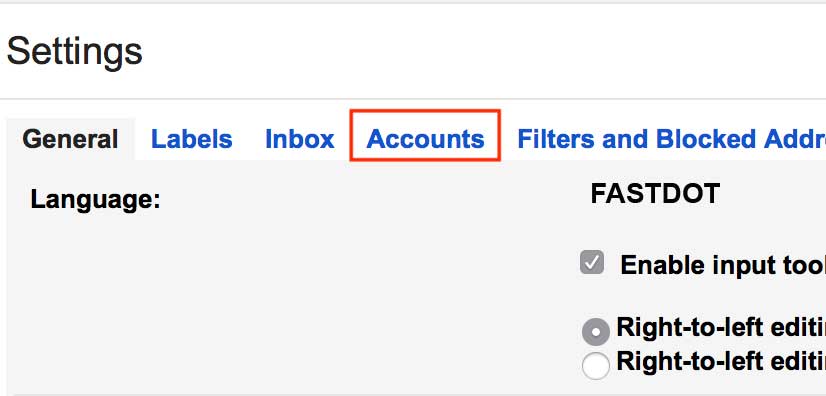
- 1.0.3 3/ Click the Accounts tab.
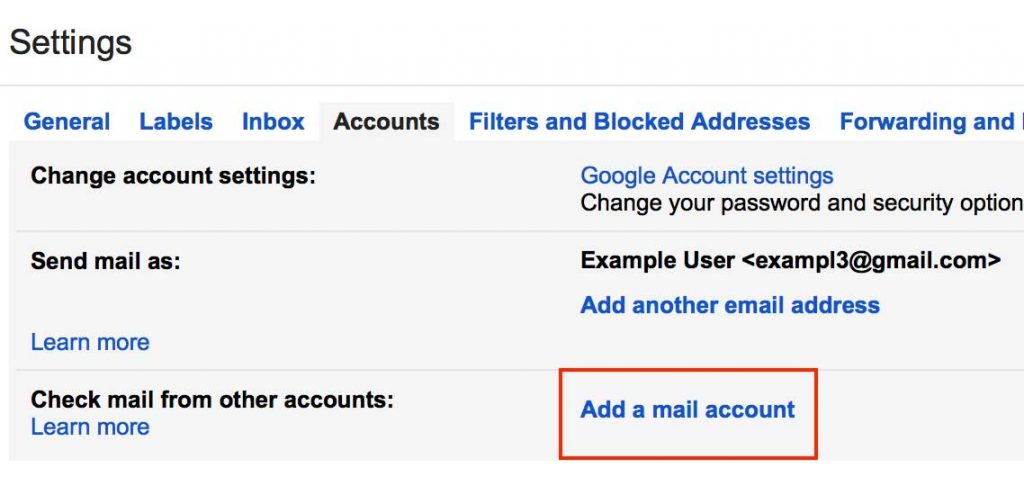
- 1.0.4 4/Next to Check mail from other accounts:, click Add a mail account.
- 1.0.5 NOTE: A pop-up window will appear to continue the setup process in. You will need to allow pop-ups in your browser settings, if you do not see the pop-up window appear.
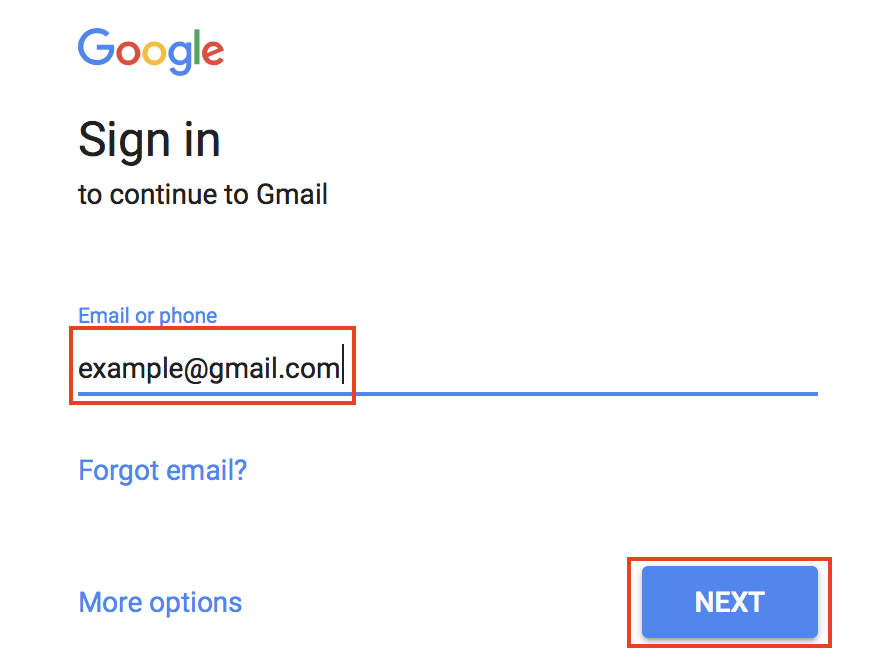
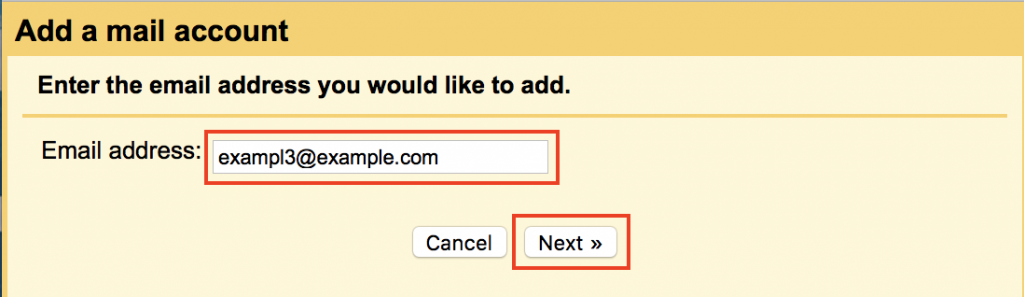
- 1.0.6 5/ Enter the email address you created for your domain and click Next.
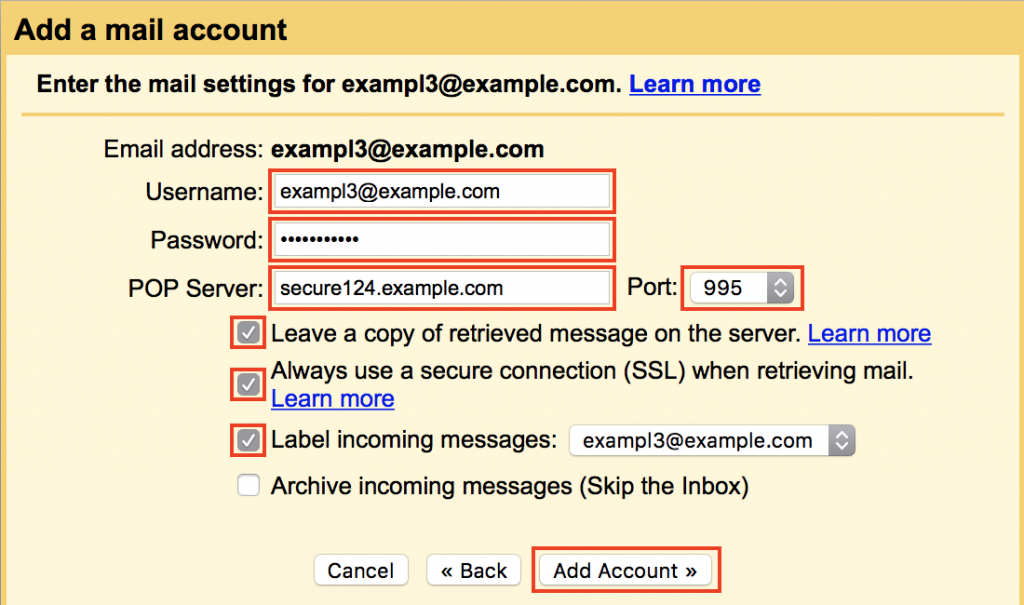
- 1.0.7 6/ Enter the POP3 settings for your domain’s email address. Then click Add Account.
- 1.0.8 You will see a message stating Your mail account has been added.
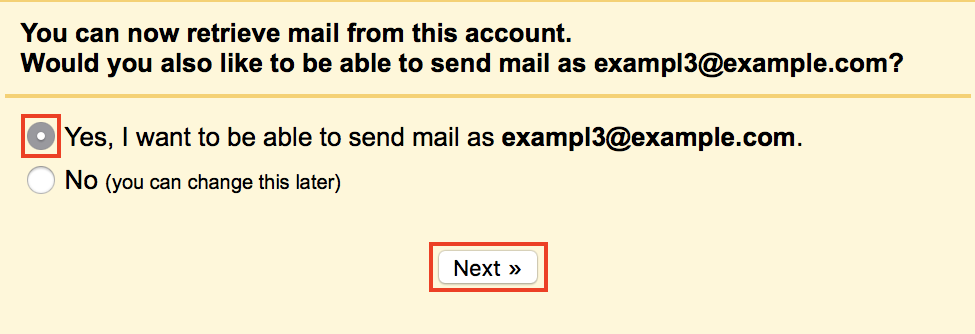
- 1.0.9 7/ To continue to set up SMTP in Gmail, select Yes and click Next Step.
- 1.0.10 8/ Enter your Name, as you would like it to appear when sending emails from this account. Also, ensure that the check box for Treat as an alias is checked.
- 1.0.11 Click the Next Step button to proceed.
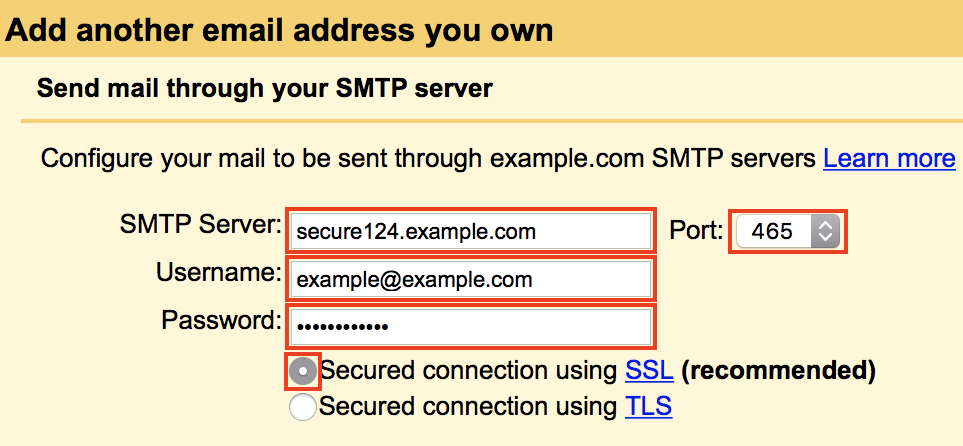
- 1.0.12 9/ On the Send mail through your SMTP server page, fill in your SMTP Server (typically “mail.yourdomain.com”), Username (full email address), and Email Password.
- 1.0.13
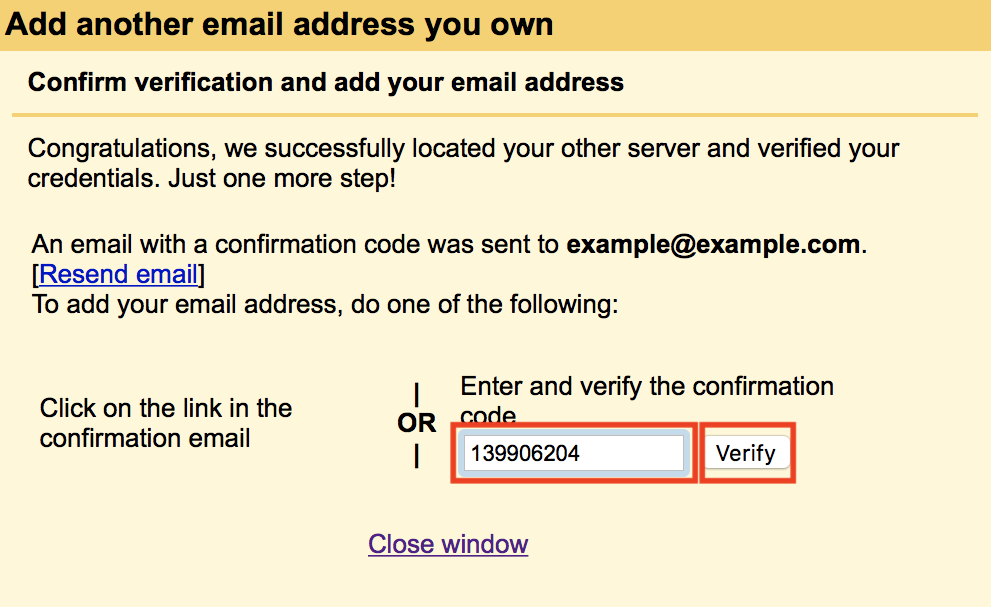
- 1.0.14 10/ Now, Gmail will email a verification code to the email address you just added. You can either click the link in the email or copy/paste the code into the text box and click Verify.
- 1.0.15 Now you will see your domain’s email address in the Send mail as and the Check mail from other accounts sections.
- 2 A summary of Setting up Gmail to Send/Receive Email for Your Domain
1/ Log into your Gmail account.
3/ Click the Accounts tab.
4/Next to Check mail from other accounts:, click Add a mail account.
NOTE: A pop-up window will appear to continue the setup process in. You will need to allow pop-ups in your browser settings, if you do not see the pop-up window appear.
5/ Enter the email address you created for your domain and click Next.
6/ Enter the POP3 settings for your domain’s email address. Then click Add Account.
You will see a message stating Your mail account has been added.

7/ To continue to set up SMTP in Gmail, select Yes and click Next Step.
8/ Enter your Name, as you would like it to appear when sending emails from this account. Also, ensure that the check box for Treat as an alias is checked.

9/ On the Send mail through your SMTP server page, fill in your SMTP Server (typically “mail.yourdomain.com”), Username (full email address), and Email Password.
10/ Now, Gmail will email a verification code to the email address you just added. You can either click the link in the email or copy/paste the code into the text box and click Verify.
Now you will see your domain’s email address in the Send mail as and the Check mail from other accounts sections.
Setting up Gmail to send and receive emails for your domain is a practical way to manage your business communications while leveraging Gmail’s user-friendly interface. This process involves configuring Gmail to use your domain’s email address, allowing you to send and receive emails as if you were using a dedicated email client for your domain. Here’s a comprehensive guide on how to achieve this:
Prerequisites
- Domain Ownership: Ensure you own the domain for which you want to set up email.
- Access to Domain’s DNS Settings: You’ll need to modify DNS records.
- Existing Email Account on Your Domain: This is the email you’ll integrate with Gmail.
- Gmail Account: A personal or Google Workspace (formerly G Suite) account.
Step 1: Create an Email Address on Your Domain
If you haven’t already, create an email address (e.g., contact@yourdomain.com) through your web hosting or dedicated server’s control panel.
Step 2: Add Your Domain Email to Gmail
- Log into Gmail: Open your Gmail account.
- Settings: Click on the gear icon in the upper right corner and select ‘See all settings’.
- Accounts and Import: Go to the ‘Accounts and Import’ tab.
- Add Another Email Address: In the ‘Send mail as’ section, click on ‘Add another email address’.
- Enter Information:
- Email Address: Enter your domain’s email address.
- Treat as an Alias: Usually, you should keep this checked.
- SMTP Server Settings:
- SMTP Server: This will be provided by your hosting provider (e.g., smtp.yourdomain.com).
- Username: Your full email address.
- Password: The password for your email account.
- Port: Typically 587 (TLS) or 465 (SSL).
- Verification: Gmail will send a verification code to the email address you’re adding. Retrieve this from your domain’s email inbox and enter it in Gmail.
Step 3: Configure Gmail to Receive Emails
- Settings: Go back to ‘Settings’ and then ‘Accounts and Import’.
- Check Mail from Other Accounts: In the ‘Check mail from other accounts’ section, click on ‘Add a mail account’.
- POP3 Settings:
- Email Address: Enter your domain email address.
- Username: Usually your full email address.
- Password: The password for your domain email account.
- POP Server and Port: Provided by your hosting (commonly pop.yourdomain.com, port 995 for SSL).
- Leave a Copy of Retrieved Messages: Decide if you want to leave copies on the server.
- Add Account: Follow the prompts to add the account.
Step 4: Update DNS Records for Email Authentication
To ensure your emails don’t get flagged as spam, update your domain’s DNS settings:
- SPF Record: This validates your domain identity. Add a TXT record in your DNS settings:
v=spf1 include:_spf.google.com ~all. - DKIM Record: Helps prevent email spoofing. In your Google Workspace admin console, generate a DKIM key and add it as a TXT record in your DNS settings.
- DMARC Record: Adds further email authentication. Add a DMARC TXT record:
v=DMARC1; p=none; rua=mailto:postmaster@yourdomain.com.
Step 5: Test Your Setup
Send test emails from and to your domain email address via Gmail to ensure everything is working correctly.
Additional Tips
- Custom Signatures: Set up a professional email signature in Gmail settings.
- Filters and Labels: Utilize Gmail’s filters and labels for efficient email management.
How to forward an email to Gmail, Yahoo or other email service providers with cPanel