Enable Hotlink Protection using cPanel
Table of Contents
Enabling hotlink protection in cPanel helps prevent other websites from directly linking to files on your website. Hotlinking can consume your server’s bandwidth because the content is served from your server every time it’s requested from the hotlinking site. Here’s how you can enable hotlink protection in cPanel:
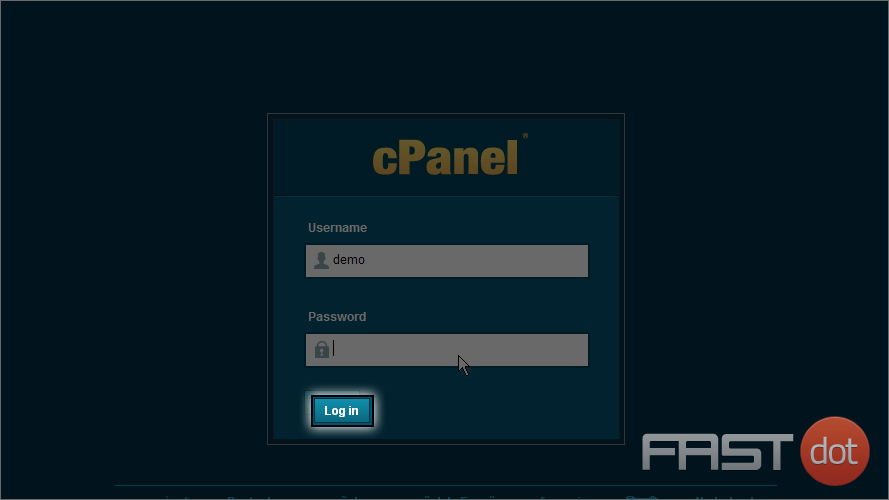
Step 1: Log into cPanel
- Access cPanel:
- Open your web browser and navigate to your cPanel login URL, typically
https://yourdomain.com/cpanelorhttps://yourserverip:2083. - Enter your cPanel username and password to log in.
- Open your web browser and navigate to your cPanel login URL, typically
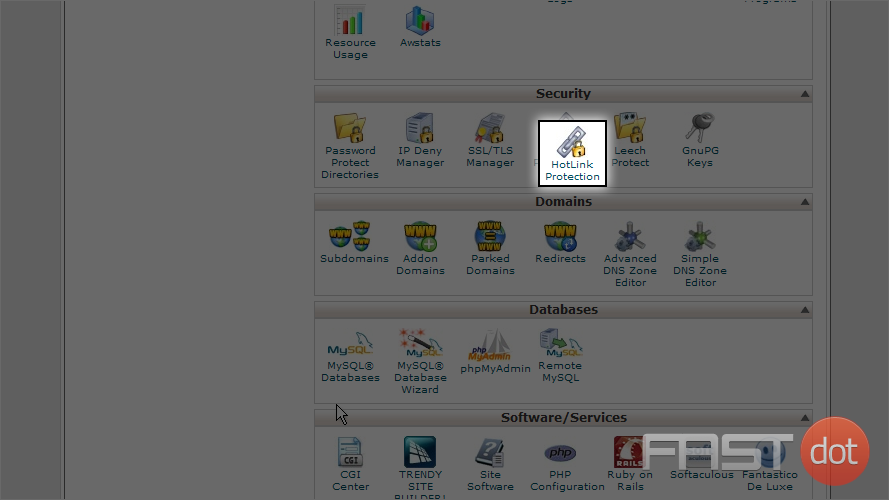
- Find Hotlink Protection:
- Once logged in, scroll down to the “Security” section.
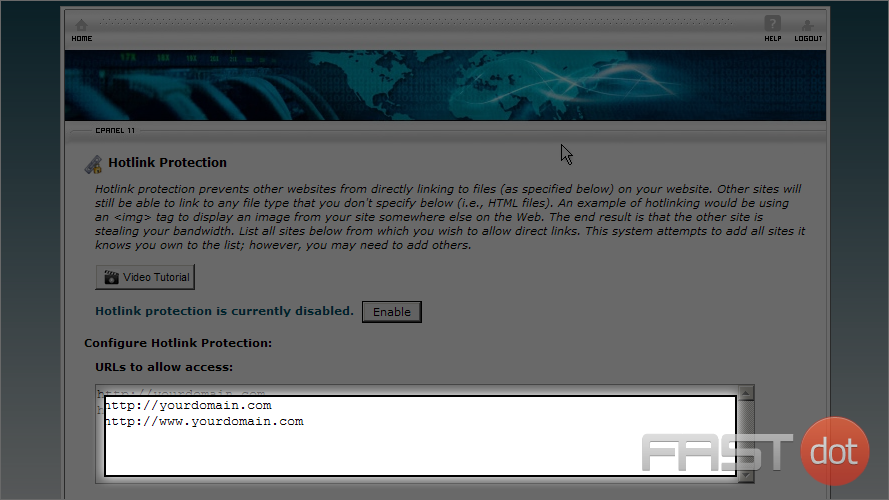
- Click on the “Hotlink Protection” icon. This will open the Hotlink Protection interface.
Step 3: Configure Hotlink Protection
- Enable Hotlink Protection:
- If hotlink protection is not already enabled, you will see an option to enable it.
- Click on the “Enable” button to activate hotlink protection.
- Configure Allowed URLs:
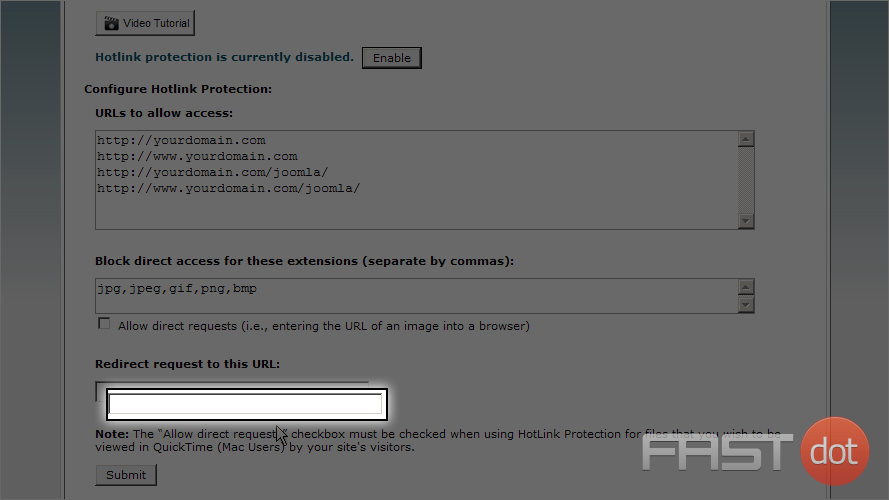
- In the provided fields, you can specify URLs that are allowed to hotlink to your content. By default, your own domain should be listed.
- Add any other domains you own or trust that you want to allow to hotlink to your content.
- Block Direct Access for These Extensions:
- Specify which file types you want to protect from hotlinking. Common file types include images (e.g., .jpg, .png, .gif), documents (e.g., .pdf, .doc), etc.
- Enter the extensions you want to protect, separated by commas.
- Redirect Request for Hotlinked Files (Optional):
- Optionally, you can redirect requests for hotlinked files to another page or image. Simply enter the URL where you want the traffic to be redirected.
Step 4: Save Changes
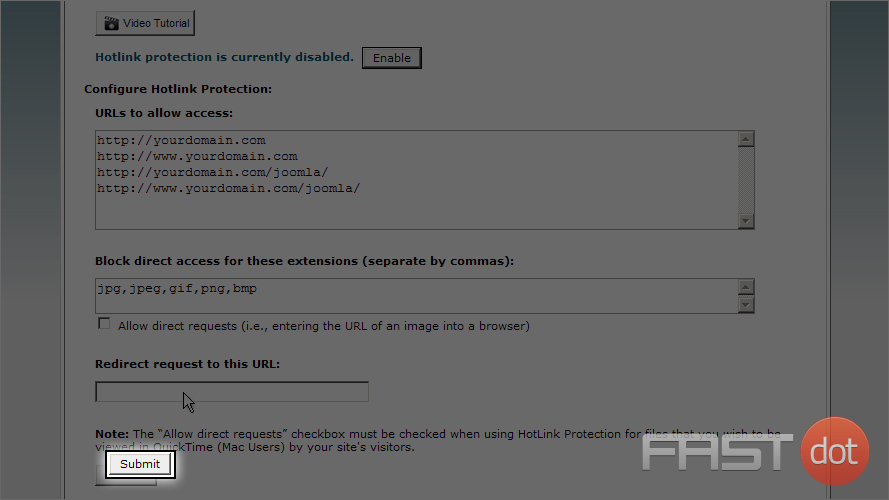
- Submit Your Changes:
- Click on the “Submit” button to save your hotlink protection settings.
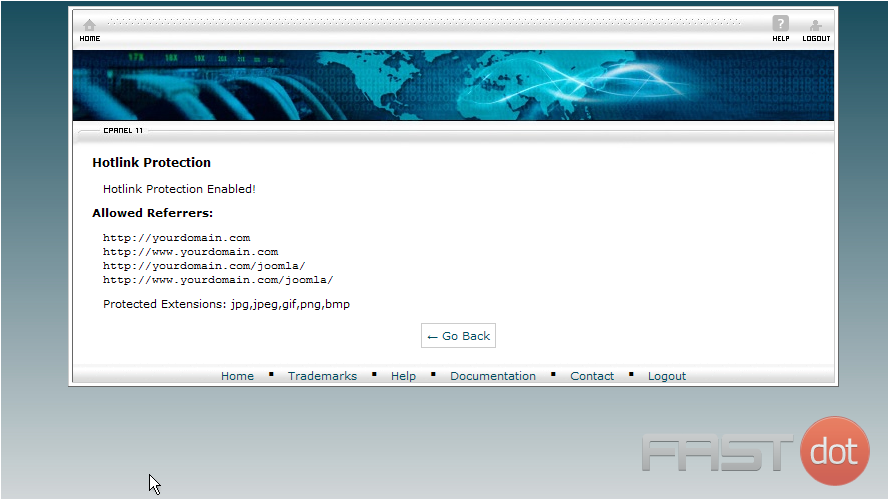
Step 5: Verify the Configuration
- Test Hotlink Protection:
- To ensure hotlink protection is working, you can try linking to a protected file from an external site that is not on your allowed list.
- Alternatively, use online hotlink protection test tools available.
Best Practices and Considerations
- Regular Review: Regularly review your hotlink protection settings to ensure they are up-to-date and include all necessary domains.
- Bandwidth Usage: Monitor your bandwidth usage to see if hotlink protection is effectively reducing unauthorized usage.
- SEO Implications: Be aware that hotlink protection might affect how images from your site appear in search engines or on social media.
Conclusion
Enabling hotlink protection in cPanel is an effective way to prevent unauthorized websites from using your bandwidth by directly linking to files on your site. It’s a simple yet important step in managing your website’s resources and security. Remember to configure it according to your specific needs and to update the settings as necessary.
This tutorial will show you how to enable Hotlink Protection using cPanel
You will need to log into cPanel with your supplied username and password. Normally this URL is:
1) Select the Password field and enter your password
2) Select the Username field and enter your username

3) Now click on the Log in button
4) Scroll down to the Security section and click on the HotLink Protection icon
5) Enter all the sites you wish to protect here
6) Enter a redirect URL to create a custom message to be displayed instead of the standard 403 error
7) Click the Submit button to save
You now know how to enable Hotlink Protection using cPanel