This tutorial will show you how to configure your website in FileZilla
1) Select the File menu.
 Select the File menu.")
2) Then select Site Manager.
 Then select Site Manager.")
3) Click New Folder.
 Click New Folder.")
4) Enter a name for the new folder here.
 Enter a name for the new folder here.")
Now let’s configure a new site inside this new folder.
5) Click New Site.
 Click New Site.")
6) Enter a name for the new site here.
 Enter a name for the new site here.")
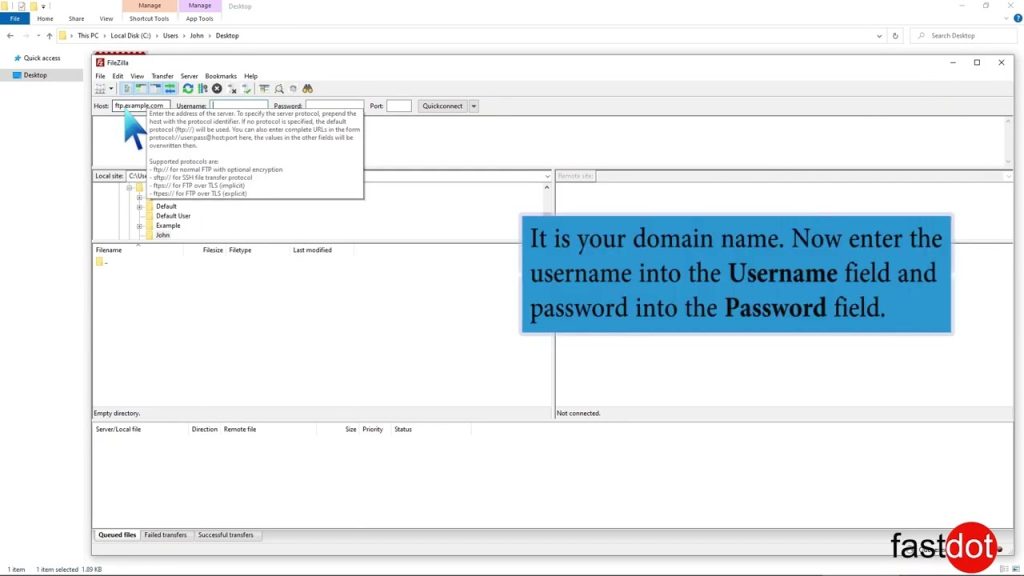
7) Enter the name of the Host here.
 Enter the name of the Host here.")
8) Select Normal for the logon type.
 Select Normal for the logon type.")
9) Enter the User name here.
 Enter the User name here.")
10) Enter the Password here. Then click Connect.
 Enter the Password here. Then click Connect.")
That’s it! We are now connected the remote server and the login details are saved for quicker connections in the future.
Now let’s disconnect from the server.
11) Click Server.
 Click Server.")
12) Then click Disconnect.
 Then click Disconnect.")
This is the end of the tutorial. You should now know how to configure a website in FileZilla, for the purposes of establishing an FTP connection.
Do you have any questions? Ask us in the forums ?