Using the Feature Manager in WHM
This demo assumes you’ve already logged in to WebHost Manager (WHM)
Now let’s learn about the Feature Manager and how you can use it to help create hosting accounts
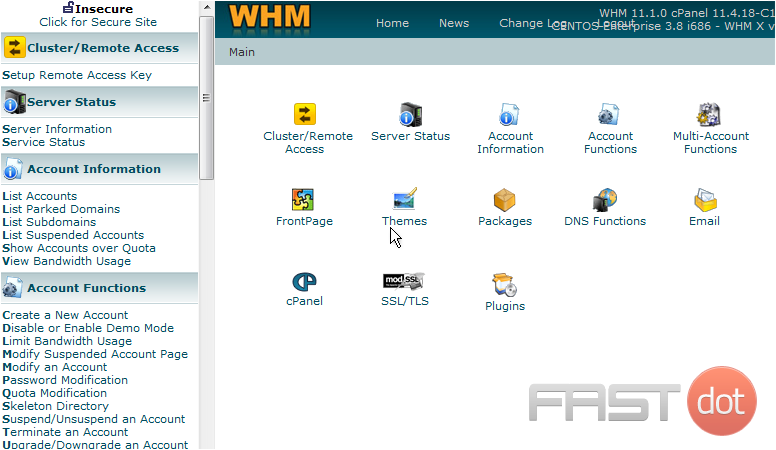
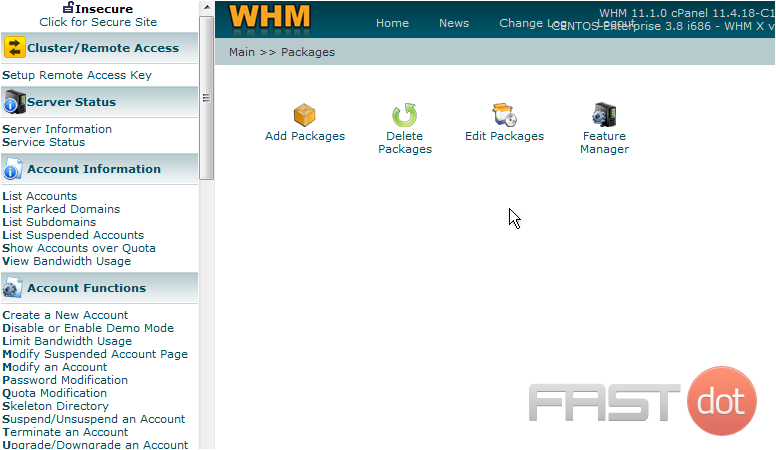
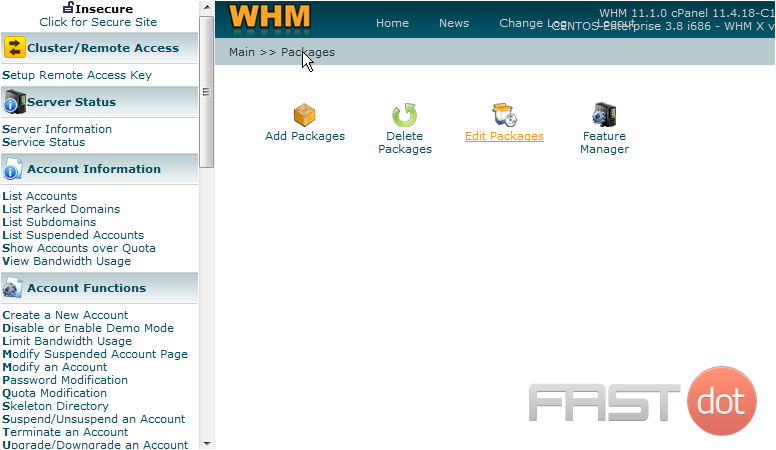
1) Click the Packages link
2) Then click the Feature Manager link
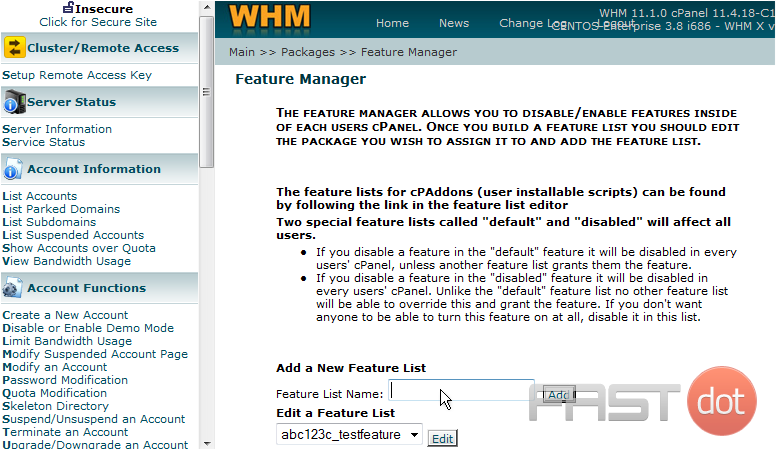
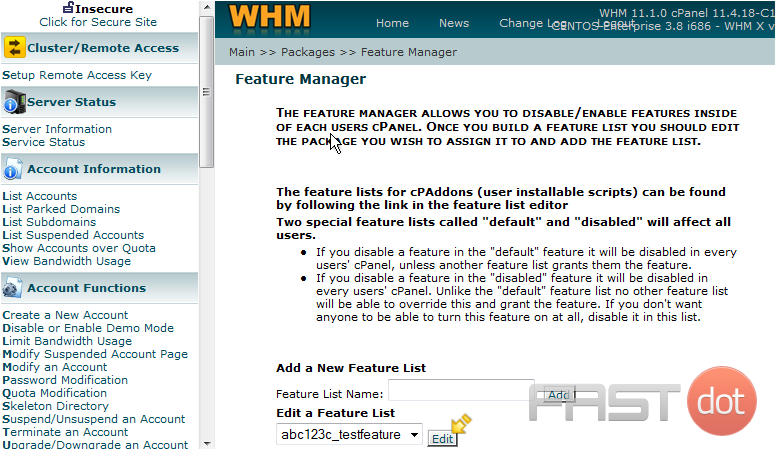
Feature Manager let’s you assign a custom set of features to a specific package
The first thing we must do is create a feature list name
3) Enter a Feature List Name here
4) Click the Add button
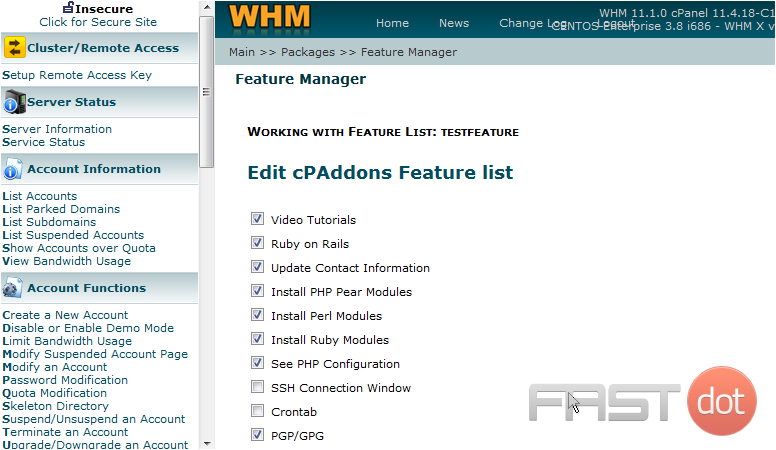
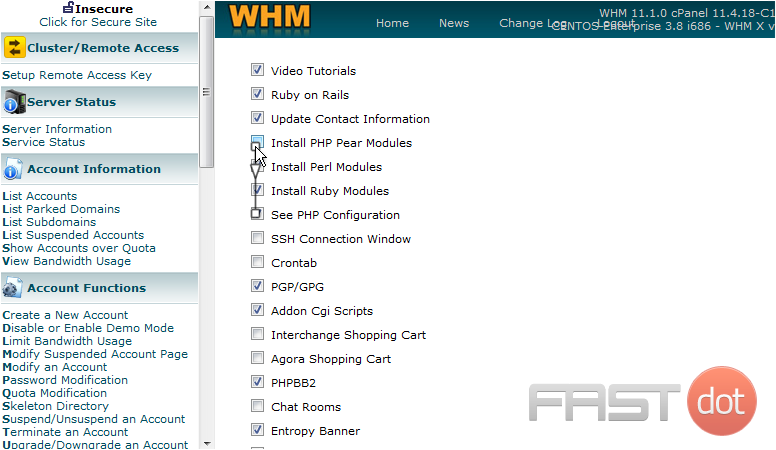
This is a list of all the features available in cPanel, and by default, most are all selected. But we want to create a custom feature list whereby not all features will be available to certain accounts
5) So let’s go ahead and make changes in the feature list
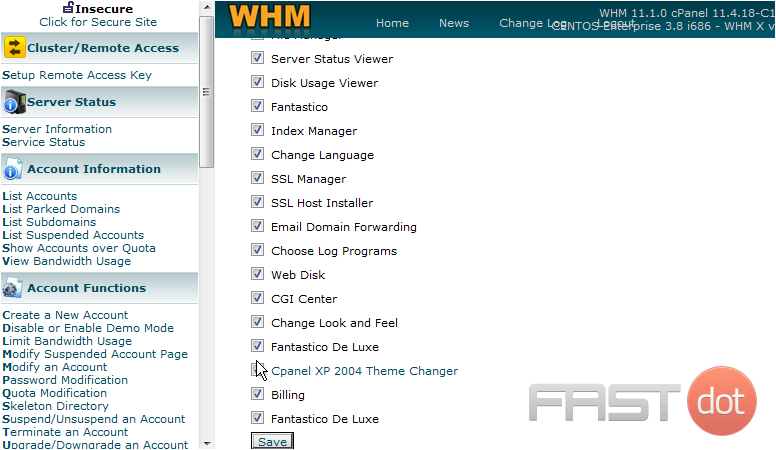
6) When finished, click Save
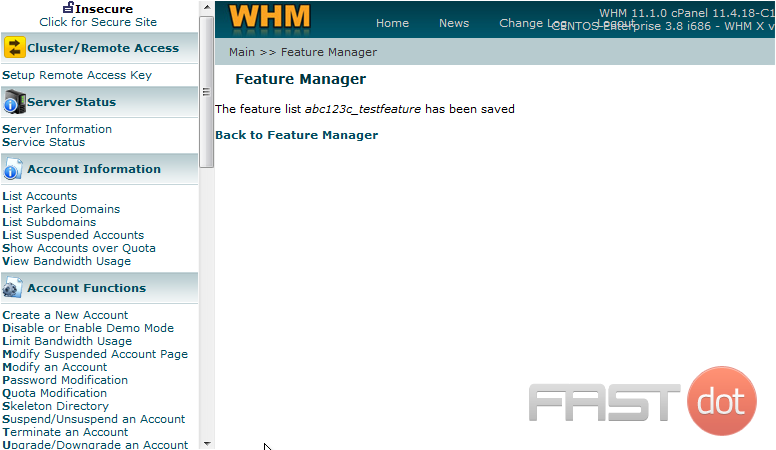
That’s it! We’ve just created a custom feature list
7) Click here to go back to the Feature Manager
8) From here, we can edit the feature list we just created
In order to use the feature list we created, it must be linked to a specific package
9) Click the Packages link
10) Then click Edit Packages
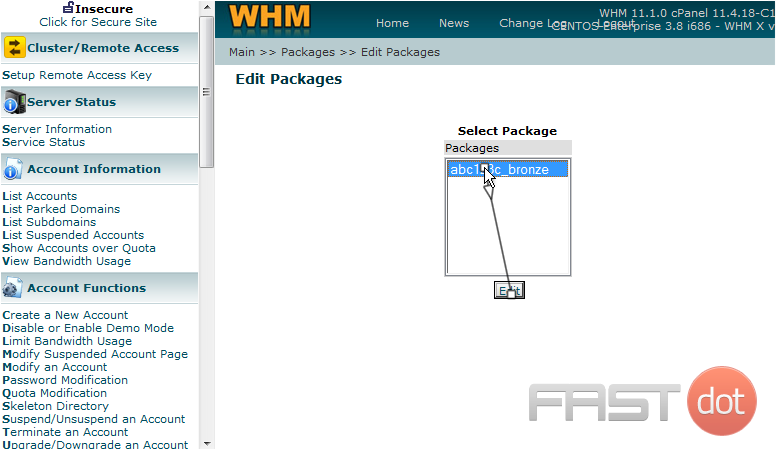
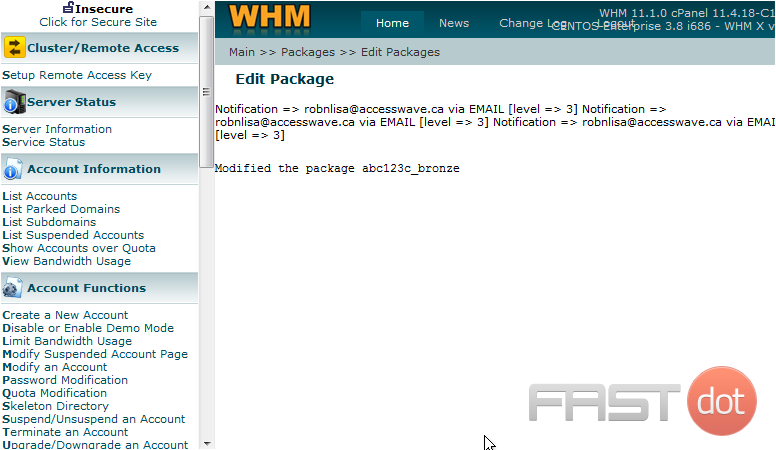
11) Select the abc123c_bronze package, then click Edit
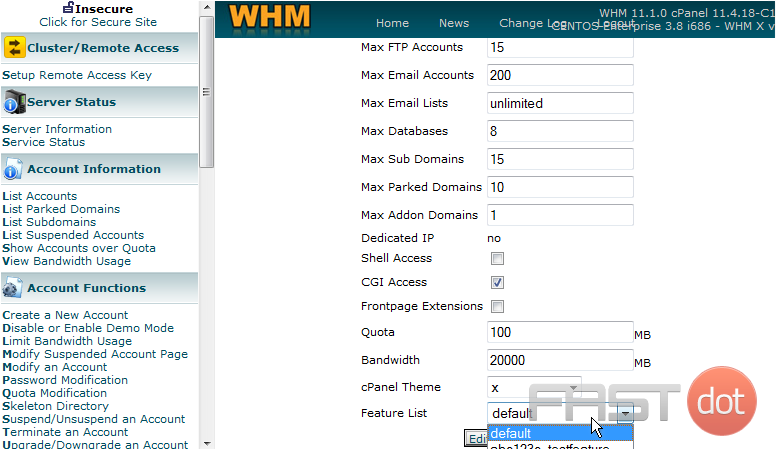
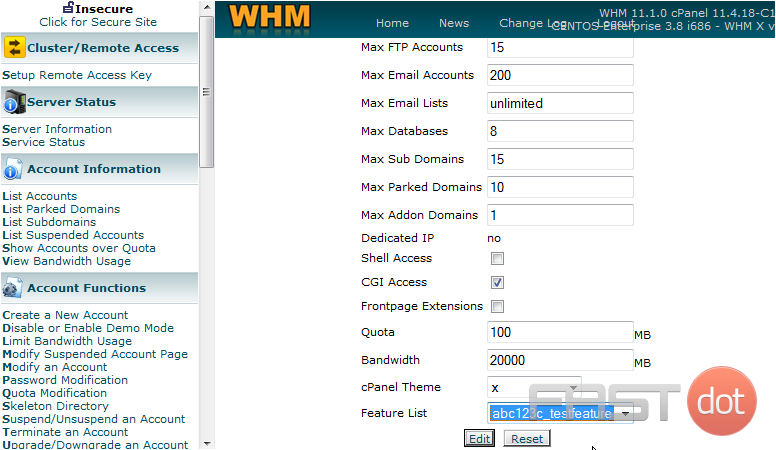
12) Select the feature list we created here
13) Then click Edit
That’s it! Now, any time we create a hosting account and assign it the bronze package, the account will only have those features available to it that we assigned when we created the testfeature feature list
The Feature Manager in WHM (WebHost Manager) is a powerful tool that allows server administrators to control which features are available in the cPanel accounts hosted on their servers. It’s especially useful for digital agencies and hosting providers who manage multiple cPanel accounts with varying needs. By using the Feature Manager, you can create, edit, or delete feature lists and assign them to specific packages or directly to cPanel accounts, ensuring that users have access only to the features they need. Here’s a detailed guide on how to use the Feature Manager in WHM:
Accessing the Feature Manager
- Log into WHM: Open your browser and navigate to your WHM login page, which usually follows the format
https://yourserverip:2087orhttps://yourdomain.com/whm. Enter your username and password to access the WHM dashboard. - Navigate to Feature Manager: Once logged in, use the search bar at the top left of the WHM dashboard to search for “Feature Manager”. Click on the “Feature Manager” option that appears in the search results.
Creating a New Feature List
- Create a Feature List: In the Feature Manager, you will see an option to create a new feature list. Enter a name for your new feature list in the provided field and click on the “Add Feature List” button.
- Configure Features: After creating a new list, you’ll be taken to a page where you can select which features to include in this list. Check the boxes next to the features you want to enable for cPanel accounts that will be assigned this feature list. Common features include access to file manager, email accounts, databases, and software installers like Softaculous.
- Save Changes: Once you’ve selected all the desired features, scroll to the bottom of the page and click on “Save” to apply your changes. Your new feature list is now ready to be assigned to cPanel accounts.
Editing an Existing Feature List
- Select the Feature List to Edit: In the Feature Manager, you’ll see a dropdown menu listing all existing feature lists. Select the list you want to edit and click on the “Edit” button.
- Modify Features: You’ll be presented with a list of all available cPanel features. Adjust the features by checking or unchecking the boxes next to each feature based on your requirements.
- Save Changes: After making the necessary adjustments, click on “Save” at the bottom of the page to update the feature list.
Assigning Feature Lists to Packages or Accounts
- Navigate to Packages: To assign a feature list to a package, search for “Add a Package” or “Edit a Package” in the WHM search bar, then select the relevant option.
- Assign the Feature List to a Package: When creating or editing a package, you will find a dropdown menu for selecting a feature list. Choose the feature list you want to assign to this package. When you assign a package to a cPanel account, the account will automatically inherit the features from the selected list.
- Direct Assignment to Accounts (if applicable): Some WHM setups allow for direct assignment of feature lists to specific cPanel accounts through account modification settings. This can be useful for customizing feature access on a per-account basis.
Conclusion
The Feature Manager in WHM is an invaluable tool for server administrators, allowing for granular control over the features available to cPanel users. By carefully managing feature lists and assigning them appropriately, you can ensure a streamlined and customized hosting experience for your clients, enhancing security, usability, and overall satisfaction. Regularly reviewing and updating your feature lists and their assignments can help keep your hosting environment aligned with your clients’ needs and the services you wish to provide.

