Introduction to Building a Photography Blog on WordPress:
- 1 Introduction to Building a Photography Blog on WordPress:
- 2 Key Takeaways:
- 3 Step 1: Choose a Domain Name and Hosting Provider
- 4 Step 2: Install WordPress and Choose a Theme
- 5 Step 3: Customize Your Blog Design
- 6 Step 4: Create Engaging Content for Your Photography Blog
- 7 Step 5: Promote Your Photography Blog
With the rise of social media and online platforms, starting a photography blog has become an essential tool for photographers to showcase their work, reach a wider audience, and even monetize their skills. And what better way to build a photography blog than on WordPress – one of the most popular and user-friendly content management systems available.
In this step-by-step guide, we will take you through the process of building a photography blog on WordPress, from choosing a domain name and hosting provider to creating engaging content and promoting your blog. So, let’s get started!
Step 1: Choose a Domain Name and Hosting Provider:
The first step to building a photography blog on WordPress is choosing a domain name – this is the address of your blog that people will type in to visit your website. Some tips to consider when choosing a domain name for your photography blog include keeping it short and memorable, using keywords related to photography, and avoiding numbers or hyphens.
Next, you’ll need a hosting provider – this is where your website will be stored and made accessible to the public. When choosing a hosting provider for your photography blog, consider factors such as storage space, bandwidth, uptime, and customer support.
Step 2: Install WordPress and Choose a Theme:
Once you have your domain name and hosting provider set up, it’s time to install WordPress and choose a theme for your photography blog. Installing WordPress is usually a one-click process offered by most hosting providers. You can then choose from thousands of free or premium themes available on WordPress to give your blog a professional and visually appealing look.
Step 3: Customize Your Blog Design:
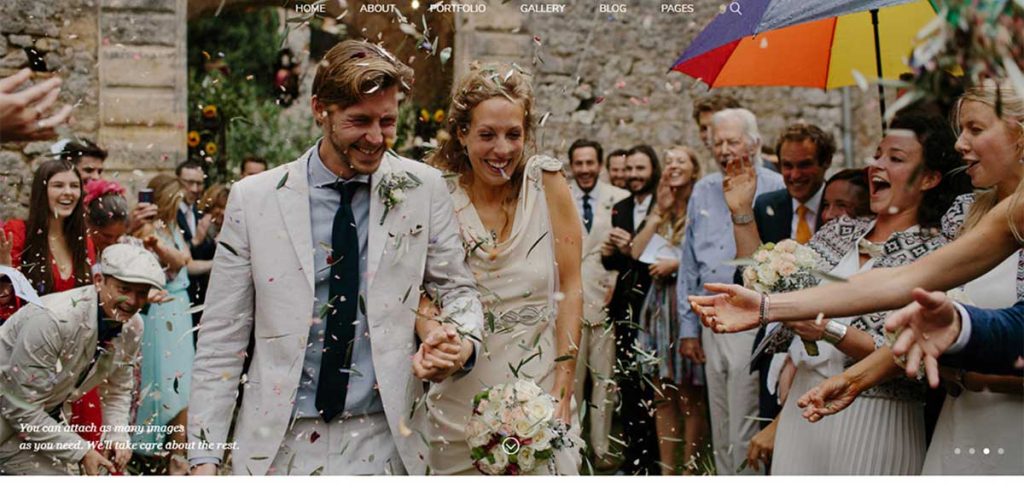
The next step is customizing your blog design to make it stand out and reflect your brand. WordPress offers a built-in customization tool called Customizer, which allows you to make design changes such as changing colors, fonts, and layouts. Some tips for creating a visually appealing photography blog include using high-quality images, keeping the design simple and user-friendly, and choosing a color scheme that complements your brand.
Step 4: Create Engaging Content for Your Photography Blog:
Now comes the most crucial step – creating engaging content for your photography blog. This includes writing blog posts, sharing your photography work, and even offering tips and tutorials to your audience. When creating content, make sure to include a mix of different types such as photo essays, behind-the-scenes stories, and tips for beginner photographers. Additionally, optimizing your images for SEO using alt-tags and descriptive file names will help your blog rank higher in search engine results.
Step 5: Promote Your Photography Blog:
Finally, it’s time to promote your photography blog and get it in front of your target audience. Utilize social media platforms such as Instagram and Facebook to share your blog posts and engage with your audience. Collaborating with other photographers and bloggers can also help you reach a wider audience and gain more exposure for your blog.
Conclusion:
Maintaining and growing your photography blog on WordPress is an ongoing process. Make sure to regularly update your content, engage with your audience, and continue promoting your blog to attract new visitors. With consistency and dedication, your photography blog will continue to thrive on WordPress.
Key Takeaways:
- Choose a memorable domain name and reliable hosting provider for your photography blog.
- Select a visually appealing WordPress theme and use customization options to enhance your blog’s design.
- Create engaging content, optimize images for SEO, and promote your blog through social media and collaborations with other photographers and bloggers.
Step 1: Choose a Domain Name and Hosting Provider
The first step to creating a successful photography blog on WordPress is to choose a domain name and a hosting provider. These may seem like small details, but they play a crucial role in the overall success of your blog. In this section, we will discuss the factors to consider when choosing a domain name that reflects your brand and style. We will also provide tips on selecting the right hosting provider to ensure your blog runs smoothly and efficiently.
What to Consider When Choosing a Domain Name
When selecting a domain name, it is important to think about what accurately represents your brand, reflects your photography niche, and is easy to remember and type. It is essential to ensure that the domain name is unique and not a variation of a trademarked name. Also, check for availability on social media platforms to maintain consistent branding.
A short and descriptive domain name is ideal as it can help with SEO and make it easier for people to remember. Lastly, it is recommended to choose a reputable domain registrar that offers security and reliable customer support.
How to Choose a Hosting Provider for Your Photography Blog
- When looking for a hosting provider for your photography blog, it’s important to research those that specialize in WordPress hosting to ensure optimal performance.
- Be sure to evaluate the provider’s uptime, customer support, and scalability to accommodate potential growth for your blog.
- Consider the different hosting plan features, such as storage, bandwidth, security, and backup options, before making a decision.
- Compare pricing and choose a plan that fits within your budget and meets your specific requirements.
Step 2: Install WordPress and Choose a Theme
Now that you have chosen your hosting provider, it’s time to install WordPress and select a theme for your photography blog. In this section, we’ll guide you through the process of installing WordPress on your hosting provider, whether it’s through a one-click installation or manual setup. Then, we’ll discuss the key elements to consider when choosing a WordPress theme specifically for a photography blog. By the end, you’ll have the necessary tools to create a visually appealing and functional blog to showcase your photography.
How to Install WordPress on Your Hosting Provider
Installing WordPress on your hosting provider is a simple process that involves the following steps:
- Access your hosting account’s control panel.
- Locate the ‘WordPress’ icon and click on it.
- Choose the domain where you want to install WordPress.
- Enter the necessary details for your new WordPress website, including the site name, username, and password.
- Click ‘Install WordPress’ and wait for the installation process to complete.
WordPress was first released on May 27, 2003, by its founders, Matt Mullenweg and Mike Little. Originally, it was created as a successor to b2/cafelog, with the goal of providing a user-friendly platform for non-technical users to easily create and manage their websites.
What to Look for in a WordPress Theme for a Photography Blog
When choosing a WordPress theme for a photography blog, it is important to carefully consider the key features to look for in a WordPress theme specifically designed for photography blogs.
Step 3: Customize Your Blog Design
Now that you have set up your WordPress blog and published your first post, it’s time to make it stand out with a personalized design. In this section, we will guide you through the process of customizing your blog’s design using the WordPress Customizer. We will also share some valuable tips on how to create a visually appealing photography blog that will attract and engage your audience. Get ready to make your blog truly unique and showcase your photography in the best way possible.
How to Use WordPress Customizer to Make Design Changes
- Access your WordPress dashboard and log in.
- Navigate to ‘Appearance’ and select ‘Customize’.
- Utilize the available options to modify your site’s identity, colors, fonts, and other design elements.
- Preview the changes and click ‘Save & Publish’ once you are satisfied.
- Ensure that your design is responsive for mobile users.
Tips for Creating a Visually Appealing Photography Blog
- High-Quality Visuals: Use high-resolution images to captivate visitors and showcase your photography skills effectively.
- Consistent Branding: Maintain a coherent visual style throughout your blog to create a professional and polished look.
- Intuitive Navigation: Organize your content logically and make it easy for visitors to find what they’re looking for.
Pro-tip: Consider incorporating visually appealing blog graphics and cohesive color schemes to enhance the aesthetic appeal of your photography blog.
Step 4: Create Engaging Content for Your Photography Blog
Now that your photography blog is set up on WordPress, it’s time to focus on creating engaging content for your audience. In this section, we’ll discuss the different types of content you can include on your blog, from showcasing your own photographs to writing informative articles. We’ll also cover how to optimize your images for SEO, so your blog can be easily found by potential readers and clients. Get ready to take your photography blog to the next level with these tips and tricks for creating captivating content.
What Types of Content to Include on a Photography Blog
When managing a photography blog, it’s essential to offer a variety of content to capture the interest of your audience. Consider including:
- photo essays
- behind-the-scenes shots
- gear reviews
- tips on photography
Additionally, sharing personal experiences and interacting with the audience through Q&A sessions can help create a sense of community.
Fact: The types of content featured on a photography blog can greatly impact audience engagement and the growth of your brand.
How to Optimize Your Images for SEO
- Choose relevant file names and use descriptive alt text for optimal SEO.
- Compress images to improve loading speed and enhance user experience.
- Utilize responsive design to ensure mobile-friendliness and accessibility.
- Generate an image sitemap to increase search engine visibility and improve SEO.
Step 5: Promote Your Photography Blog
Now that you have your photography blog up and running, it’s time to get the word out and start building a following. In this section, we will discuss two effective methods for promoting your photography blog: utilizing social media and collaborating with other photographers and bloggers. By implementing these strategies, you can increase your online presence and attract a larger audience to your blog. Let’s dive into the details of each approach and how they can help you reach your blogging goals.
Utilizing Social Media to Promote Your Blog
- Create engaging visual content specifically for each social media platform.
- Utilize hashtags and keywords to increase the discoverability of your posts and effectively promote your blog.
- Engage with your audience by responding to comments and messages promptly, building a strong connection with your followers.
- Collaborate with influencers or other bloggers to expand your reach and attract a wider audience.
- Share behind-the-scenes content to humanize your brand and connect with your audience on a personal level.
In the early 2000s, the emergence of social media transformed the landscape of online promotion, providing a powerful tool for promoting your blog. Businesses and individuals alike began utilizing social media to engage with followers and drive traffic to their websites, leveraging platforms like Facebook, Twitter, and Instagram to effectively promote their blogs.
Collaborating with Other Photographers and Bloggers
- Networking: Connect with other photographers and bloggers through social media platforms or photography forums to establish collaborations.
- Collaborative Projects: Initiate joint projects such as photo walks, workshops, or photo challenges to foster a sense of community and creativity.
- Guest Blogging: Extend invitations for guest posts on each other’s blogs to diversify content and reach a wider audience.
- Cross-Promotion: Share each other’s work on social media, mention and tag each other in posts to increase visibility and engagement.
WordPress vs Joomla for Photography Websites: A Comparative Analysis