WordPress plugins are essential tools that add functionality and features to your website. Proper management of these plugins ensures your site runs smoothly, remains secure, and performs optimally. This guide will take you through the steps to effectively manage your WordPress plugins.
1. Installing Plugins
1.1 From the WordPress Repository
To install a plugin from the WordPress repository, follow these steps:
- Navigate to Dashboard > Plugins > Add New.
- Use the search bar to find the desired plugin.
- Click Install Now and then Activate.
1.2 Uploading a Plugin
To upload a plugin from your computer:
- Download the plugin as a .zip file.
- Go to Dashboard > Plugins > Add New > Upload Plugin.
- Select the .zip file and click Install Now.
- Activate the plugin once it’s uploaded.
2. Updating Plugins
Keeping your plugins updated is crucial for security and performance. WordPress makes this process straightforward:
- Go to Dashboard > Plugins > Installed Plugins.
- Check for available updates. If any are found, click Update Now.
Automatic Updates
For convenience, you can enable automatic updates for individual plugins:
- In the Installed Plugins list, find the plugin you want to enable automatic updates for.
- Click on Enable auto-updates next to the plugin name.
3. Deactivating and Deleting Plugins
3.1 Deactivating Plugins
To deactivate a plugin:
- Navigate to Dashboard > Plugins > Installed Plugins.
- Find the plugin you wish to deactivate and click Deactivate.
3.2 Deleting Plugins
To delete a plugin:
- First, deactivate the plugin.
- Click Delete under the plugin name.
4. Plugin Management Best Practices
4.1 Regular Updates
Always keep your plugins updated to the latest versions to ensure compatibility and security.
4.2 Limit the Number of Plugins
Having too many plugins can slow down your site and increase the risk of conflicts. Only install plugins that are necessary.
4.3 Quality Over Quantity
Choose well-coded, regularly updated plugins with good reviews. Check the plugin’s last update date and user ratings before installing.
4.4 Backup Your Site
Always backup your site before installing, updating, or deleting plugins to avoid data loss.
5. Troubleshooting Plugin Issues
If a plugin causes issues on your site, follow these steps:
5.1 Identify the Problem
Deactivate all plugins and reactivate them one by one to identify the conflicting plugin.
5.2 Check for Updates
Ensure all plugins, themes, and WordPress itself are up to date.
5.3 Consult Plugin Documentation
Refer to the plugin’s documentation or support forum for known issues and solutions.
5.4 Restore from Backup
If all else fails, restore your site from a backup.
Conclusion
Effective plugin management is crucial for maintaining a secure, fast, and reliable WordPress site. By following the best practices and guidelines outlined in this article, you can ensure that your plugins enhance your site’s functionality without compromising performance or security.
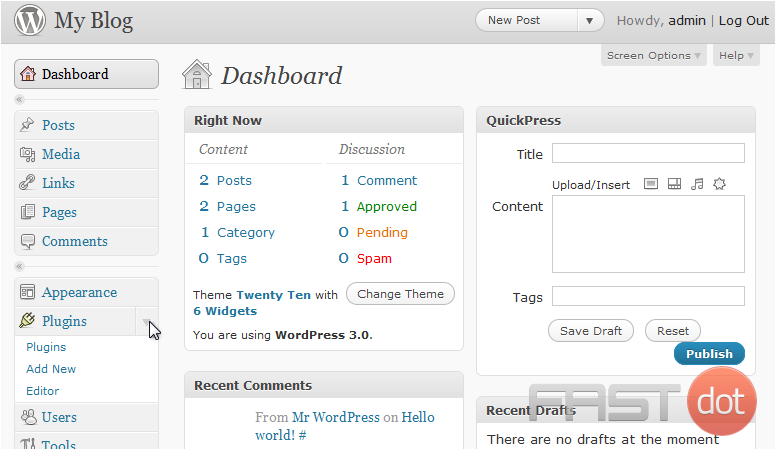
This tutorial will show you how to manage your plugins in WordPress. This tutorial assumes you are already logged in to WordPress.
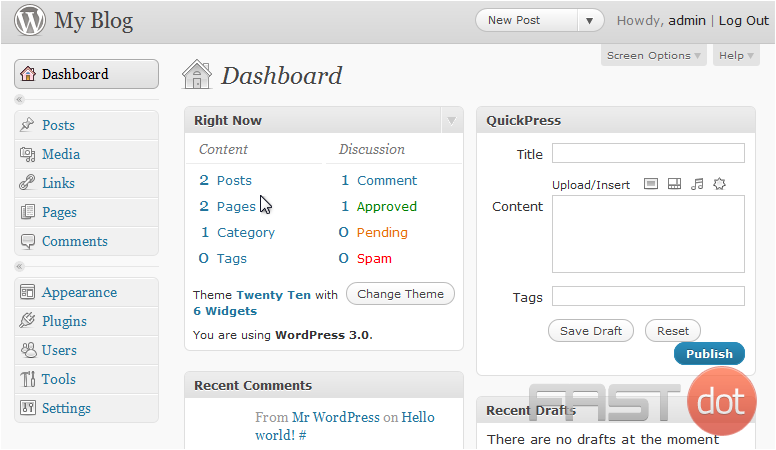
1) Click to expand the Plugins menu. Click Plugins.
This page will show you a list of all your installed plugins. To activate a plugin, use the Activate link.
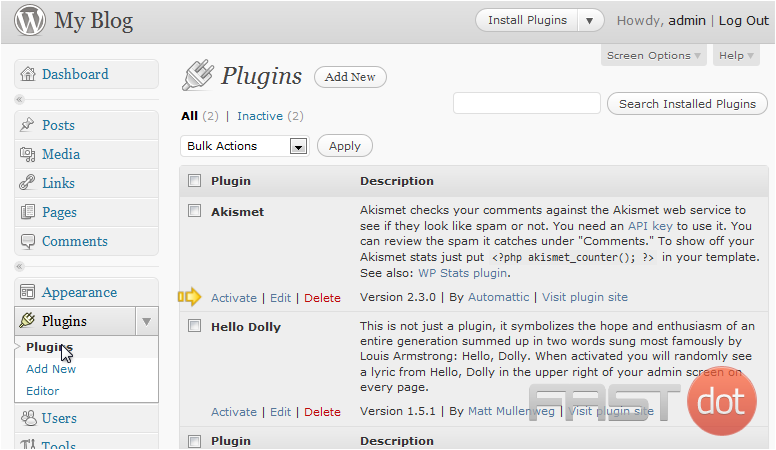
2) Click Add New.
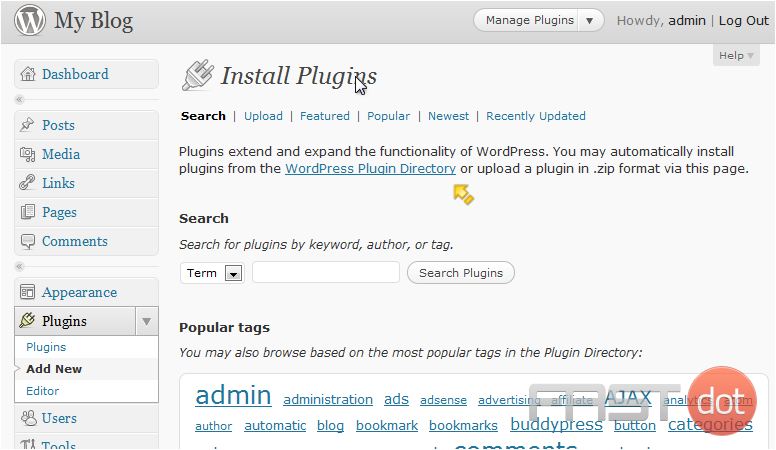
3) To find more plugins, you can browse the WordPress Plugin Directory. Go to the Editor to edit a plugin.
You can edit your plugins here. This is only for advanced users as editing here can break the plugin rather easily.
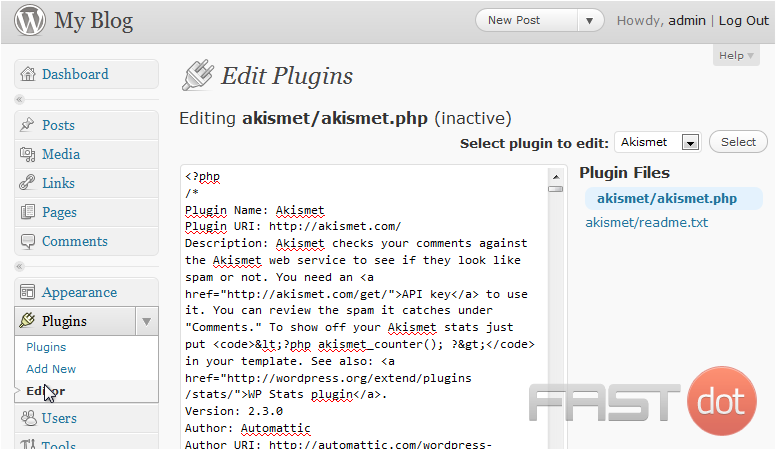
This is the end of the tutorial. You now know how to manage your plugins in WordPress.