Follow these steps to secure your Joomla installation’s PHP settings:
Steps
- Download and Install FTP Client:
- If you don’t already have one, download and install an FTP client (e.g., FileZilla).
- Connect to Your Server:
- Open your FTP client and enter your FTP credentials (host, username, password, port) to connect to your server.
- Navigate to Joomla Directory:
- Navigate to the directory where Joomla is installed (e.g.,
public_html).
- Navigate to the directory where Joomla is installed (e.g.,
- Edit the php.ini File:
- Locate the
php.inifile in the Joomla root directory. - If the file does not exist, create a new text file and name it
php.ini. - Download the
php.inifile to your local machine and open it in a text editor. - Add or modify the following settings to enhance security:
display_errors = Off log_errors = On error_log = /path/to/your/logs/php_error.log expose_php = Off allow_url_fopen = Off allow_url_include = Off file_uploads = Off - Save the changes and upload the
php.inifile back to the server, overwriting the existing one if necessary.
- Locate the
- Edit the .htaccess File:
- Locate the
.htaccessfile in the Joomla root directory. - Download the
.htaccessfile to your local machine and open it in a text editor. - Add the following directives to secure your PHP settings:
# Protect against PHP exploitsOrder Deny,Allow Deny from all Allow from 127.0.0.1 # Disable directory browsing Options -Indexes - Save the changes and upload the
.htaccessfile back to the server, overwriting the existing one if necessary.
- Locate the
- Verify Changes:
- Ensure that the changes have been applied correctly by visiting your Joomla site and checking the PHP settings.
Important Notes
- Always backup your website and database before making changes.
- Test your site thoroughly after applying these settings to ensure there are no disruptions.
- Regularly update your Joomla installation and extensions to keep your site secure.
This tutorial assumes you have a FTP application and have opened and logged in to your server via FTP
There are a number of both free and commercial FTP applications. In this example we will be using CuteFTP
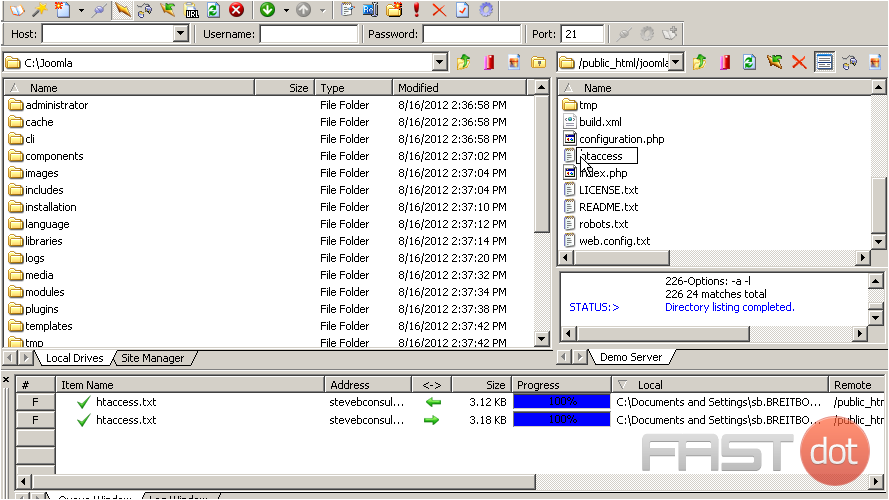
1) On your remote web server, open the htdocs or public_html directory, then select the directory where Joomla has been previously installed
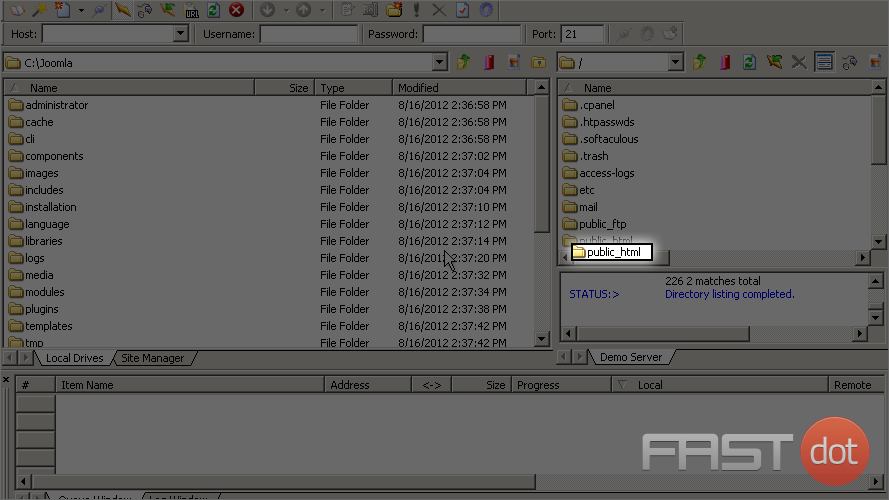
2) Double click the ‘joomla’ directory to open it
Scroll down to locate the ‘htaccess.txt’ file
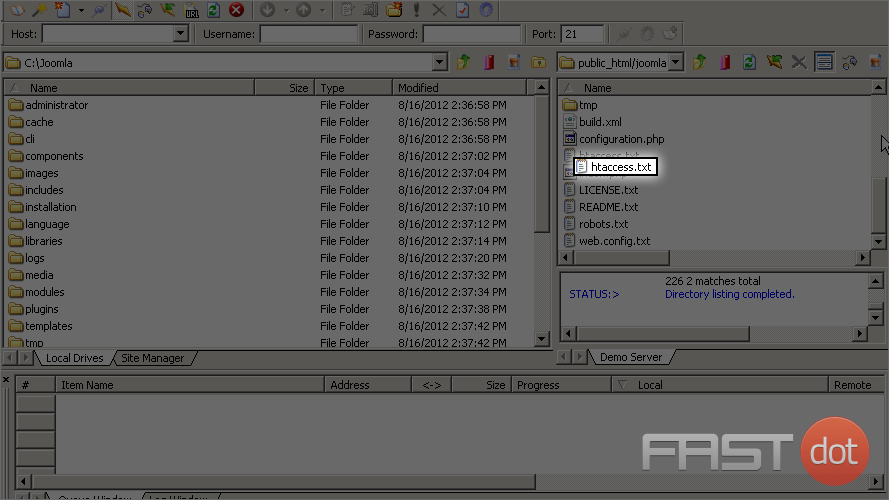
3) Right click the ‘htaccess.txt’ file then select the Edit option(The ‘.htaccess’ file can be used by Joomla for a number of directives)

4) Select a place near the top of the file to enter the following code. Enter the code exactly as illustrated here
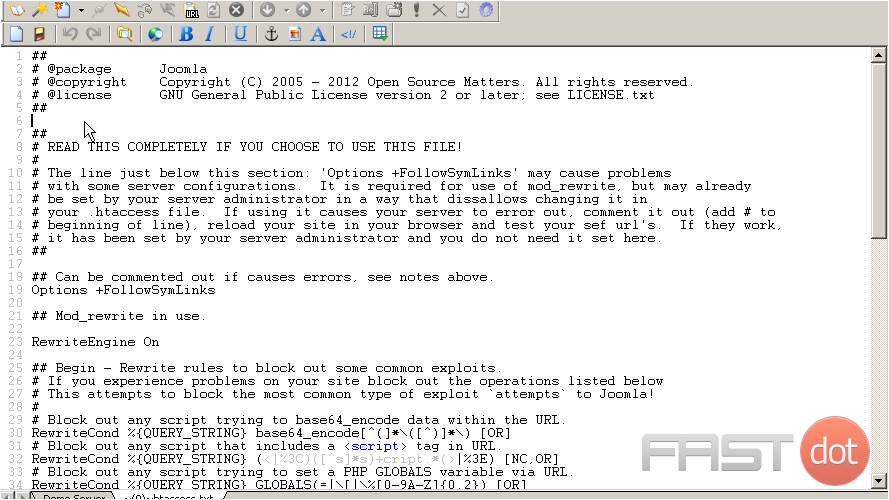
This will code will prevent any errors from being displayed to site visitors
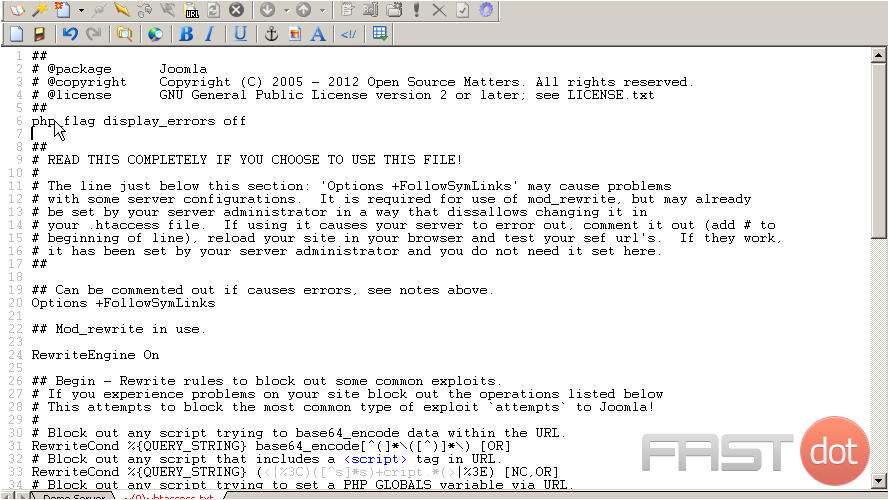
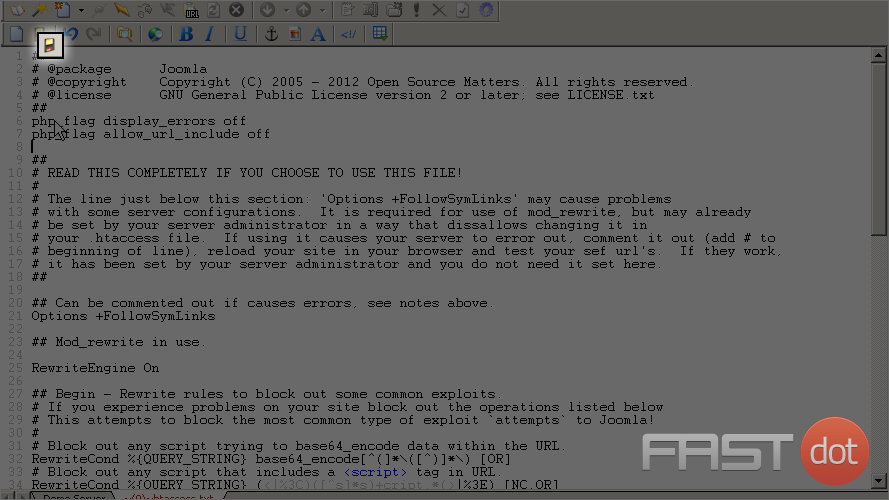
This can help prevent hackers from running potentially harmful code
5) Now click the Save button
6) Now lets rename the file so Joomla can use it. Right click the ‘htaccess.txt’ file and select the Rename option
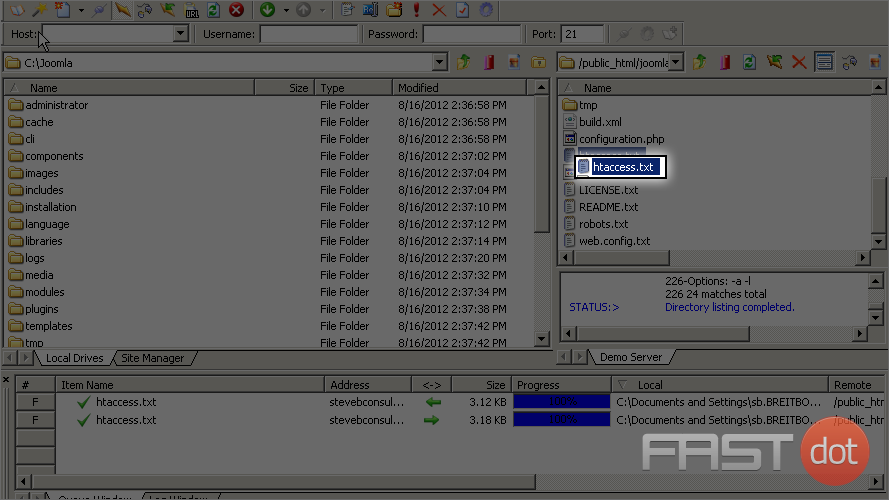
7) Now let’s rename the ‘htaccess.txt’ file to ‘.htaccess’
Securing your Joomla installation’s PHP settings is an essential step in protecting your website from potential security threats. One effective way to do this is by modifying the php.ini file, which is the default configuration file for PHP. If you don’t have direct access to the server configuration, you can often make these changes via an FTP client. Here’s a step-by-step guide on how to do this:
Prerequisites
- FTP Client: Ensure you have an FTP client like FileZilla installed and configured with your hosting account credentials.
- Backup: Always create a backup of your website and its database before making any changes.
Step-by-Step Guide
Step 1: Connect to Your Server via FTP
- Open your FTP client and connect to your server using the FTP credentials provided by your hosting provider.
Step 2: Locate or Create the php.ini File
- Once connected, navigate to the root directory of your Joomla installation (often
public_htmlorwww). - Look for the
php.inifile. If it’s not present, you’ll need to create one.- To create a new
php.inifile, simply create a new text file on your local computer, name itphp.ini, and upload it to the root directory of your Joomla installation.
- To create a new
Step 3: Edit the php.ini File
- If you found an existing
php.inifile, download it to your local computer. - Open the
php.inifile with a text editor (like Notepad++ or Sublime Text). - Make the necessary changes to secure your Joomla installation. Here are some recommended settings:
ini
# Disable displaying errors
 display_errors = Off
max_execution_time = 30
memory_limit = 128M
upload_max_filesize = 2M
post_max_size = 8M
allow_url_fopen = Off
allow_url_include = Off
disable_functions = exec,system,passthru,shell_exec,proc_open,popen,curl_exec,curl_multi_exec,parse_ini_file,show_sourceNote: The above settings are suggestions and might need to be adjusted based on your specific hosting environment and Joomla requirements.
Step 4: Upload the Modified php.ini File
- Save the changes to your
php.inifile. - Upload the modified file back to the root directory of your Joomla installation via FTP.
Step 5: Verify Changes
- To ensure that your changes have been applied, you can create a PHP file, say
info.php, with the following content and upload it to the root directory:php
phpinfo();
- Access this file through your browser (e.g.,
http://yourdomain.com/info.php). This will display your current PHP configuration. Check to see if your changes are reflected here. - After verifying, remember to delete the
info.phpfile for security reasons.
Step 6: Test Your Joomla Site
- Browse through your Joomla website to ensure everything is working correctly. Pay attention to any new error messages or functionality issues.
Additional Security Measures
- Regular Joomla Updates: Keep Joomla and its extensions updated to the latest version.
- File Permissions: Check file and directory permissions – typically, folders should be set to 755 and files to 644.
- Security Extensions: Consider installing Joomla security extensions for enhanced protection.
Conclusion
Modifying your Joomla installation’s PHP settings via FTP can significantly improve your website’s security. However, it’s important to understand the implications of each setting change and adjust them according to the specific needs of your website. Regular monitoring and maintenance of your Joomla site, along with adhering to general web security best practices, will further help in safeguarding your online presence.