Setting up your email signature on your iPhone
This tutorial will show you how to setup your email signature on your iPhone.
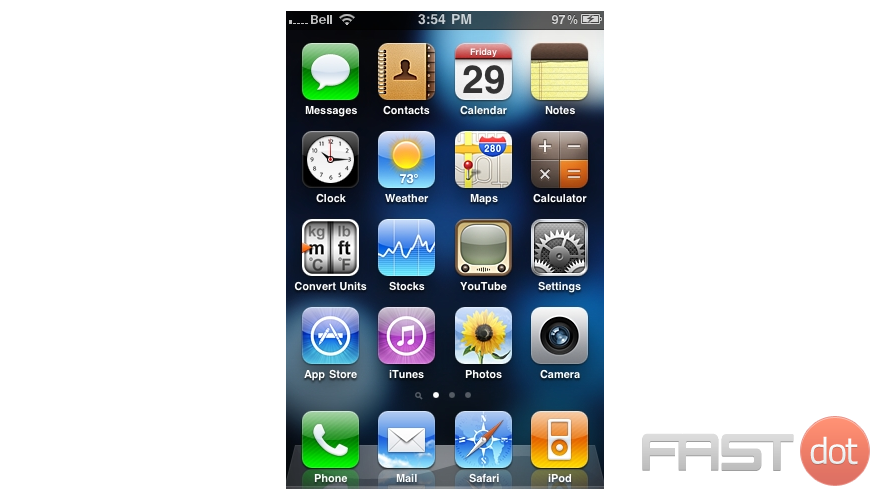
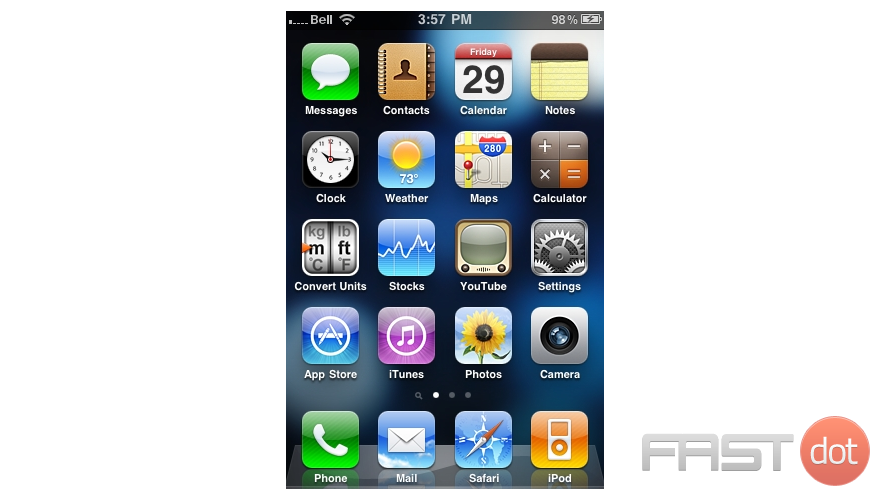
1) First, locate and press the “Settings” icon. It may be on a different screen or in a different location than shown here.
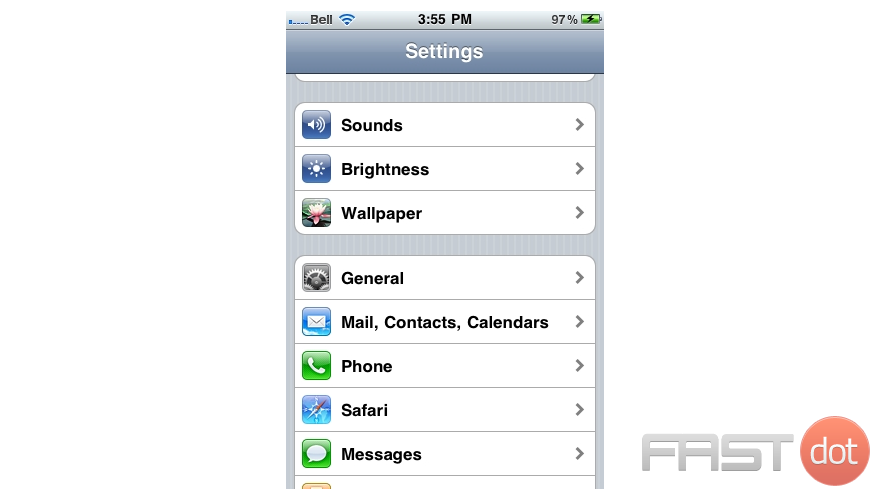
2) Then select “Mail, Contacts, Calendars”.
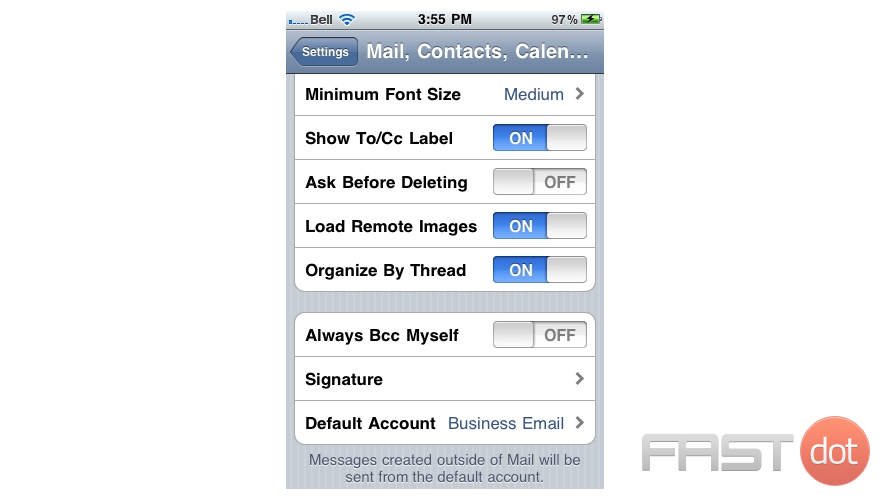
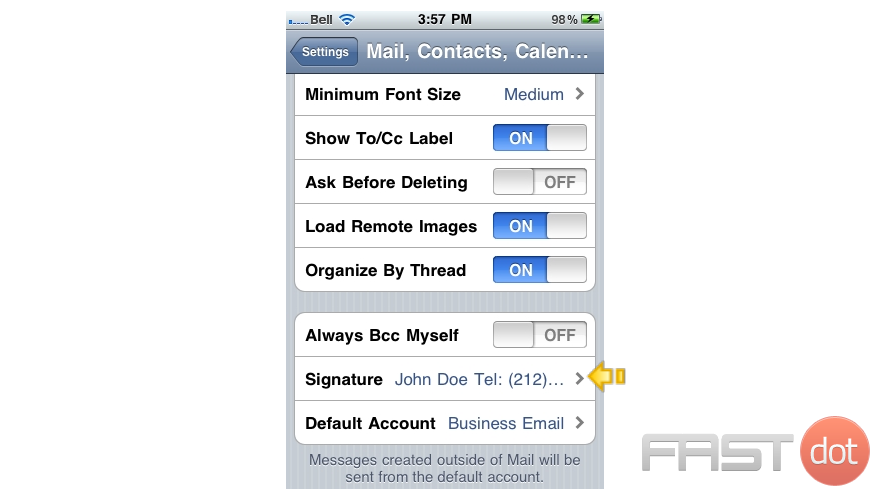
3) Select the “Signature” option.
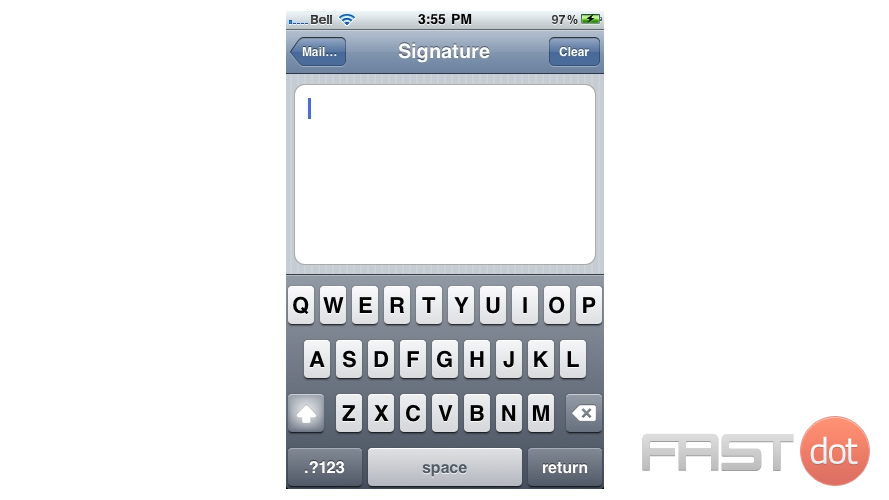
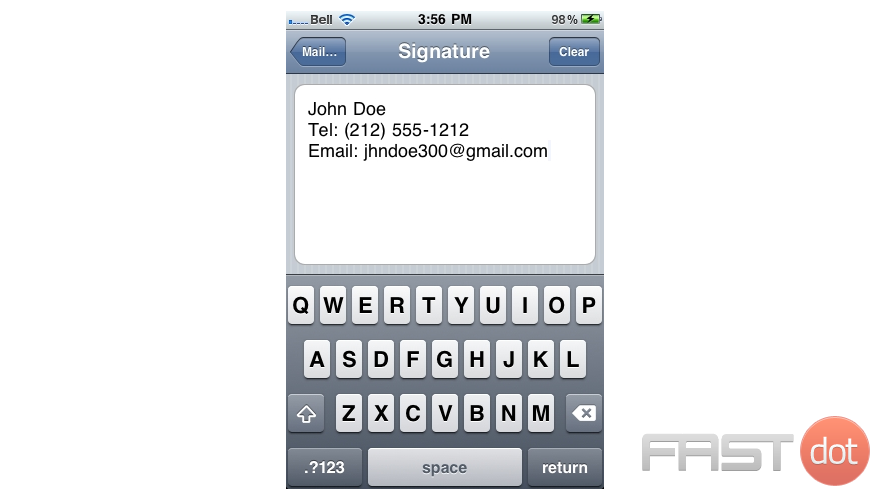
4) Enter your signature here. It should be something that you want automatically added to the end of the emails you send from your iPhone.
5) When finished, press the “Mail…” button to go back.
Success! Your new signature has been saved, as you can see here.
6) Let’s return to the home screen by pressing the Home button on the iPhone.
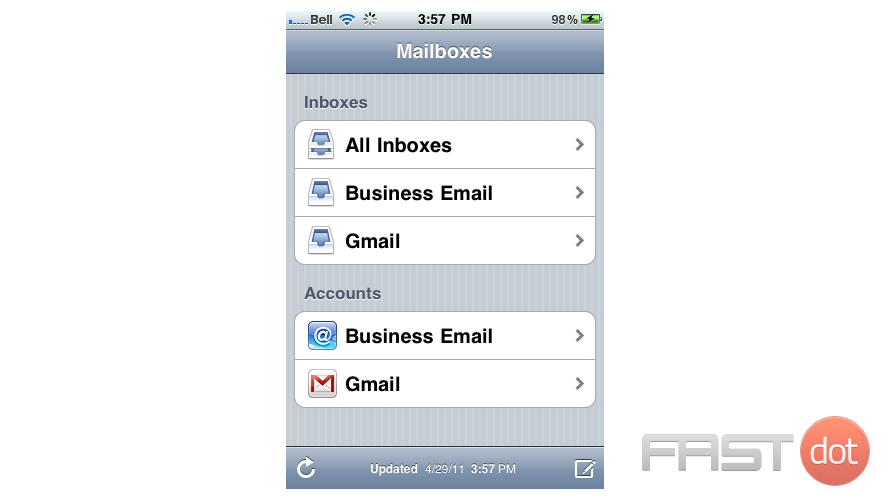
7) Let’s test the signature… press the “Mail” icon here (Note: the icon may be in a different location on your iPhone).
8) Start composing a new email message.
There it is! Our signature has automatically been added to the bottom of this email we were about to create.
Setting up an email signature on your iPhone adds a personalized touch to your email messages and can include important contact information, a website link, or a professional closing remark. This feature is useful for both personal and business correspondence, ensuring that your emails carry a consistent signature across all messages sent from your device. Here’s how you can set up or change your email signature on an iPhone:
Step 1: Open Settings
- Access Settings: Unlock your iPhone and open the “Settings” app, identifiable by the gear icon on your home screen.
- Scroll Down to Mail: In the Settings menu, scroll down until you find the “Mail” option. Tap on it to access mail settings.
- Find Signature Settings: Scroll down within the Mail settings to find the “Signature” option. This is where you can customize your email signature.
Step 3: Customize Your Signature
- Select Signature Option: Upon tapping “Signature,” you will see two options:
- All Accounts: If you select this option, the signature you create will be used for emails sent from all email accounts set up on your iPhone.
- Per Account: If you prefer to have different signatures for each email account, select this option. It allows for individual customization of signatures for each email account on your device.
- Create or Edit Your Signature: In the text field provided, you can type in your desired signature. This might include:
- Your full name
- Job title and company name
- Contact information (phone number, email address)
- A personal or professional website
- Social media links
- A short professional or inspirational quote
Step 4: Formatting Your Signature
- Basic Formatting: As of my last update, the iPhone’s signature editor supports basic text formatting. You can use dashes, asterisks, and other symbols to create simple dividers or bullet points. However, advanced formatting options like different fonts, colors, or embedded images might not be supported directly within the Settings app.
- Using Rich Text or Images: If you wish to include rich text formatting or images in your signature, one workaround is to create the signature in the Mail app or another app that supports rich text, then copy and paste it into the signature editor in Settings.
Step 5: Save Your Signature
- Once you are satisfied with your signature, simply navigate back using the top-left arrow or close the Settings app. Your changes are automatically saved.
Step 6: Test Your Signature
- Send a Test Email: To ensure your signature looks as expected, send a test email to yourself or a friend. This will allow you to see how your signature appears in actual email correspondence and make any necessary adjustments.
Additional Tips
- Consistency Across Devices: If you use multiple devices for email, consider setting up a similar email signature on each device to maintain consistency in your communications.
- Professionalism: For business emails, keep your signature professional and concise, including only relevant contact information and links.
- Updates: Regularly update your signature to reflect any changes in your contact information, job title, or professional status.
Setting up an email signature on your iPhone is a straightforward process that can greatly enhance the appearance and professionalism of your emails. Whether for personal use or business correspondence, a well-crafted email signature ensures your messages are consistently branded and provide recipients with all necessary contact information.

