This tutorial will show you the steps for using WHM
WHM is your resellers control panel. The purpose of WHM is to give resellers the control they need to create hosting accounts, delete them, suspend them, upgrade them, and has several other tools to help manage the accounts. Every hosting account created in WHM has it’s own CPanel, an end user control panel
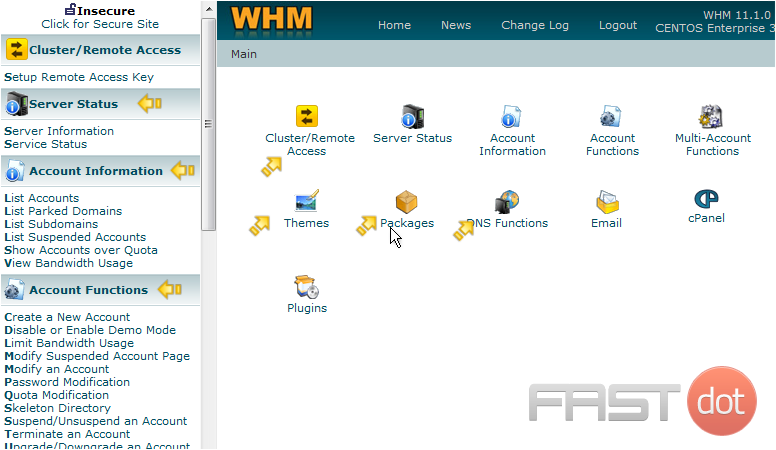
OK, let’s take a look around. In this center frame there are several icons we can click on, which correspond to headings in this left frame
Clicking on an icon will bring up sub-icons that correspond to all the tools available on the left
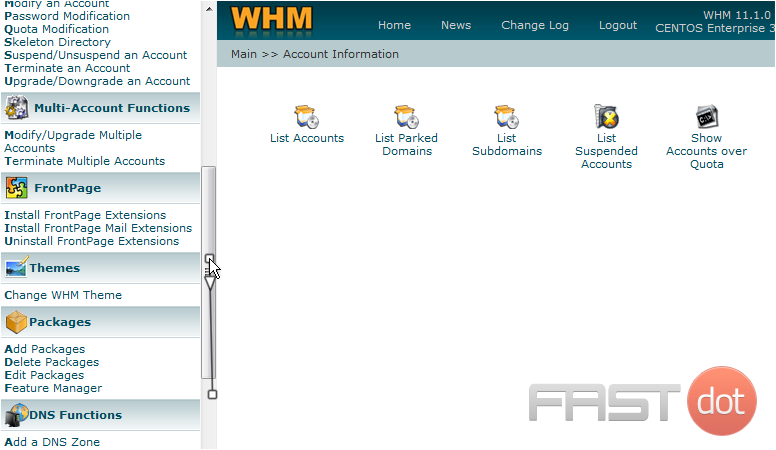
1) Click the Account Information icon
Here are the 5 tools available to use under Account Information. To access any of these tools, you can click on the corresponding icon in this frame. You can also click on the link here in this menu frame. You could have also done this from the WHM home page
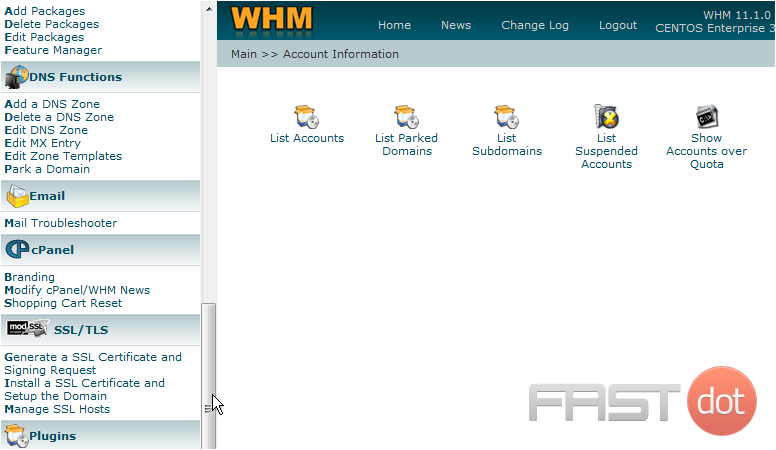
2) Scroll down here to see all the tools available in WHM
As you can see, there are dozens of tools available to you in WHM
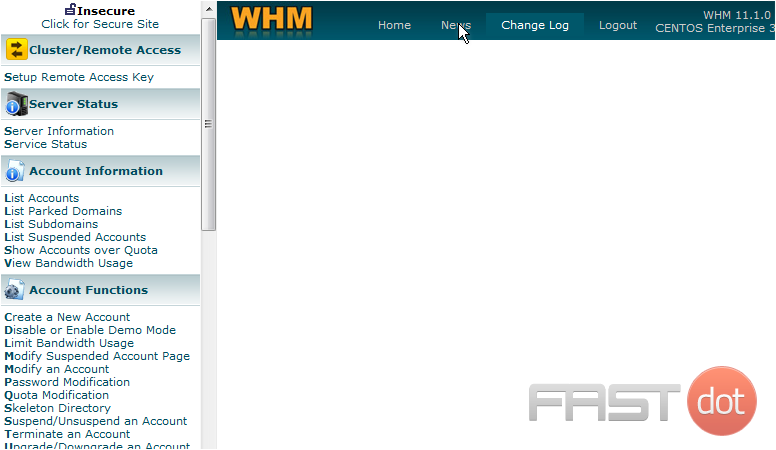
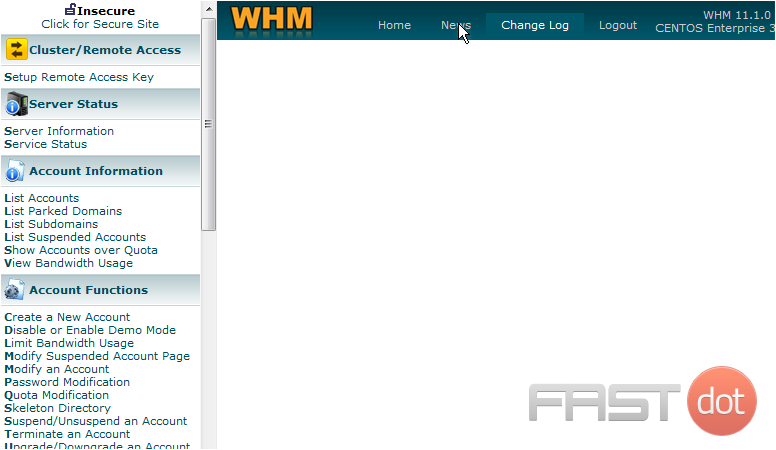
3) Click the News link
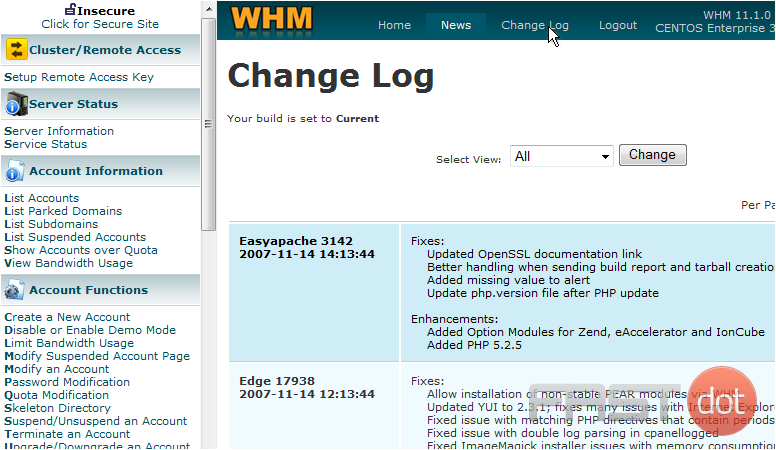
This page shows detailed information of your version of WHM, and historical information about when it was updated and what changes were made
This is where you would get news from your reseller plan provider, if they use this feature in WHM
4) Click the Change Log link
As you can see, there is no news displayed here
To logout of WHM, simply close your browser, or click the Logout link
This is the end of the tutorial. You should now be much more familiar with WHM, and how to navigate it’s pages. For more information on how to perform specific tasks, please refer to our other demos

