This demo assumes you’ve already logged in to cPanel
Now let’s learn how to setup email filters
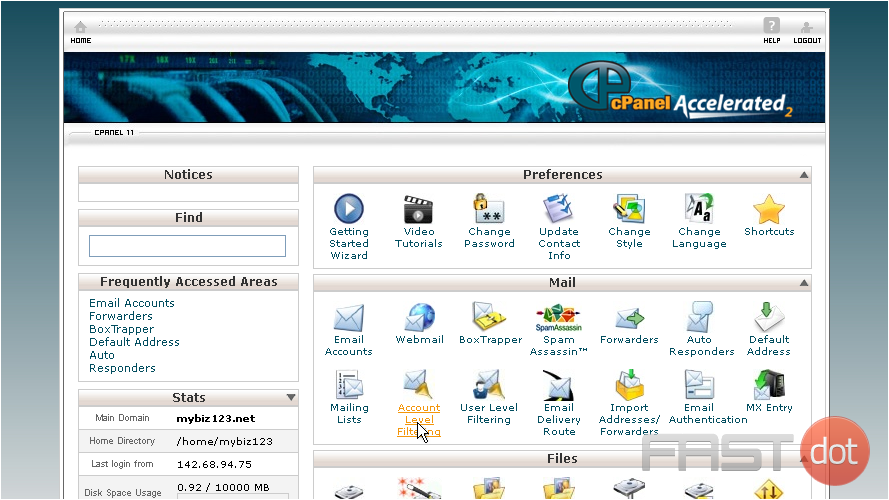
1) Click the Account Level Filtering icon
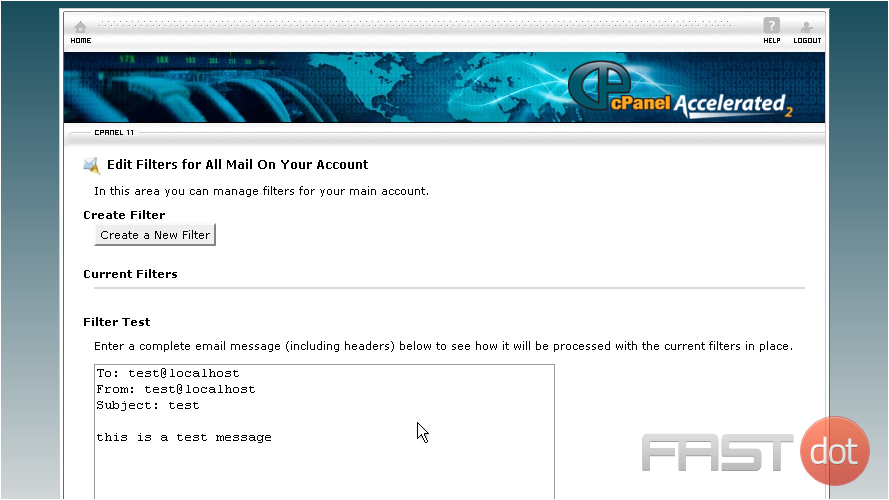
2) Then click Create a New Filter
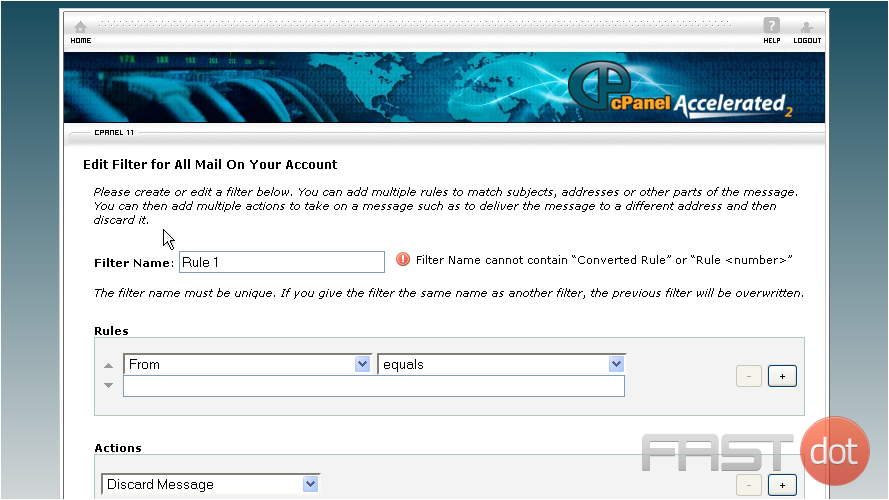
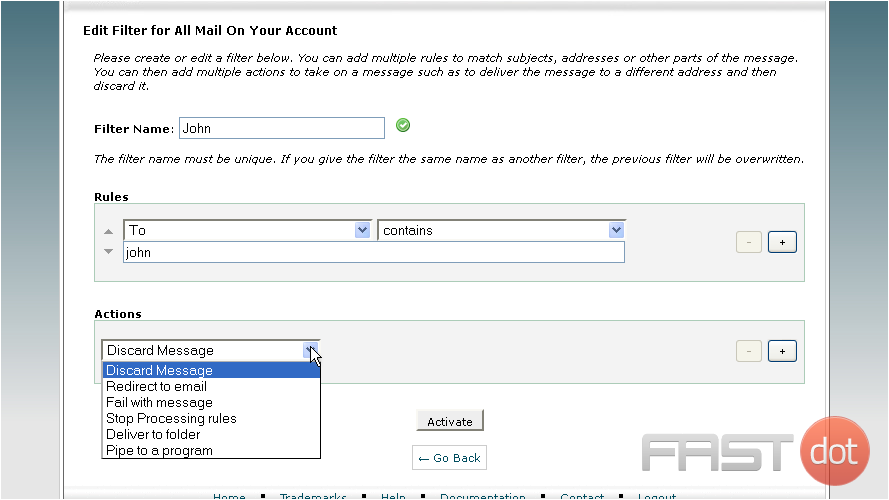
3) Enter a name for the filter here
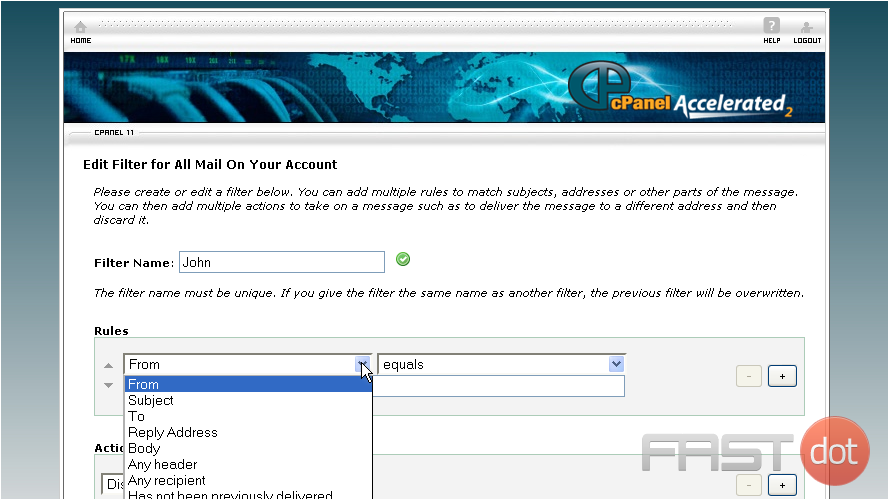
4) Then specify the rule
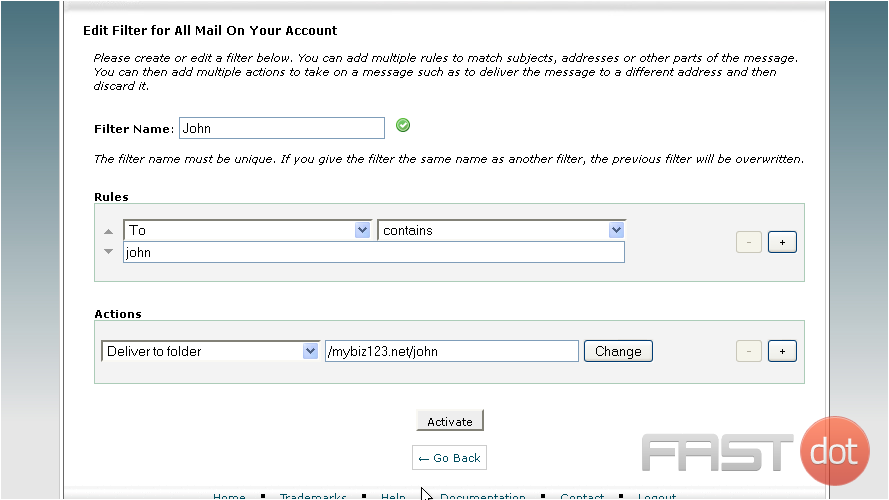
5) Now choose an action for when the TO field CONTAINS the text “john”
6) So in this case, the action is to deliver the email to the “john” folder. Click the Activate button
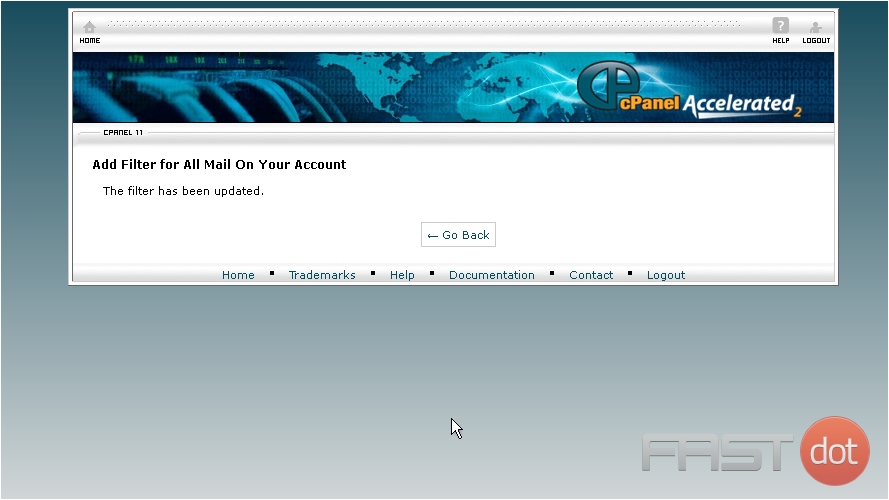
That’s it! The filter has been created
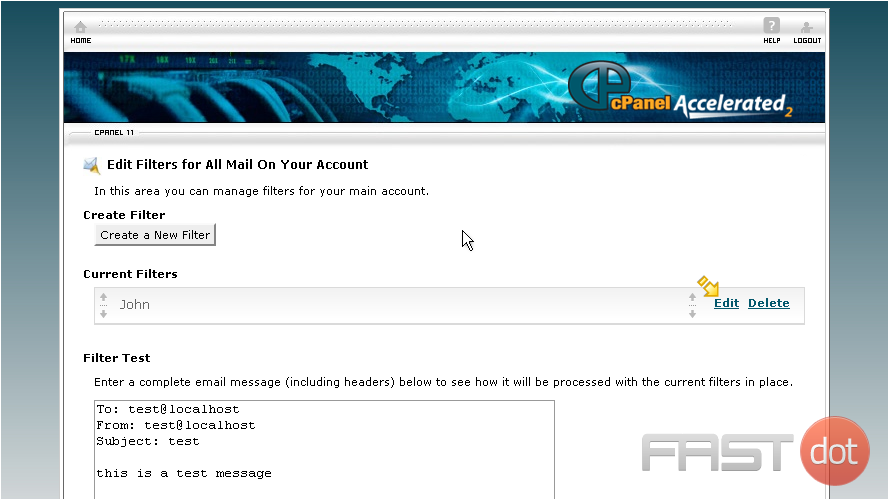
From here you can edit existing filters or Delete them
Setting up email filters in cPanel is a crucial task for managing your emails effectively, helping you to sort, prioritize, and even automate actions for incoming emails. Email filters can be used to deal with spam, organize emails into folders, or forward messages to other accounts based on specific criteria. Here’s how to set up email filters in cPanel:
Step 1: Access cPanel
First, log in to your cPanel account. You can usually do this by visiting your website’s URL followed by “/cpanel” (e.g., http://www.yourdomain.com/cpanel) or through the link provided by your hosting provider. Enter your cPanel username and password to log in.
Once logged into cPanel, scroll down or look for the “Email” section. This section groups together all email-related functionalities, including email accounts, forwarders, and filters.
Step 3: Click on “Email Filters”
Within the “Email” section, find and click on the “Email Filters” icon or link. This will take you to the page where you can manage email filters for each of your email accounts.
Step 4: Select the Email Account
You’ll see a list of your email accounts. Choose the account for which you want to create a filter by clicking on the “Manage Filters” button next to it. If you have multiple email accounts, make sure to select the correct one.
Step 5: Create a New Filter
On the “Filters for [Your Email Account]” page, click on the “Create a New Filter” button. This will take you to the filter creation interface.
Step 6: Define the Filter Criteria
In the filter creation interface, start by giving your filter a name in the “Filter Name” field. This should be something indicative of the filter’s function (e.g., “Spam Filter”, “Client Emails”).
Next, set up the rules for your filter:
- From the first dropdown menu, select the part of the email you want to check (e.g., “Subject”, “From”, “To”).
- From the second dropdown menu, choose the condition to be met (e.g., “contains”, “equals”, “matches regex”).
- In the text field next to it, enter the text or pattern that will trigger the filter.
Step 7: Define the Filter’s Actions
Below the criteria, specify what action to take when an email matches your criteria:
- Choose an action from the dropdown menu (e.g., “Discard Message”, “Redirect to Email”, “Deliver to Folder”).
- Specify any necessary details for the action, such as an email address for redirection or a folder name for delivery.
Step 8: Save the Filter
Once you’ve set up your criteria and action(s), click the “Create” or “Activate” button to save your filter. Your new filter will now be listed in the “Current Filters” section for the selected email account.
Additional Tips
- Testing: After creating a filter, send a test email that meets the filter’s criteria to ensure it works as expected.
- Order Matters: If you have multiple filters, they will be processed in the order they appear in the “Current Filters” list. You can change the order if necessary to ensure they work correctly together.
- Complex Filters: Use the “matches regex” condition for complex filtering needs. Regular expressions can create powerful filter conditions but require some knowledge of regex syntax.
Conclusion
Setting up email filters in cPanel is straightforward and can significantly improve your email management and productivity. By filtering spam, automatically sorting emails into folders, or forwarding important messages, you can keep your inbox organized and focus on the emails that matter most. Remember to periodically review and adjust your filters to ensure they continue to meet your needs.

