PuTTY is a versatile terminal emulator that allows users to customize various settings to improve their user experience. One useful customization is to start PuTTY in a maximized window by default. This guide will walk you through the steps to achieve this configuration.
Steps to Start PuTTY in a Maximized Window
- Open PuTTY:
Launch the PuTTY application by double-clicking on the PuTTY executable file (
putty.exe). - Navigate to Window Settings:
In the PuTTY Configuration window, navigate to the following category:
Window
- Adjust Window Size:
Under the “Set the size of the window” section, configure the following options:
- Columns: Set the number of columns to a high value (e.g.,
120). - Rows: Set the number of rows to a high value (e.g.,
40).
- Columns: Set the number of columns to a high value (e.g.,
- Enable Maximized Window:
In the left-hand menu, navigate to Behaviour under the “Window” category.
Check the box next to Initial window size and set the values for Columns and Rows as desired.
- Save the Configuration:
Return to the “Session” category.
In the “Saved Sessions” text box, type a name for this session (e.g.,
MaximizedSession) and click Save to save the settings.
Alternative Method: Creating a Shortcut to Start PuTTY Maximized
If you prefer to create a shortcut that starts PuTTY in a maximized window, follow these steps:
- Create a Shortcut:
Right-click on the PuTTY executable file (
putty.exe) and select Create shortcut. - Edit Shortcut Properties:
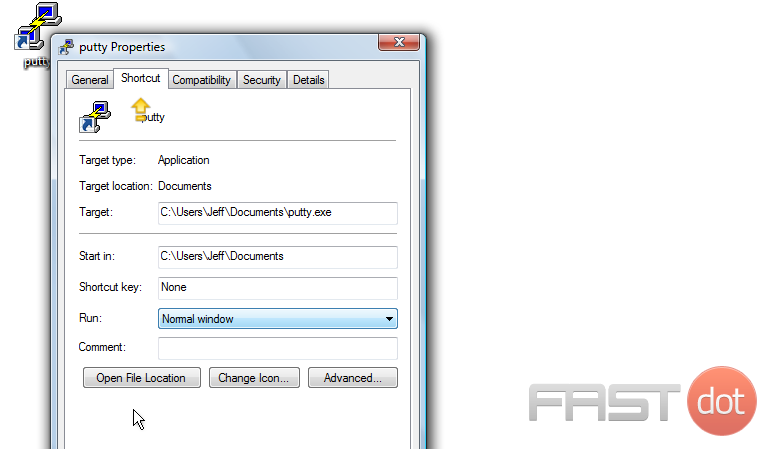
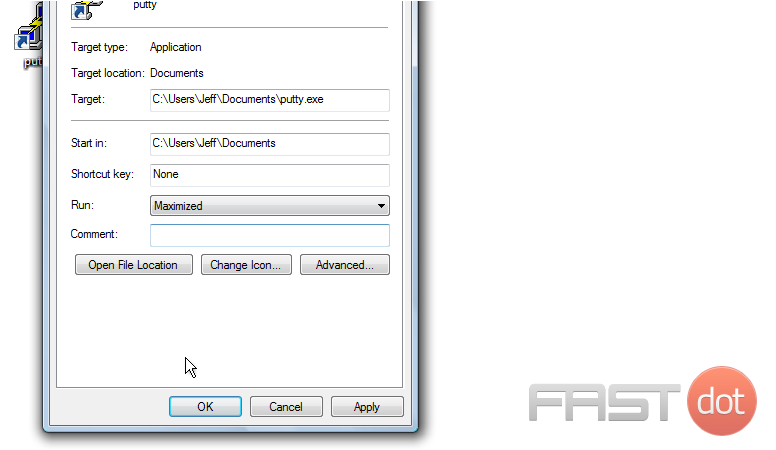
Right-click on the newly created shortcut and select Properties.
- Set Run Maximized:
In the Properties window, go to the Shortcut tab.
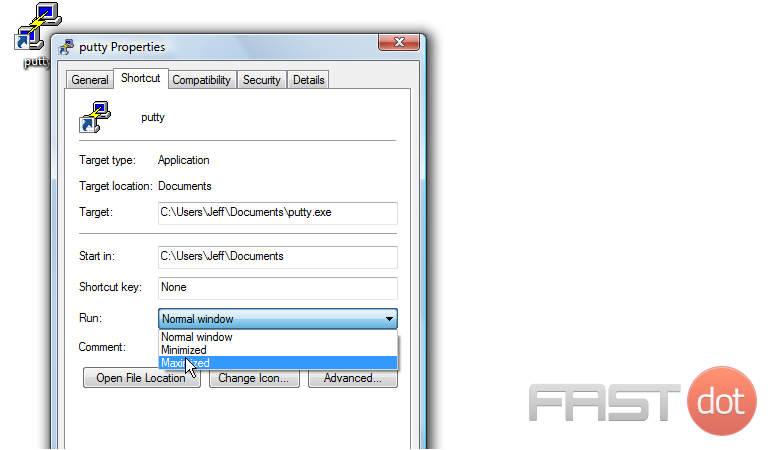
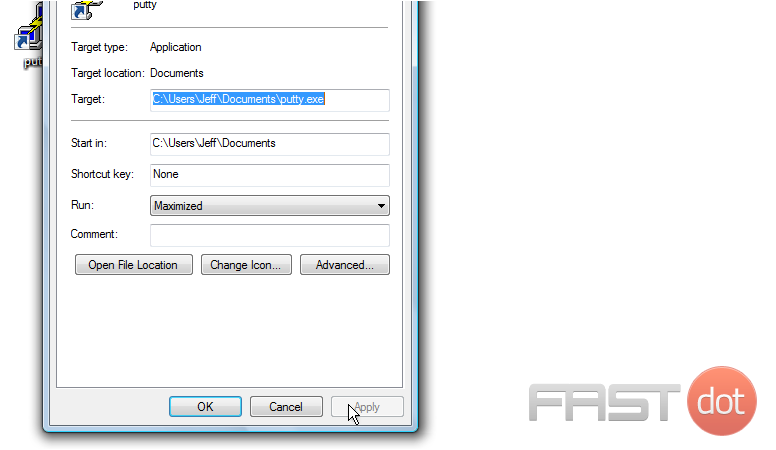
In the Run dropdown menu, select Maximized.
- Apply and Save:
Click Apply and then OK to save the changes.
Connecting with the Maximized Window Settings
- Open PuTTY:
Launch PuTTY by double-clicking the PuTTY executable file or the shortcut created.
- Load the Saved Session:
In the PuTTY Configuration window, under the “Session” category, select the saved session name (e.g.,
MaximizedSession) from the list.Click Load to load the session settings.
- Connect to the Server:
Click Open to initiate the SSH connection using the saved settings, including the maximized window configuration.
Conclusion
Starting PuTTY in a maximized window can enhance your user experience by providing more screen real estate for terminal activities. By following the steps outlined in this guide, you can easily configure PuTTY to start in a maximized window either by saving the session settings or creating a shortcut with the maximized window property.
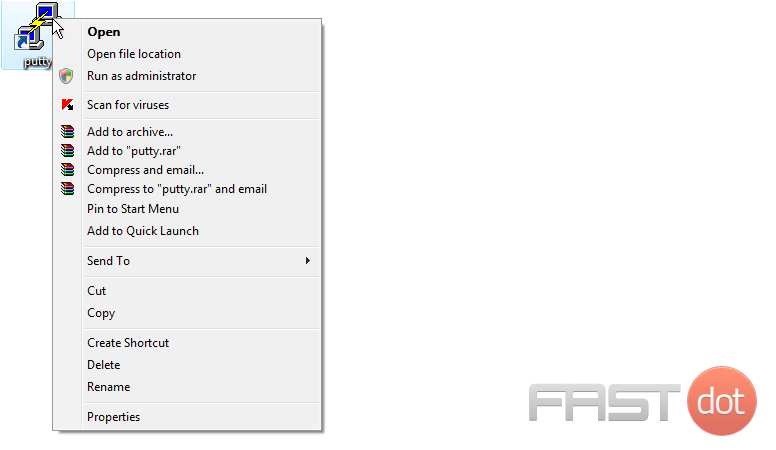
This tutorial assumes you have located PuTTY, and starts from your desktop
Now let’s learn how to start Putty “maximized” so the command line window is as large as possibe
1) Right click the PuTTY icon

2) Then click Properties
3) Once the Properties window is open, be sure the Shortcut tab is selected
4) Click Normal Window
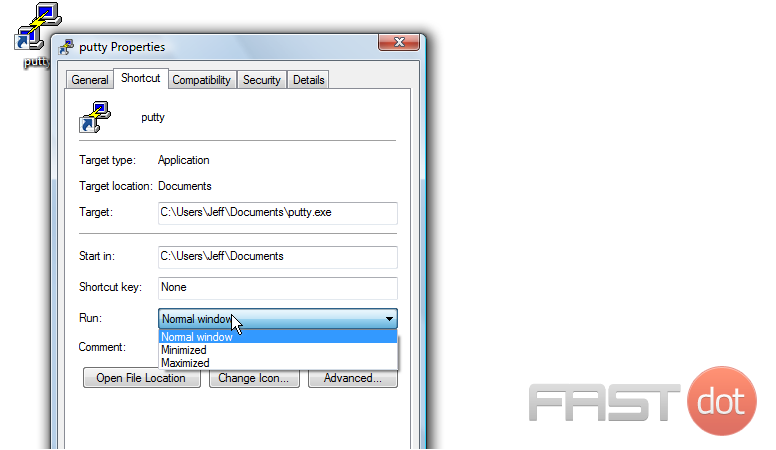
5) Then select Maximized
6) Click Apply
7) Then click OK
This is the end of the tutorial. You now know how to configure PuTTY so it launches in a maximized window