Introduction
- 1 Introduction
- 2 Built-in SEO Tools
- 3 Custom Post Types
- 4 Advanced Media Management
- 5 Built-in User Roles and Permissions
- 6 WordPress Shortcodes
- 7 Widgets and Sidebars
- 8 Hidden Settings in the Customizer
- 9 Frequently Asked Questions
- 9.1 What are some hidden WordPress features that I may not know about?
- 9.2 How can I schedule blog posts in WordPress?
- 9.3 Are there any keyboard shortcuts I can use in WordPress?
- 9.4 How can I customize my WordPress dashboard with widgets?
- 9.5 Is it possible to create custom post types in WordPress?
- 9.6 Can I use shortcodes in WordPress to add functionality to my website?
- 9.7 Get Started with WordPress Hosting Today
Unlock the full potential of your WordPress site by discovering its hidden features that you’re probably not using. From the versatile Screen Options menu to the often-overlooked Help button, these tools can enhance your experience in the Dashboard and improve your workflow. Dive into the world of Dashboard Widgets and more, and learn how these hidden gems can streamline your Media Library management and elevate your website’s functionality.
Overview of WordPress
WordPress, launched in 2003, has developed into a robust platform with a comprehensive ecosystem of themes and plugins that cater to a wide variety of website needs.
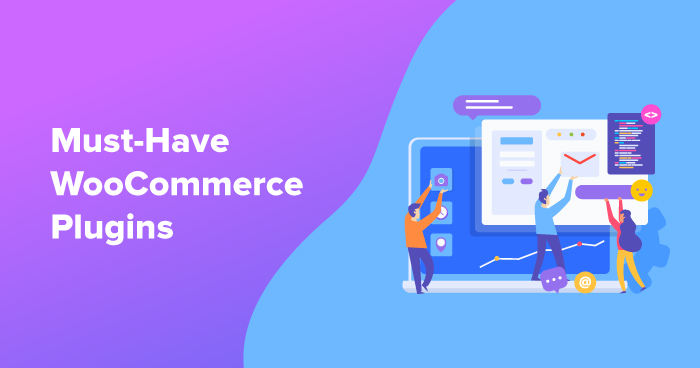
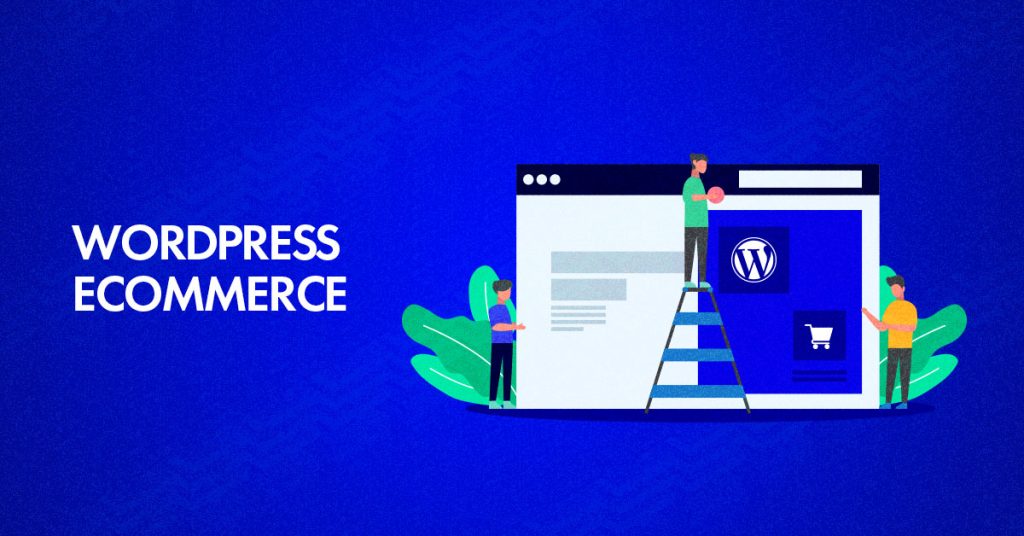
The platform currently features over 58,000 plugins in the official WordPress Plugin Directory, enabling users to customize functionality with ease. Notable plugins such as Yoast SEO enhance search engine visibility, while WooCommerce allows a standard website to be transformed into a fully operational e-commerce store.
Themes further contribute to design flexibility; for example, Astra provides performance-optimized environments, and Divi offers a user-friendly drag-and-drop interface. This extensive array of options facilitates the creation of customized websites that effectively meet specific objectives, whether for blogging or business purposes.
Importance of Exploring Hidden Features
While many users possess a fundamental understanding of core WordPress functionalities, discovering hidden features can significantly enhance website management and user engagement.
Two particularly noteworthy features that can improve productivity are Dashboard Widgets and the Distraction-Free Writing Mode.
Dashboard Widgets offer immediate insights into the site’s performance, enabling users to monitor statistics such as post views and comment activity at a glance. In contrast, the Distraction-Free Writing Mode allows writers to concentrate exclusively on content creation by removing unnecessary clutter from the interface.
Users have reported an increase in their post output by as much as 30% after implementing these features, facilitating a more consistent publishing schedule and enhancing engagement with their audience effectively.
Built-in SEO Tools
WordPress provides integrated SEO tools that assist users in optimizing their content for search engines, thereby improving visibility and increasing traffic.
Using the Site Health Tool
The Site Health Tool, available through the Dashboard, offers users essential performance metrics and security assessments to optimize their WordPress site.
To access the Site Health Tool, navigate to the ‘Tools’ section in your WordPress Dashboard and select ‘Site Health.’
In this section, users will encounter critical metrics that encompass site performance, security status, and tailored recommendations for enhancements. It is advisable to prioritize issues categorized as ‘Critical’ or ‘Recommended.’
For example, if a warning appears regarding outdated plugins, it is important to update them directly from the ‘Plugins’ section.
To enhance performance, it is recommended to improve the site’s loading speed, targeting a duration of less than 2 seconds, by utilizing optimization plugins such as Smush or ShortPixel for image management.
Optimizing Permalinks
Optimizing permalinks can significantly improve a website’s SEO by creating URLs that are more readable and keyword-rich, thereby enhancing click-through rates.
To modify permalink settings in WordPress, one should access the dashboard, select ‘Settings,’ and then navigate to ‘Permalinks.’ It is advisable to choose a structure that incorporates relevant keywords, such as ‘Post name,’ to generate URLs that accurately reflect the content. Additionally, it is prudent to avoid using dates in URLs to maintain their relevance over time.
After making these updates, it is beneficial to utilize tools such as Yoast SEO to assess the effectiveness of the new permalink structure, ensuring that it positively impacts search engine visibility.
Custom Post Types
Custom post types enable WordPress users to develop structured content that extends beyond the standard posts and pages. This functionality enhances content organization and improves the overall user experience.
What Are Custom Post Types?
Custom post types significantly extend the functionality of WordPress by enabling users to create specialized content types, such as portfolios, testimonials, and more. These post types can greatly enhance the capabilities of a website.
For example, a restaurant may create a custom post type specifically for its menu, thereby facilitating the straightforward addition of dishes, prices, and descriptions. Similarly, an e-commerce site could implement a custom product catalog to incorporate specific fields such as SKU and inventory status.
Utilizing plugins like Custom Post Type UI or Advanced Custom Fields simplifies this process, making it user-friendly and highly customizable. This approach allows businesses to present their content in a manner that aligns with their specific requirements and preferences.
How to Create Custom Post Types
Creating custom post types in WordPress necessitates the addition of specific code to the theme’s functions.php file, thereby facilitating unique content structures.
To register a new post type, the following code snippet should be added to functions.php:
function create_custom_post_type() { register_post_type('product', array( 'labels' => array( 'name' => __('Products'), 'singular_name' => __('Product') ), 'public' => true, 'has_archive' => true, 'supports' => array('title', 'editor', 'thumbnail') )); } add_action('init', 'create_custom_post_type');Alternatively, for those who may not be comfortable with coding, the Custom Post Type UI plugin is an excellent option. This user-friendly tool enables users to create and manage custom post types without the need for coding.
By simply installing the plugin and following the guided setup, users can easily define post types and taxonomies to align with their specific requirements.
Advanced Media Management
Effective media management in WordPress requires the utilization of the Media Library and its advanced features to optimize images and videos for the website.
Using the Media Library Effectively
The WordPress Media Library is frequently underutilized, despite offering users essential tools for efficient media organization and optimization.
To effectively organize the media library, it is advisable to establish specific categories that accurately represent the types of content utilized, such as `Blog Images,’ `Product Photos,’ and `Infographics.’ Additionally, utilizing tags can provide further context, facilitating the retrieval of related items in the future.
For image optimization for web use, employing tools such as Smush is recommended. This tool, available in both free and paid versions, compresses images to enhance loading times.
The implementation of these strategies can substantially improve a website’s performance and enhance the overall user experience.
Image Editing Features
WordPress includes a fundamental image editor that enables users to perform essential edits without the necessity of third-party software, thereby streamlining the content creation process.
To effectively utilize the WordPress Image Editor, users should navigate to the Media Library and select the image they wish to edit. From this point, users can perform simple tasks such as cropping, rotating, and resizing images to align with the aesthetic of their blog.
It is essential to manage default image sizes; these settings can be adjusted in the Media Settings to ensure visual consistency across posts. For instance, if your theme specifies that featured images should be 800×400 pixels, it is advisable to adjust your default size accordingly.
Consistent image presentation not only enhances the professionalism of your site but also improves user engagement.
Built-in User Roles and Permissions
The built-in user roles and permissions in WordPress enable site owners to efficiently manage user access and capabilities, thereby enhancing site security and improving workflow.
Understanding User Roles
WordPress encompasses six primary user roles: Administrator, Editor, Author, Contributor, Subscriber, and Shop Manager, each possessing distinct capabilities.
Administrators hold complete control over the site, enabling them to manage site settings, themes, and plugins. Editors are responsible for publishing and managing posts, making them well-suited for site management tasks.
Authors are permitted to write and manage their own posts but do not have the authority to publish the work of others, rendering them ideal for frequent content producers. Contributors can draft posts but lack publishing rights, making them valuable for collaborative projects.
Subscribers have the ability to manage their profiles only, which is particularly suitable for membership sites. Shop Managers, a role specific to WooCommerce, efficiently handle product management and order processing, thereby streamlining e-commerce operations.
By assigning these roles according to your team’s capabilities, you can significantly enhance workflow and organization.
Customizing User Permissions
Customizing user permissions in WordPress can be effectively accomplished through the use of plugins such as User Role Editor, which provides site owners with granular control over access.
To utilize User Role Editor efficiently, one should first install the plugin from the WordPress repository and then navigate to Users> User Role Editor.
Within this interface, it is possible to create custom roles or modify existing ones by adjusting the capabilities through checkboxes. For instance, a role designated as `Content Contributor’ may be configured to allow editing of their own posts while restricting the ability to delete published content.
This approach not only enhances security but also streamlines workflows, particularly in agency environments where various team members are responsible for specific tasks without unnecessary access privileges.
WordPress Shortcodes
Shortcodes represent a robust feature of WordPress that enables users to seamlessly embed complex elements into posts and pages through the use of simple tags.
What Are Shortcodes?
Shortcodes are concise snippets of code enclosed in square brackets that facilitate the seamless addition of dynamic content to posts and pages. For instance, the
shortcode enables users to display a collection of images with ease.
Users can simply upload their images to the Media Library and utilize the shortcode with specific IDs to present them effectively.
Similarly, the
shortcode allows for the direct embedding of audio files into posts, thereby enhancing user engagement through the integration of multimedia elements without requiring extensive coding knowledge.
Shortcodes significantly streamline the process of incorporating interactive features, give the power toing individuals with limited coding experience to create a more engaging user experience.
Creating Custom Shortcodes
Creating custom shortcodes in WordPress entails adding a function to the functions.php file, which give the power tos users to further personalize their content.
To implement a shortcode, one would include the following code in the functions.php file:
php function my_custom_shortcode() { return 'Hello, this is my custom shortcode!'; } add_shortcode('my_shortcode', 'my_custom_shortcode');Following this, the shortcode `[my_shortcode]` can be utilized within posts. Common applications of shortcodes include:
- Displaying special announcements
- Integrating third-party widgets
- Embedding galleries
For example, a shortcode could be developed to showcase recent posts from an external service such as Instagram, thereby enhancing the interactivity of the website. These straightforward enhancements can substantially increase user engagement.
Widgets and Sidebars
Widgets and sidebars in WordPress enhance the customization and functionality of a website, facilitating the dynamic display of content.
Using Custom Widgets
Custom widgets can be developed using plugins or custom code, providing site owners the capability to customize the sidebar experience in alignment with their branding and content strategy.
To create effective custom widgets, it is advisable to consider plugins such as Custom Widget Shortcode, which facilitates the construction of widgets without requiring coding expertise.
For example, one might design a ‘Recent Posts’ widget to display the latest articles on a blog, thereby enhancing user engagement. In the case of an e-commerce site, implementing a ‘Featured Products’ widget could effectively highlight best-selling items, ultimately driving sales. Additionally, for portfolio websites, a ‘Client Testimonials’ widget may serve to enhance credibility.
It is important to invest time in experimenting with different widget placements and types, as these factors can significantly influence user experience and site functionality.
Managing Sidebar Layouts
Managing sidebar layouts in WordPress is essential for maintaining an organized appearance and enhancing user navigation throughout the site.
To effectively manage sidebar layouts, it is advisable to utilize the WordPress Customizer. Begin by determining the primary focus of your content: for instance, a blog may prioritize showcasing recent posts, while an e-commerce site might emphasize product categories.
Additionally, it is important to consider user behavior; most users prefer a clean layout that allows for easy access to essential information. Organize your widgets accordingly: for example, positioning a search bar at the top, followed by categories and recent posts, can significantly streamline navigation.
Regularly reviewing analytics is crucial for adjusting your layout based on user engagement patterns, thereby ensuring an optimized experience.
Hidden Settings in the Customizer
The WordPress Customizer provides advanced settings that can greatly improve both the appearance and functionality of a website when employed appropriately.
Exploring Additional Customizer Options
Beyond the basic settings, additional Customizer options enable a more comprehensive customization of your theme’s appearance and layout. Utilizing tools such as menus and background settings can significantly enhance the aesthetic of your website.
For instance, creating custom menus allows for seamless navigation, guiding visitors through your pages with ease.
In the background settings, incorporating a unique image or color can instantly transform the ambiance of your site. A gradient background may convey a modern appeal, while a subtle texture can add depth and sophistication.
By thoroughly exploring these options, it is possible to develop a visually striking and user-friendly website that effectively resonates with your target audience.
Using Custom CSS
Utilizing custom CSS in WordPress enables users to override theme styles and customize the appearance of their website without the need for extensive coding. To increase the heading size, one might use the following style: h1 { font-size: 2.5em; }. It is imperative to preview changes prior to publishing to ensure a cohesive design and to enhance the overall aesthetics of the site.
To add custom CSS, users should navigate to Appearance> Customize in the WordPress dashboard, then select ‘Additional CSS.’ Within this section, users can insert their custom styles. Common modifications may involve adjusting font sizes, changing background colors, or altering button styles.
For instance, to modify the primary button color, the following code can be applied: button { background-color: #ff5733; }. Ensuring that all changes are previewed before publication is crucial for maintaining a cohesive design and effectively improving site aesthetics.
Frequently Asked Questions
Some hidden WordPress features that you may not know about include the ability to schedule blog posts, use keyboard shortcuts, and customize your dashboard with widgets.
How can I schedule blog posts in WordPress?
To schedule a blog post in WordPress, simply click on the “Publish” button and select the date and time you want the post to go live. This is useful for planning ahead and staying consistent with your blog posts.
Are there any keyboard shortcuts I can use in WordPress?
Yes, there are several keyboard shortcuts you can use in WordPress to save time and make your workflow more efficient. For example, you can use “Ctrl + S” to save a draft, “Ctrl + Z” to undo an action, and “Ctrl + C” to copy text.
How can I customize my WordPress dashboard with widgets?
To customize your WordPress dashboard with widgets, click on the “Screen Options” button at the top right of the dashboard. From there, you can select which widgets to display and rearrange them to fit your needs.
Is it possible to create custom post types in WordPress?
Yes, WordPress allows you to create custom post types for different types of content on your website. This can be useful for organizing your content and creating specific templates for different types of posts.
Can I use shortcodes in WordPress to add functionality to my website?
Yes, shortcodes are a powerful feature in WordPress that allow you to add various types of content and functionality to your website without any coding knowledge. Simply add the shortcode to your post or page and the content will be generated automatically.