In today’s digital landscape, personalizing your WordPress site without touching a single line of code is not just possible-it’s easier than ever. With the power of Gutenberg and block themes like Astra, no-code site editing allows you to create stunning page templates that reflect your unique brand. This article will guide you through simple yet effective strategies to enhance your website’s aesthetics and functionality, ensuring a tailored experience for every visitor.
Importance of Personalization
- 1 Choosing the Right Theme
- 2 Using WordPress Customizer
- 3 Plugins for Personalization
- 4 Creating Unique Content
- 5 Enhancing User Experience
- 6 Testing and Feedback
- 7 Frequently Asked Questions
- 7.1 What are some ways to personalise my WordPress site without coding?
- 7.2 Can I change the layout of my site without coding?
- 7.3 Is it possible to add custom fonts to my site without coding?
- 7.4 What about adding custom colors and graphics?
- 7.5 Is it difficult to personalise my site without coding experience?
- 7.6 Can I make my site look unique without writing any code?
- 7.7 Get Started with WordPress Hosting Today
Personalization significantly enhances user engagement, potentially increasing it by up to 50%, which in turn makes a website more relevant and drives higher conversion rates. For example, a case study conducted on Amazon indicated that personalized recommendations contributed to 35% of their total sales.
To implement personalization effectively, it is advisable to utilize tools such as HubSpot for targeted email marketing or Optimizely for website A/B testing.
The process should begin with segmenting the audience based on behavior or demographics, followed by delivering relevant content tailored to each segment. By continuously refining the approach through systematic testing, organizations can substantially improve the user experience and cultivate a loyal customer base.
Benefits of No-Code Customization
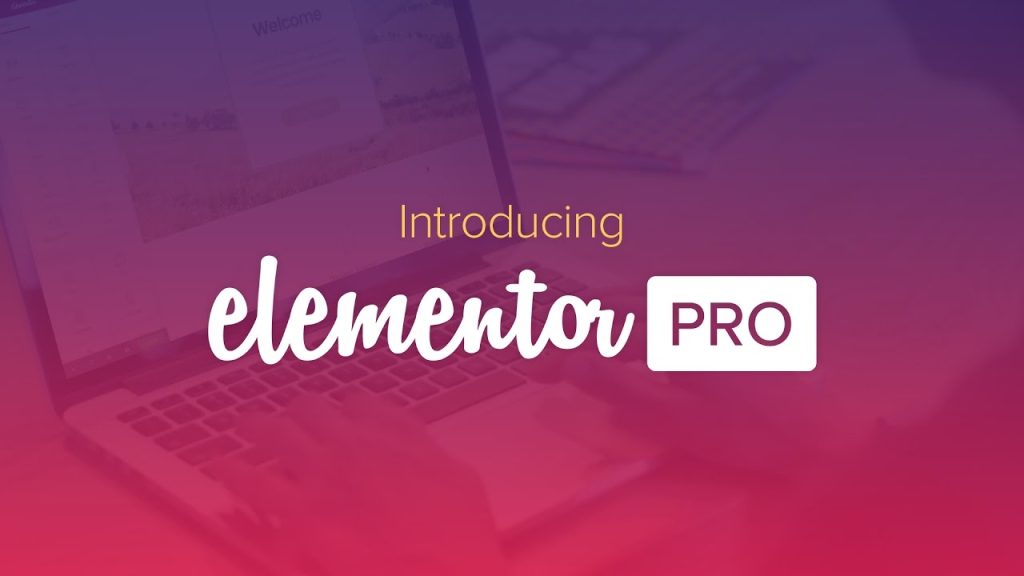
No-code customization tools such as Elementor and Astra enable users to modify their WordPress sites without requiring technical expertise. These platforms provide a user-friendly drag-and-drop interface, facilitating the rapid creation of visually appealing pages.
For example, with Elementor, beginners can design landing pages by utilizing pre-designed templates, accomplishing the task with just a few clicks. Astra further enhances this capability by offering customizable options for headers and footers, which significantly contributes to effective site branding.
User testimonials frequently emphasize the reduced deployment times, with numerous non-technical users reporting that they successfully launched their sites within days rather than weeks. This level of agility democratizes web design, enabling individuals to create professional-looking websites without the necessity of writing any code.
Choosing the Right Theme
Selecting the appropriate theme is fundamental to effective WordPress personalization, as it significantly influences both aesthetics and functionality.
Exploring Free vs. Premium Themes
While free themes may present an attractive option, premium themes typically offer superior features, support, and customization options that are specifically tailored to meet diverse needs.
When evaluating free and premium themes, it is essential to consider various factors including design flexibility, support availability, and overall functionality. Free themes, such as Astra, provide basic layouts and community support, making them suitable for personal blogs.
In contrast, premium themes such as GeneratePress or Divi offer extensive customization options, enhanced security features, and dedicated customer service. Additionally, premium themes often include built-in SEO optimizations, which can significantly improve a website’s visibility.
Ultimately, the decision should be based on the specific requirements of the project; for instance, a business website may derive greater benefits from a premium theme due to its robust features.
Responsive Design Considerations
A responsive design is essential for ensuring that a WordPress site operates effectively across all devices, thereby enhancing user experiences and improving SEO rankings.
To achieve an effective responsive design, it is advisable to adopt a mobile-first approach, placing priority on the mobile interface during the design process.
Employ tools such as Google’s Mobile-Friendly Test to assess the performance of your site on mobile devices. When selecting themes, consider options like Astra and GeneratePress, which automatically adjust layouts and are optimized for various screen sizes.
Additionally, regularly implementing CSS media queries is crucial for fine-tuning styles across different devices, ensuring that images and text resize appropriately. These techniques will facilitate a seamless experience for users, whether they are browsing on a smartphone or a desktop computer.
Using WordPress Customizer
The WordPress Customizer enables users to implement real-time modifications to the appearance of their site, providing a preview of changes prior to finalizing any adjustments.
Accessing the Customizer
To access the WordPress Customizer, please navigate to Appearance> Customize within your WordPress dashboard, which will allow for immediate editing capabilities.
Upon entering the Customizer, various sections will be visible, including Site Identity, Colors, and Menus. Below are three actionable steps to enhance your website:
- Site Identity: Upload your logo and establish your site title and tagline to strengthen your branding.
- Colors: Select a color scheme that aligns with your brand identity; utilizing tools such as Adobe Color can provide valuable palette inspiration.
- Menus: Organize your site’s navigation by adding or rearranging the pages you wish for visitors to easily access.
It is advisable to make frequent use of the preview feature to observe changes in real time.
Site Identity Settings
The Site Identity settings provide users with the ability to configure essential elements such as the site title, tagline, and logo, which are critical for establishing brand recognition.
To effectively set up your site identity, it is advisable to begin by uploading a high-quality logo, ideally 250 pixels wide and in PNG format, to ensure clarity and professionalism.
Subsequently, it is important to craft a compelling tagline that succinctly captures the essence of your brand, aiming for a maximum of 60 characters for brevity.
Additionally, it is crucial to preview your changes across various devices to ensure consistency and a cohesive appearance, thereby enhancing your brand’s professional image.
Regularly revisiting these settings will help maintain alignment with any changes in your business direction.
Color and Background Options
Customizing colors and backgrounds can significantly enhance the aesthetic appeal of your website and align it with your brand’s identity. To begin this process, access the Customizer within your WordPress admin dashboard.
From there, select ‘Colors & Backgrounds’ to explore various color schemes.
Utilizing tools such as Adobe Color can assist in creating a harmonious palette by selecting complementary colors. For instance, if your primary color is blue, incorporating accents in orange or yellow can introduce visual interest.
It is advisable to test backgrounds by adjusting transparency or patterns to ensure optimal text readability. Additionally, be sure to preview changes in real-time to assess their impact on the overall design.
Menu Management
Effective menu management is essential for streamlining site navigation, thereby facilitating users in locating content and enhancing the overall user experience. To create and manage menus within the Customizer, please follow the steps outlined below.
- Begin by accessing the WordPress dashboard, then navigate to Appearance> Menus.
- In this section, you can create a new menu by assigning it a name and clicking on ‘Create Menu.’
- Subsequently, add items by selecting pages, posts, or custom links from the left pane and clicking ‘Add to Menu.’
- Organize the order of the items by dragging and dropping them as needed.
- For optimal usability, it is advisable to group related items together and limit top-level categories to approximately five.
- Finally, assign the menu location, save your changes, and preview the menu to ensure clarity and coherence.
Widget Areas Customization
Customizing widget areas facilitates the enhancement of content presentation, providing additional functionalities such as recent posts or social media feeds.
To add and manage widgets, one should navigate to the Customizer within the WordPress dashboard. The process is straightforward, as widgets can be easily dragged and dropped into designated areas.
Effective use cases for widgets include placing a ‘Recent Posts’ widget in the sidebar, which helps maintain reader engagement, or incorporating a ‘Social Media Links’ widget to connect audiences with associated accounts.
Recommended widgets based on site types are as follows:
- ‘Testimonials’ for personal blogs,
- ‘Search’ for e-commerce sites,
- ‘Categories’ for news portals.
By experimenting with these widgets, website owners can create a more interactive user experience.
Plugins for Personalization
WordPress plugins enhance website functionality, allowing for greater customization and improved user experiences without the necessity of programming skills.
Popular Personalization Plugins
Plugins such as Elementor, WooCommerce, and Gravity Forms are vital for enhancing website functionality and user engagement.
To further personalize user experiences, the following five personalization plugins are recommended:
- OptinMonster ($19/mo): This plugin is ideal for creating targeted popups and forms based on user behavior, thereby helping with increasing conversion rates.
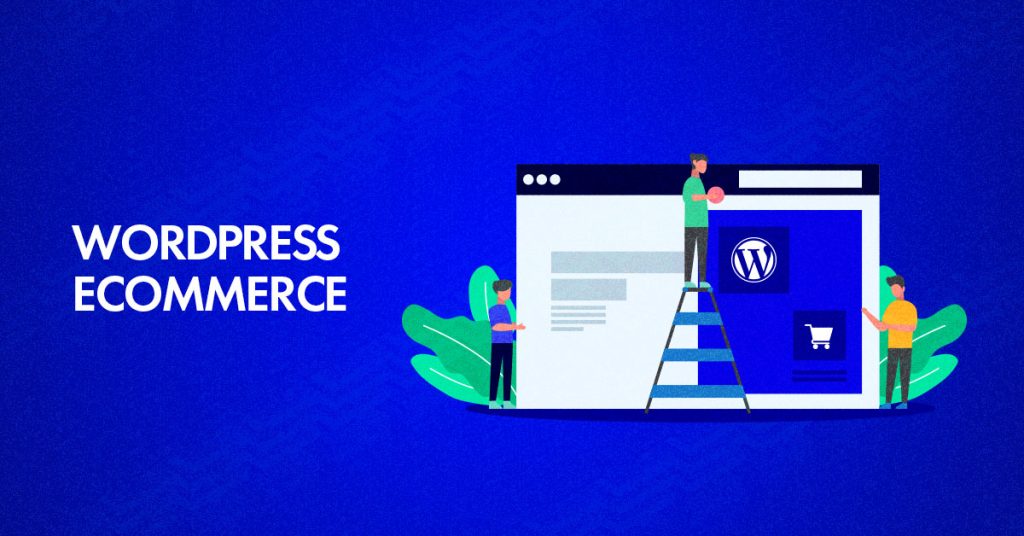
- WooCommerce Dynamic Pricing & Discounts ($49): This is particularly beneficial for e-commerce websites seeking to implement flexible pricing strategies tailored to various user segments.
- PeraCard ($39): This plugin effectively displays personalized content to returning visitors, significantly enhancing engagement levels.
- YITH WooCommerce Compare ($69): This tool allows customers to compare products, thereby personalizing their shopping experience.
- Elementor Customizer ($29): This can be utilized to create personalized landing pages based on user data.
Most of these plugins integrate seamlessly with others, facilitating a smooth enhancement of website features.
How to Install Plugins Easily
The process of installing plugins through the WordPress dashboard is efficient and user-friendly, allowing individuals to enhance their websites within minutes.
To install a plugin, one should navigate to the WordPress dashboard, select ‘Plugins,’ and then click on ‘Add New.’
- After performing a search for the desired plugin, the user can click ‘Install Now.’
- Upon successful installation, it is necessary to activate the plugin.
- For custom plugins, the user should go to ‘Plugins’> ‘Add New’> ‘Upload Plugin’ and select the appropriate file.
- Following the upload, activation of the plugin is also required.
In case of any issues, it is advisable to verify the compatibility of the plugin with the current version of WordPress and to check for any potential conflicts with existing plugins. Additionally, clearing the browser cache may often resolve loading problems.
Customizing with Page Builders
Page builders, such as Elementor and WPBakery, provide users with the capability to create highly customized pages through drag-and-drop functionality.
Elementor is distinguished by its intuitive interface, which allows for real-time editing and offers a wide array of free templates, making it particularly suitable for beginners. In contrast, WPBakery provides a more comprehensive library of add-ons and predefined layouts, appealing to advanced users who require deeper customization options.
Effective web pages frequently incorporate unique features; for instance, Elementor is utilized by websites like Airi for its dynamic sections, while WPBakery is employed to enhance the creative designs of sites such as MediaBox.
The selection of the appropriate tool is contingent upon the user’s familiarity with the platform and the complexity of their design requirements.
Creating Unique Content
The creation of unique content is essential for engaging users and enhancing SEO rankings, thereby distinguishing your site from competitors.
Using Custom Post Types
Custom post types enable the creation of specialized content formats, thereby enhancing the organization and user experience of your website.
To create custom post types in WordPress, one may utilize the Custom Post Type UI plugin, which simplifies the process for individuals who are new to this functionality. After installing the plugin, users should navigate to ‘CPT UI’ within the dashboard and select ‘Add/Edit Post Types.’ This section allows for the definition of various attributes, including the post type’s name, labels, and settings.
For those who prefer a coding approach, the following snippet can be added to the theme’s functions.php file:
register_post_type( 'your_post_type', array( 'labels' => $labels, 'public' => true, 'has_archive' => true, ) );This method provides greater customization options for advanced users.
Personalized Blog Posts and Pages
Personalized blog posts that are tailored to the interests of your audience can significantly enhance engagement and encourage repeat visits.
To create personalized content, it is essential to begin with a thorough audience analysis. Utilize tools such as Google Analytics to assess demographics and interests, or conduct surveys to collect direct feedback from your audience.
Once a clear understanding of your audience is established, it is important to craft posts that directly address their specific challenges or goals. For instance, if your analytics indicate that a majority of your readers are small business owners, consider developing a series focused on effective marketing strategies specifically designed for them.
Incorporate calls-to-action that resonate with your target niche; for example, inviting local business owners to share their experiences can foster community engagement and enhance loyalty.
Enhancing User Experience
Enhancing user experience entails the integration of features that promote interaction and engagement on your website.
Implementing Contact Forms
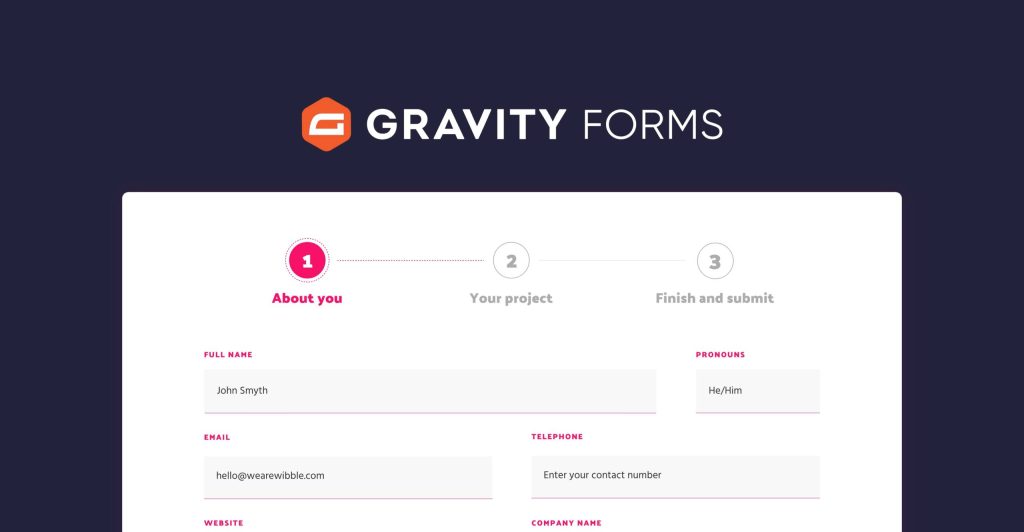
Implementing contact forms through plugins such as Gravity Forms or WPForms can enhance user interactions and facilitate the collection of feedback on your website.
To add a contact form, begin by installing the selected plugin. For Gravity Forms, once activated, proceed to Forms> New Form to create a customized layout. You can utilize the drag-and-drop feature to include fields such as name, email, and message. Likewise, WPForms provides an intuitive builder accessible under WPForms> Add New.
It is important to customize the appearance of your form and ensure that it is responsive, allowing it to display effectively across all devices. After setting up the form, conduct tests to verify that submissions are being received correctly, making any necessary adjustments to enhance the user experience.
Using Social Media Integration
Integrating social media sharing tools is essential for enhancing user engagement and extending content reach across various platforms.
To effectively incorporate social media into a WordPress site, it is advisable to utilize plugins such as Social Warfare or AddToAny. These tools offer customization options for sharing buttons, facilitating ease of use for visitors wishing to share content.
Additionally, manually embedding social feeds can significantly improve the interactivity of the site. For example, embedding an Instagram feed directly on the homepage can provide real-time updates and strengthen user connections.
Furthermore, it is important to regularly analyze traffic metrics utilizing Google Analytics to evaluate the impact of social shares. A target increase of 20-30% in referral traffic within the first few months of implementation should be anticipated.
Testing and Feedback
Regular testing and the collection of feedback are critical components for ongoing improvement and for ensuring that the website effectively meets user needs.
Gathering User Feedback
Gathering user feedback can be effectively accomplished through methods such as surveys, analytics tools like Google Analytics, and direct communication. Utilizing platforms such as SurveyMonkey or Typeform can facilitate the creation of engaging surveys. It is advisable to collect feedback regularly-such as post-purchase or on a quarterly basis-while ensuring that the questions posed are clear and focused.
Additionally, implementing brief in-app surveys using tools like Hotjar can help capture immediate user reactions. For example, after a user successfully completes a sign-up process, they can be prompted with a concise survey inquiring about their experience.
This approach not only enhances response rates but also yields valuable insights that can be utilized for continuous improvement.
Making Adjustments Based on Feedback
Making informed adjustments based on user feedback is essential for optimizing user experience and retaining visitors. To implement changes effectively, it is important to prioritize feedback.
Begin by categorizing comments into themes, which may include areas such as site navigation, content clarity, and loading speed.
Utilize tools such as Google Analytics to track user interactions, or conduct surveys using platforms like Typeform to gather direct insights. After identifying key priorities, undertake incremental testing of adjustments.
For instance, if users indicate difficulty in locating information, consider simplifying the menu structure as an initial step.
Monitor the impact over a period of several weeks using A/B testing tools such as Optimizely. This method allows for the fine-tuning of user experiences based on actual user behavior, ensuring that implemented changes effectively enhance engagement.
Frequently Asked Questions
What are some ways to personalise my WordPress site without coding?
Some ways to personalise your WordPress site without coding include using pre-made themes, plugins, and widgets, as well as using the built-in customization options in the WordPress dashboard.
Can I change the layout of my site without coding?
Yes, you can change the layout of your site without coding by using a drag-and-drop page builder plugin or theme, which allows you to easily rearrange elements on your site without touching any code.
Is it possible to add custom fonts to my site without coding?
Absolutely! Many themes and plugins offer the ability to add custom fonts to your site without any coding required. You can also use the built-in font options in the WordPress editor.
What about adding custom colors and graphics?
Yes, you can add custom colors and graphics to your site without coding by using a theme or plugin with a visual customizer. This allows you to easily change the colors and add graphics to your site without any coding knowledge.
Is it difficult to personalise my site without coding experience?
Not at all! With the many user-friendly tools and options available, personalizing your WordPress site without coding is simple and easy, even for beginners.
Can I make my site look unique without writing any code?
Definitely! By using a combination of pre-made themes, plugins, and customization options, you can easily create a unique and personalized look for your WordPress site without ever touching a line of code.