Registering a new user account in Joomla is a straightforward process that can be accomplished through both the frontend and backend of your Joomla website. Here is a detailed guide to help you through the process.
Frontend User Registration
- Access the Joomla Website:
Navigate to the frontend of your Joomla website.
- Locate the Login/Register Module:
Find the login or register module typically located in the sidebar or the main menu.
- Open the Registration Form:
Click on the “Create an account” or “Register” link. This will open the registration form.
- Fill Out the Registration Form:
Complete the required fields such as:
- Name
- Username
- Password
- Confirm Password
- Email Address
- Submit the Registration Form:
After filling out the form, click on the “Register” button.
- Email Confirmation:
Depending on your Joomla settings, you might need to confirm your registration via an email link. Check your email and follow the instructions to confirm your account.
Backend User Registration
- Login to Joomla Admin Panel:
Access the Joomla backend by navigating to
yourdomain.com/administrator. Enter your administrator username and password. - Navigate to User Management:
In the Joomla admin panel, go to
Users > Manage. - Add a New User:
Click on the
Newbutton in the top-left corner to create a new user. - Fill Out User Details:
Complete the necessary fields in the
New Userform:- Name: The full name of the user.
- Login Name: The username for login.
- Password: Enter a secure password.
- Confirm Password: Re-enter the password for confirmation.
- Email: The user’s email address.
- Set User Groups and Permissions:
In the
Assigned User Groupssection, select the appropriate user group for the new user. For standard users, chooseRegistered. - Save the New User:
Click the
SaveorSave & Closebutton to create the new user account.
Enabling User Registration
If user registration is not enabled on your Joomla site, you need to activate it through the configuration settings.
- Access Global Configuration:
In the Joomla admin panel, go to
System > Global Configuration. - Enable User Registration:
Navigate to the
Userstab. SetAllow User RegistrationtoYes. Adjust other settings as needed, such asNew User Account ActivationandNotification Mail to Administrators. - Save the Configuration:
Click
SaveorSave & Closeto apply the changes.
Customising the Registration Form
To customise the registration form, you might want to add custom fields or change the layout.
- Add Custom Fields:
Go to
Users > Fields. Click onNewto create a custom field. Fill in the details, such as the title, type of field, and required settings. Assign the field to theUsergroup. - Change Layout:
Modify the registration form layout by editing the template files. Navigate to
Templates > Templates > Your Template. Edit the necessary files, such ascom_users/registration/default.php.
Conclusion
Registering a new user account in Joomla is a vital function for managing site memberships and user interactions. By following these steps, you can ensure a smooth registration process for both administrators and users. Customising the registration form further enhances user experience and caters to specific needs of your website.
By integrating these practices, you can maintain a user-friendly and efficient Joomla website.
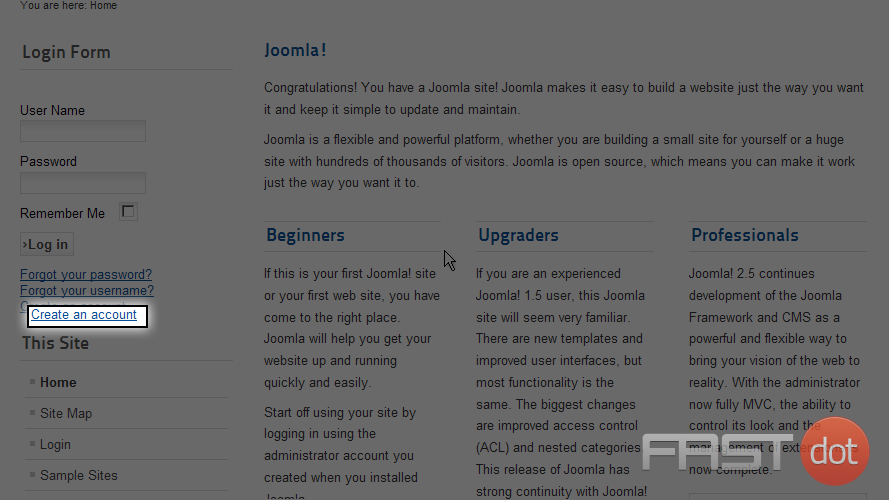
Registering a new user account on Joomla allows you to login giving you various levels of access depending on your user group access
1) Scroll if needed to access the Login module. Look for the Create an account link and click on it
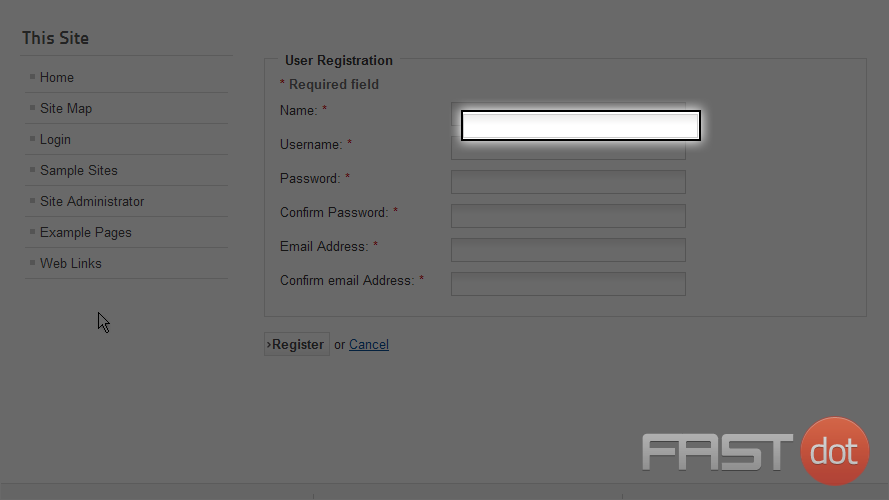
Scroll down to access the entire registration form
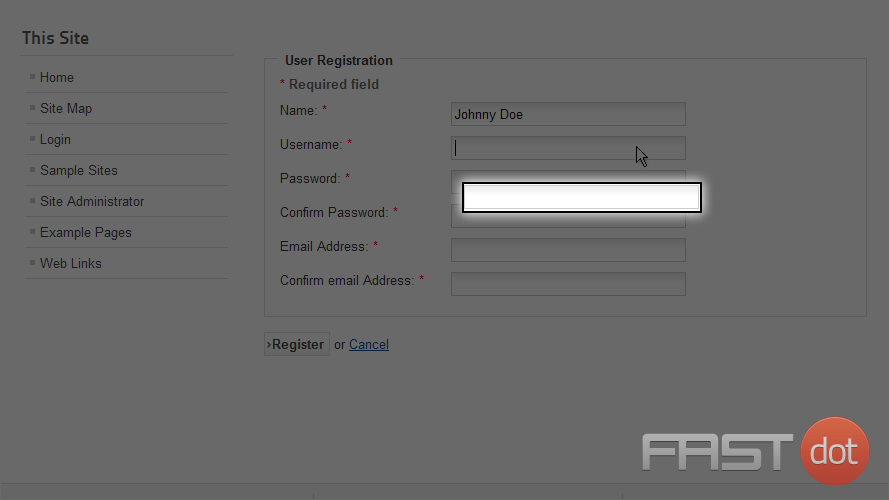
2) Click on the Name field to select it and enter your Name
3) Next select the Username field and enter a username for your account
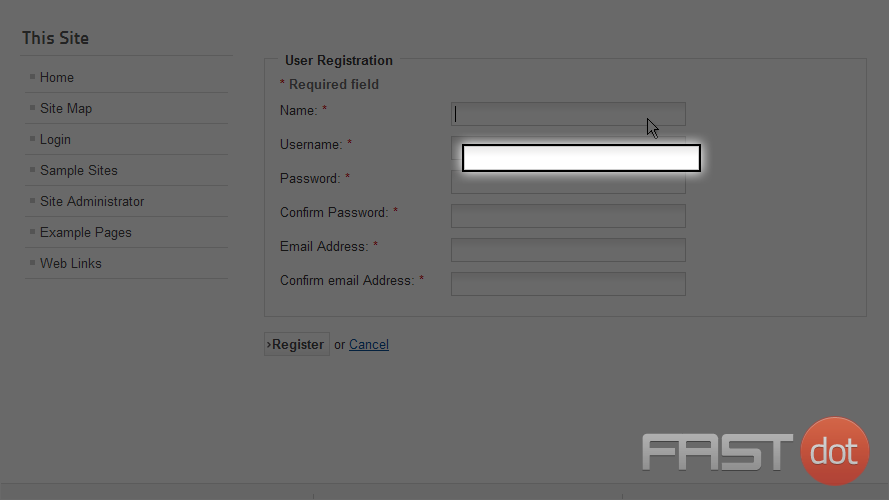
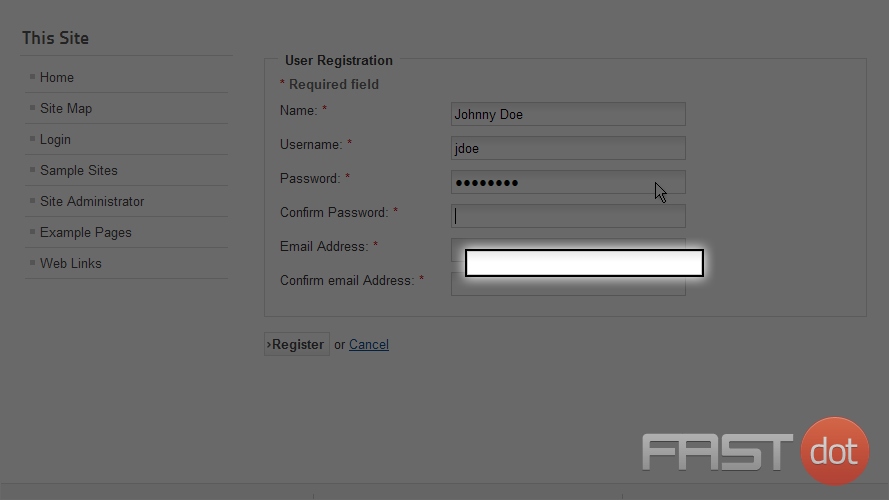
4) Next select the Password field and enter a password for your account, then reenter it in the Comfirm Password field
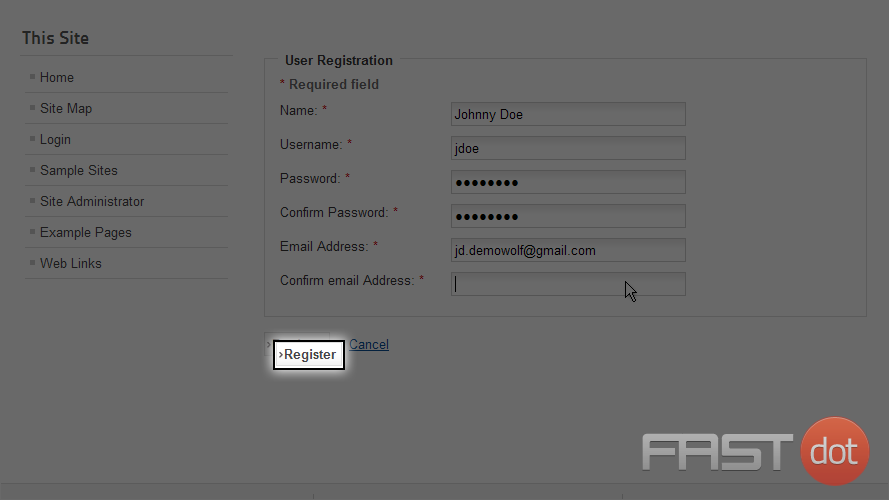
5) Now click on the Email Address field and enter your email address. Reenter the same address in the Confirm email Address field
6) To process your registration, click on the Register button
7) You will receive an email sent to the address you entered in your registration form. Click on that link or copy and paste into your browser URL
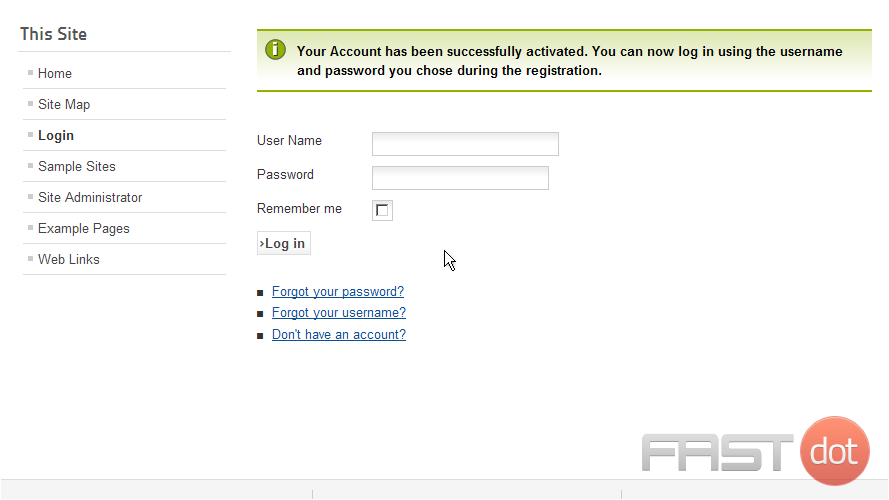
After entering your activation link you will see the following message and you can now log in to the Joomla website
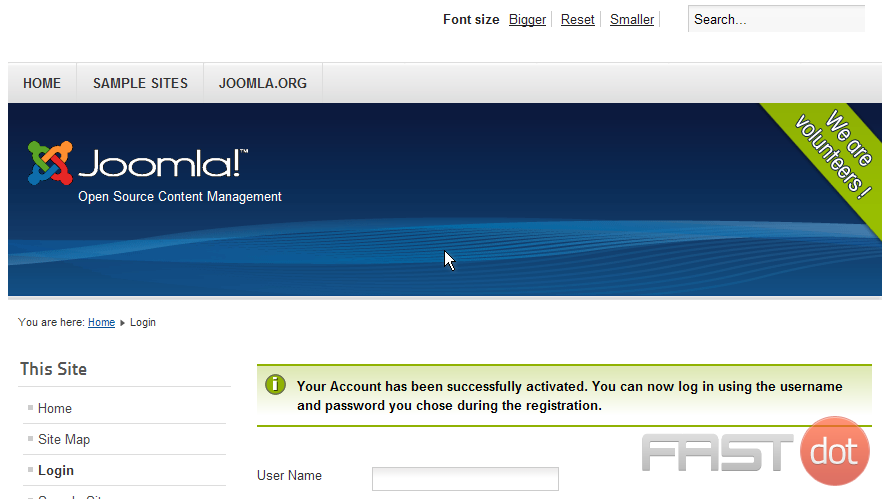
8) Scroll down to enter your new login credentials