PuTTY is a free and open-source terminal emulator, serial console, and network file transfer application. It is widely used to connect to remote servers using SSH, Telnet, and other protocols. This guide will walk you through the steps to install PuTTY on a Windows 11 system.
Steps to Install PuTTY on Windows 11
- Download PuTTY:
Visit the official PuTTY website to download the installer:
Click on the Download PuTTY link, which will redirect you to the download page. Choose the appropriate version for your Windows 11 system (usually the 64-bit installer).
- Run the Installer:
Once the installer is downloaded, locate the file in your Downloads folder (or the folder where you saved it) and double-click on it to run the installer.
- Accept the License Agreement:
When the installer starts, you will be prompted to accept the PuTTY license agreement. Click Next to continue.
- Select Installation Directory:
Choose the installation directory where you want PuTTY to be installed. The default location is usually acceptable for most users. Click Next to proceed.
- Select Components to Install:
Select the components you want to install. The default selection includes PuTTY, PuTTYgen, PSCP, and other useful tools. Click Next to continue.
- Complete the Installation:
Click Install to begin the installation process. Once the installation is complete, click Finish to exit the installer.
Verifying the Installation
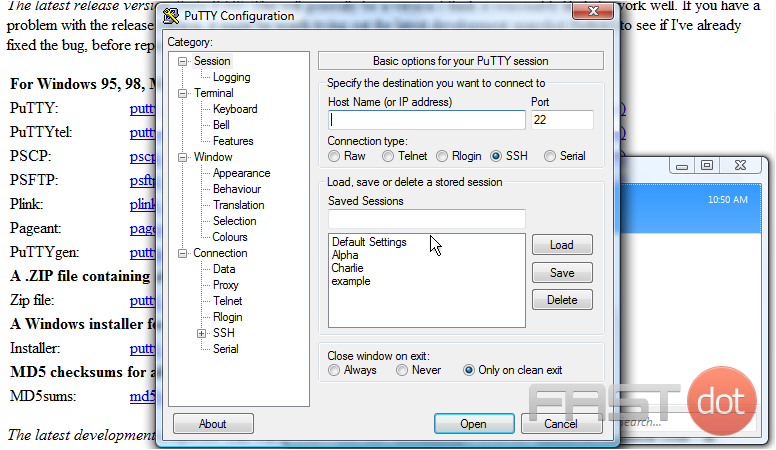
- Launch PuTTY:
To verify that PuTTY has been installed correctly, search for “PuTTY” in the Windows 11 Start menu and click on the PuTTY application to launch it.
- Check the Version:
Once PuTTY is open, you can check the version by looking at the window title or by navigating to Help > About. This ensures that the latest version has been installed.
Conclusion
Installing PuTTY on Windows 11 is a straightforward process that involves downloading the installer from the official website and following the prompts. By following the steps outlined in this guide, you can easily set up PuTTY and begin using it to manage your remote servers and network devices.
This tutorial will show you how to install Putty
This tutorial assumes you are using the Windows operating system, have already opened your favorite web browser and browsed to Google.com
Now let’s learn how to download and install PuTTY
1) Type Download Putty in the Google search bar

2) Then click Google Search
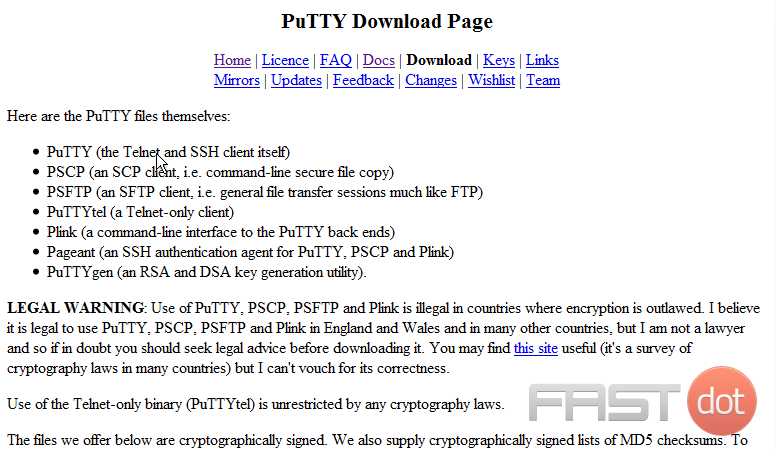
3) Click Putty Download Page

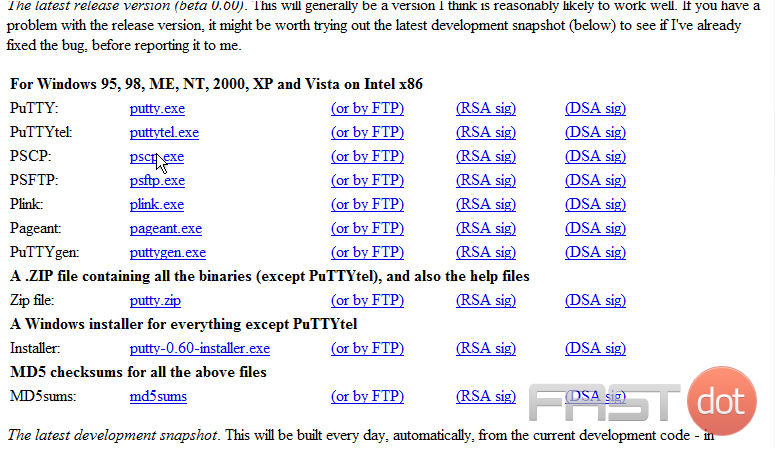
4) You will be taken to the PuTTY Download Page. Scroll down to find the download links.
5) Click putty.exe to begin the download
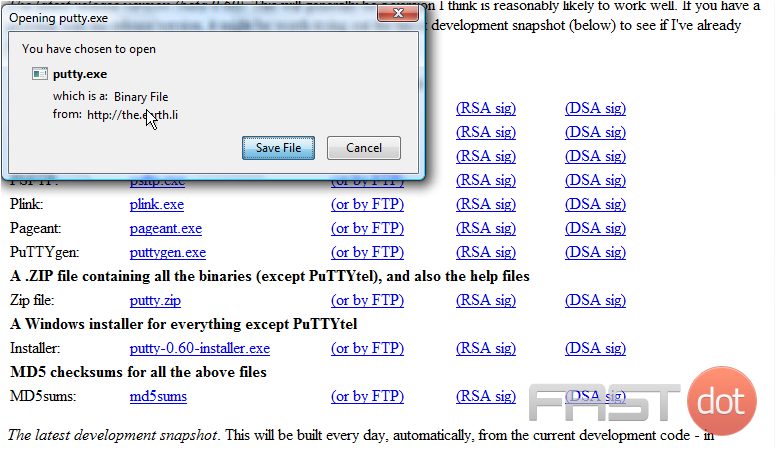
6) Click Save File to save putty.exe to your computer
7) Then click Run to open PuTTY and get started
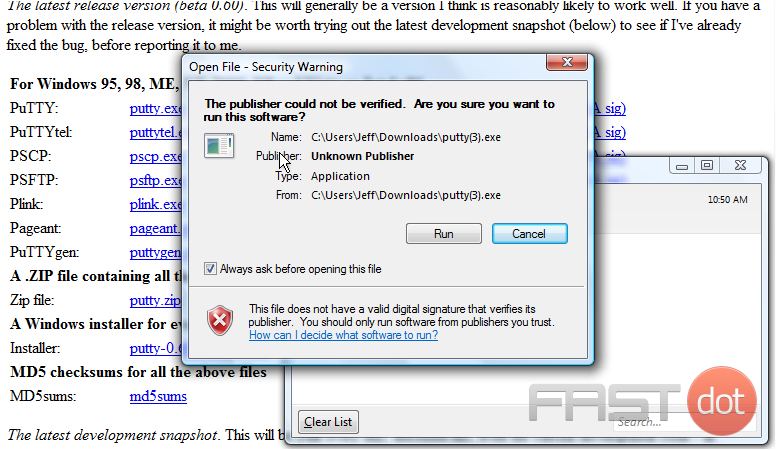
That’s it! You have successfully downloaded and launched PuTTY
8) To exit PuTTY, simply close the window
This is the end of the tutorial. You now know how to download and open Putty.