PuTTY is a versatile terminal emulator that allows users to configure a variety of settings to enhance their user experience. One such configuration is the bell style, which alerts the user to specific events. This guide will walk you through the steps to change the bell style and settings in PuTTY.
Steps to Change the Bell Style and Settings
- Open PuTTY:Launch the PuTTY application by double-clicking on the PuTTY executable file (
putty.exe). - Navigate to the Bell Settings:In the PuTTY Configuration window, navigate to the following category:
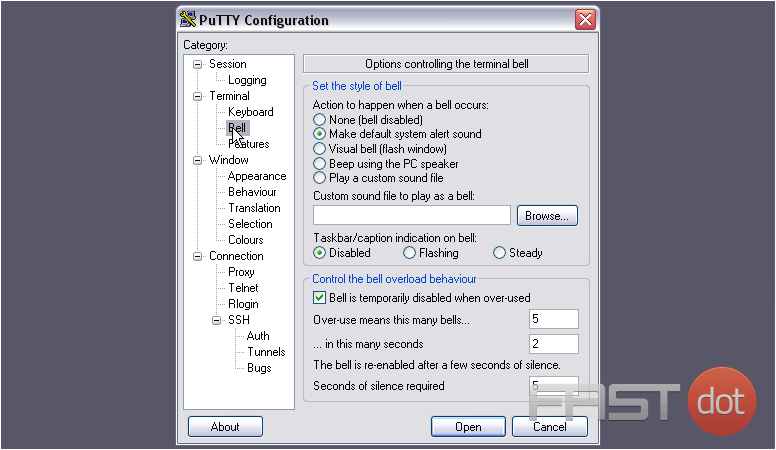
Terminal > Bell
- Select the Bell Style:Under the “Set the style of bell” section, you can choose from the following options:
- None: No bell.
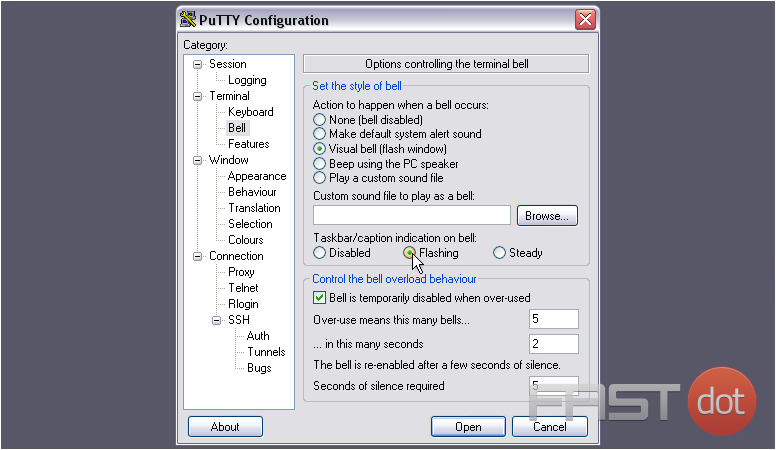
- Visual Bell: Flashes the window instead of making a sound.
- Taskbar Flash: Flashes the taskbar button.
- System Beep: Uses the system beep sound.
- Play a custom sound file: Allows you to specify a custom sound file.
- Configure Custom Sound File (Optional):If you choose “Play a custom sound file”, follow these steps:
- Click on the Browse button next to the “Play a custom sound file” option.
- Select the sound file you want to use for the bell.
- Ensure the file is in a format supported by your system (e.g., .wav).
- Adjust Bell Overload Settings (Optional):You can also adjust the bell overload settings to avoid excessive beeping:
- Bell is temporary disabled after a certain number of beeps: Specify the number of beeps before the bell is temporarily disabled.
- Seconds to disable bell after this many beeps: Specify the duration (in seconds) to disable the bell after the specified number of beeps.
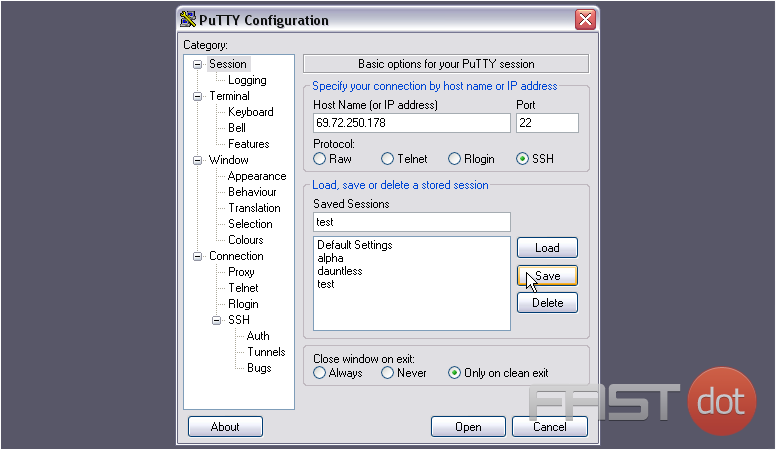
- Save the Configuration:After configuring the bell settings, return to the “Session” category.
In the “Saved Sessions” text box, type a name for this session (e.g.,
MyServer) and click Save to save the settings.
Connecting with the New Bell Settings
- Open PuTTY:Launch PuTTY by double-clicking the PuTTY executable file.
- Load the Saved Session:In the PuTTY Configuration window, under the “Session” category, select the saved session name (e.g.,
MyServer) from the list.Click Load to load the session settings.
- Connect to the Server:Click Open to initiate the SSH connection using the saved settings, including the updated bell configuration.
Conclusion
Customising the bell style and settings in PuTTY allows you to tailor the terminal behaviour to your preferences, enhancing your overall user experience. By following the steps outlined in this guide, you can easily adjust the bell notifications to suit your needs.
Whether you prefer visual alerts, custom sounds, or disabling the bell altogether, PuTTY offers a range of options to ensure you receive notifications in a way that best fits your workflow.
This tutorial will show you how to change the bell style and settings in PuTTY
A terminal bell is a sort of notification produced by an SSH server when some things happen or appear, such as an error message or global announcement
By default, PuTTY will use the Windows system ding whenever it’s told to signal a bell. This can sometimes be annoying, especially if something’s triggering the bell repeatedly
To change the bell style and settings, first choose a saved session from the menu
1) Click Load

2) Then, go to Bell
3) First, you can set the style of the terminal bell
4) Let’s change ours to Visual bell, which will cause the window to flash instead of making a sound

You can also change it to None to disable the bell completely, force it to beep using the PC speaker, or choose a custom sound file to play
Next section. With the buttons above, you can make the taskbar and window title notify you if you receive a bell when the window is not in focus
Flashing will cause the taskbar to blink, whereas Steady will display a solid color
The bottom section allows you to disable the bell temporarily when over-used, as defined by the settings. The defaults here should work fine
5) Return to the Session panel
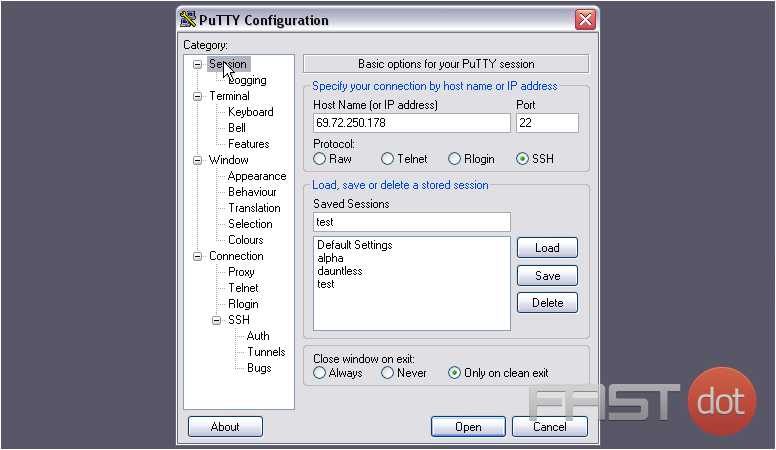
6) Be sure to Save your session, or else the settings won’t stick
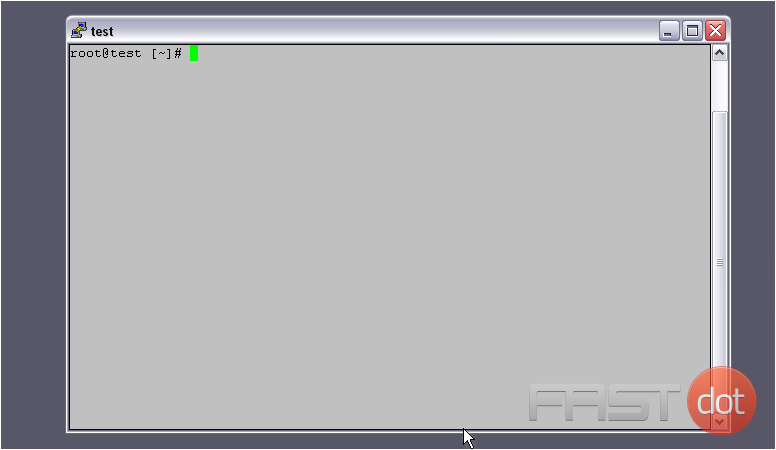
Then, let’s test out the bell
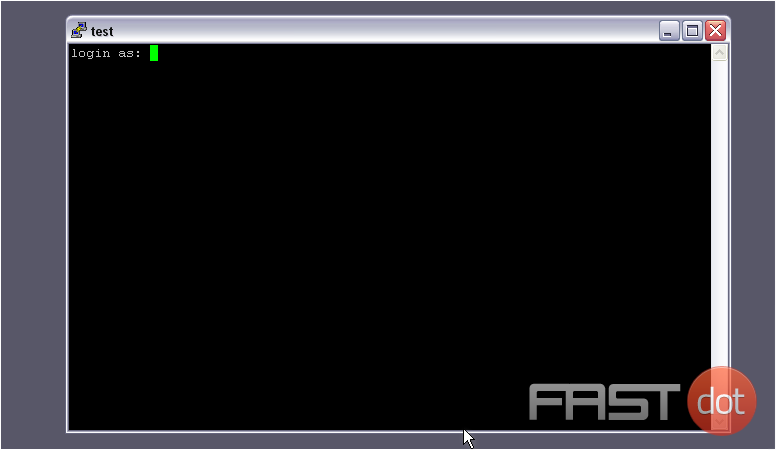
7) Log in
One way to trigger a bell is by pressing Backspace at the beginning of a line
The window will flash momentarily to represent a bell signal
This tutorial is now complete. You now know how to change the bell style and settings in PuTTY