This tutorial will show you how to configure your website in LeapFTP
1) Click the Sites menu here. Then click Site Manager.
 Click the Sites menu here. Then click Site Manager.")
The Site Manager window opens.
2) Click Add Group.
 Click Add Group.")
3) Enter a name for the new group, then click OK.
 Enter a name for the new group, then click OK.")
Now let’s configure a new site inside this new group.
4) Click Add Site.
 Click Add Site.")
5) Enter a name for this new site, then click OK.
 Enter a name for this new site, then click OK.")
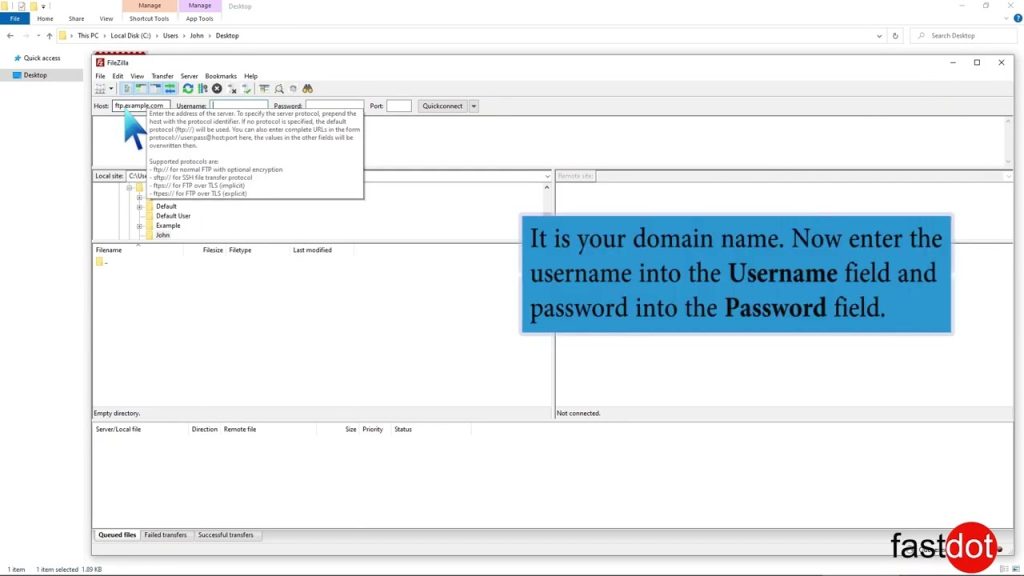
6) Now enter the site’s Address.
 Now enter the site's Address.")
Note: The host address can be in the form ftp.yourdomain.com or just the IP address. If your domain name has not yet propagated, then you’ll have to use the IP address method.
6) Enter the username and password for the hosting account.
 Enter the username and password for the hosting account.")
7) Click Apply when finished. Then click Connect.
 Click Apply when finished. Then click Connect.")
That’s it! We’ve successfully configured a new site in LeapFTP….. and established a connection.
8) Click the Disconnect icon to close the connection.
 Click the Disconnect icon to close the connection.")
This is the end of the tutorial. You now know how to configure a website in LeapFTP, for the purposes of establishing an FTP connection.