This tutorial will show you how to install Gallery2 from Fantastico
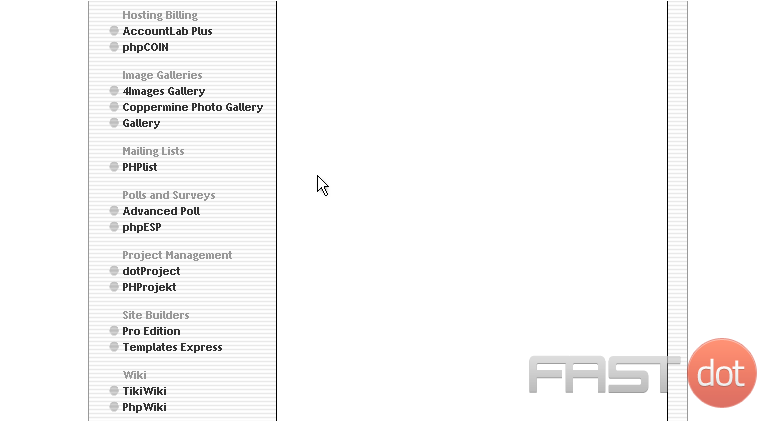
1) Click the Gallery link here
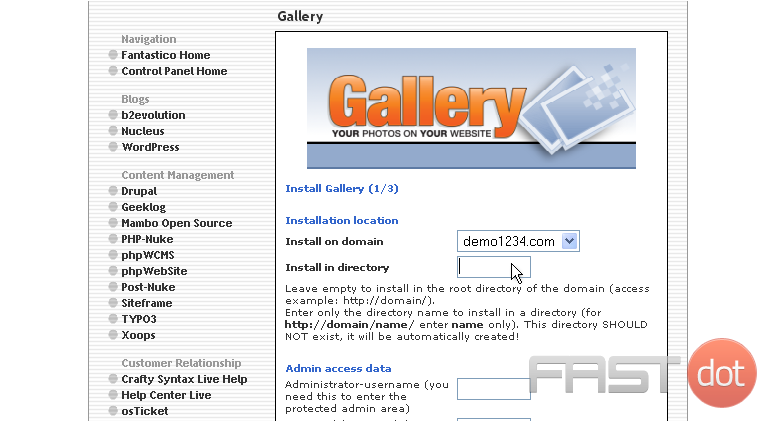
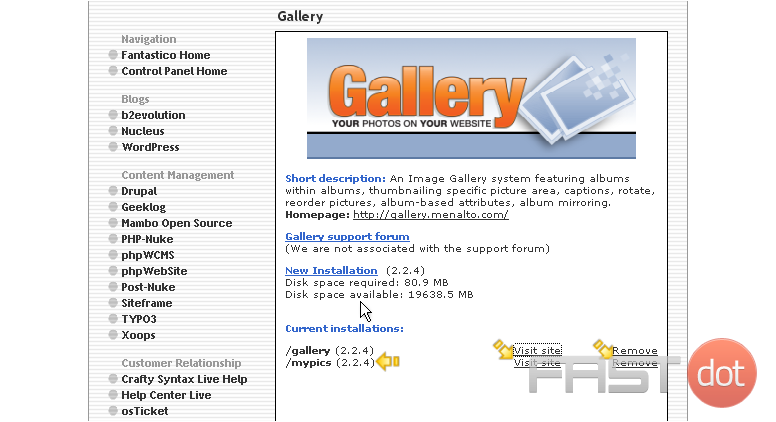
This is the Gallery installation screen

Gallery is an image gallery system featuring albums within albums, thumbnailing specific picture areas, captions, rotate, reorder pictures, album based attributes, album mirroring and more
2) Click the New Installation link here
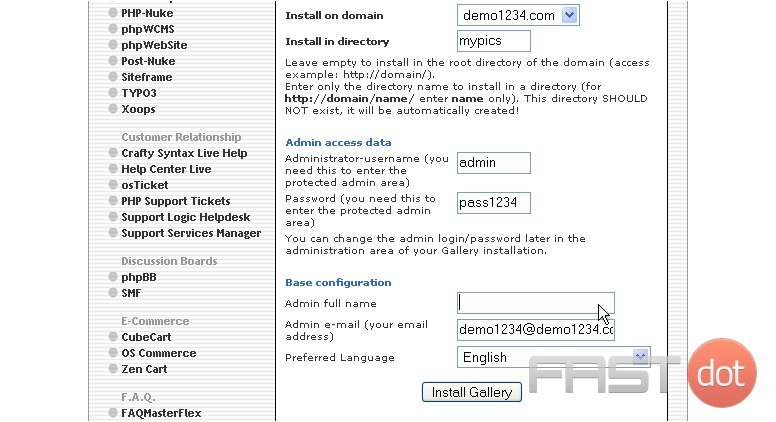
3) Enter the name of the directory you want to install in… or leave this field blank for installation in the root directory
4) Enter an admin username and password in the following boxes
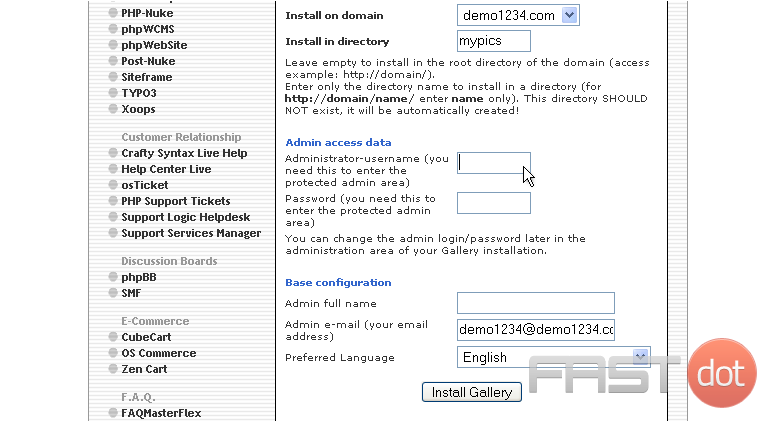
5) Enter an admin name here
6) Then enter an admin email address
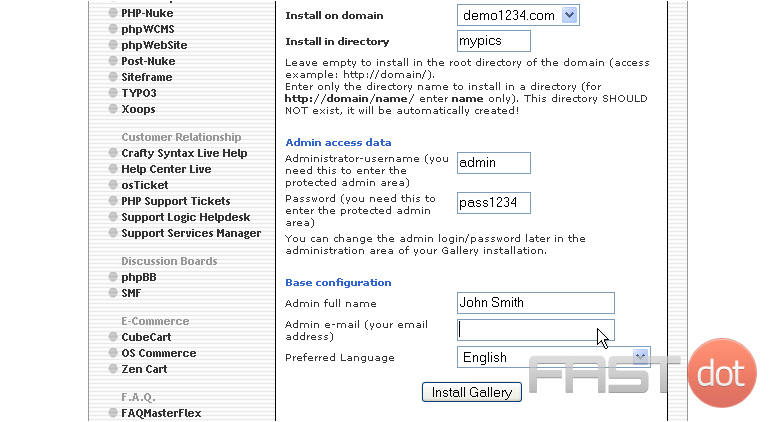
7) When ready, click here to install
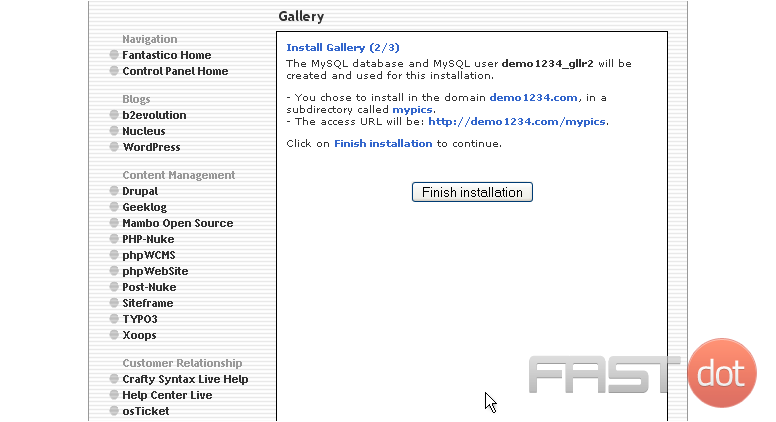
8) Click here to finish the installation
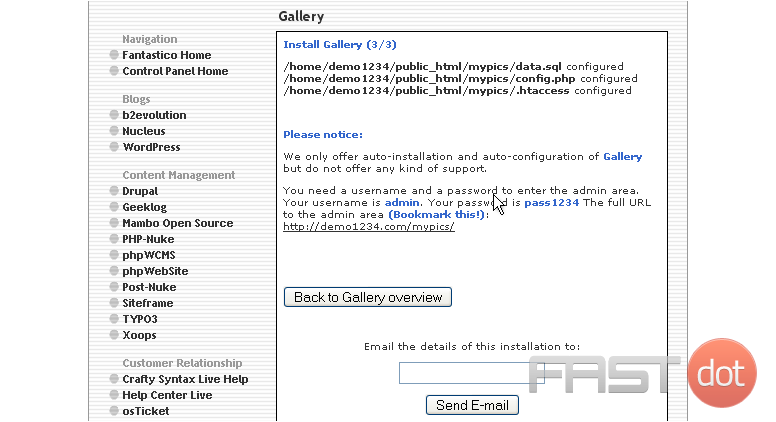
That’s it! Gallery has been successfully installed in your account, and is ready for you to start configuring it
9) Click here to login to your new installation
This is the Gallery we just installed. We can configure and use Gallery from this page. Let’s close this window now

From here you can visit the site by clicking here or remove the script from your account by clicking here
Your new installation is now listed here on the script’s home page
This is the end of the tutorial. You now know how to install Gallery to your account from within Fantastico