This tutorial will show you how to install Joomla
You will need to have Internet access and an open web browser to download the latest version of Joomla
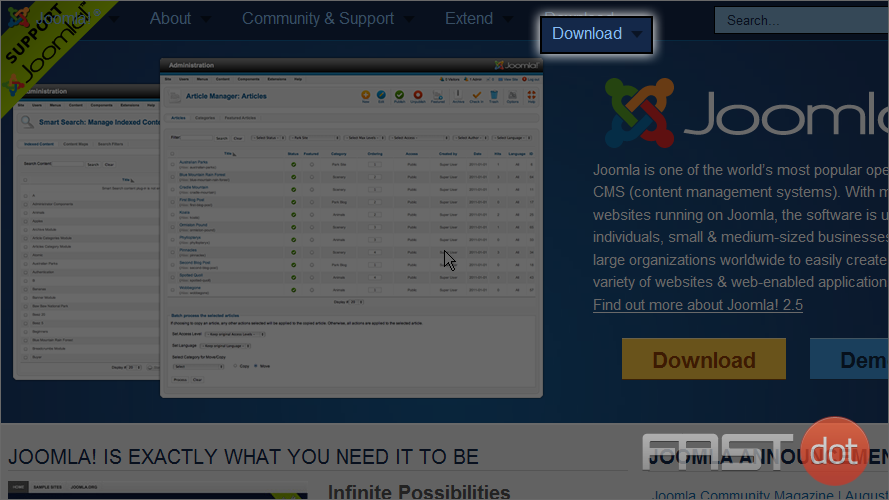
1) Enter http://www.joomla.org in your browser URL and press the Enter key
From the Joomla.org web site there are a number of options to allow you to download the latest version of Joomla
2) We will select the Download menu option from the top of the page
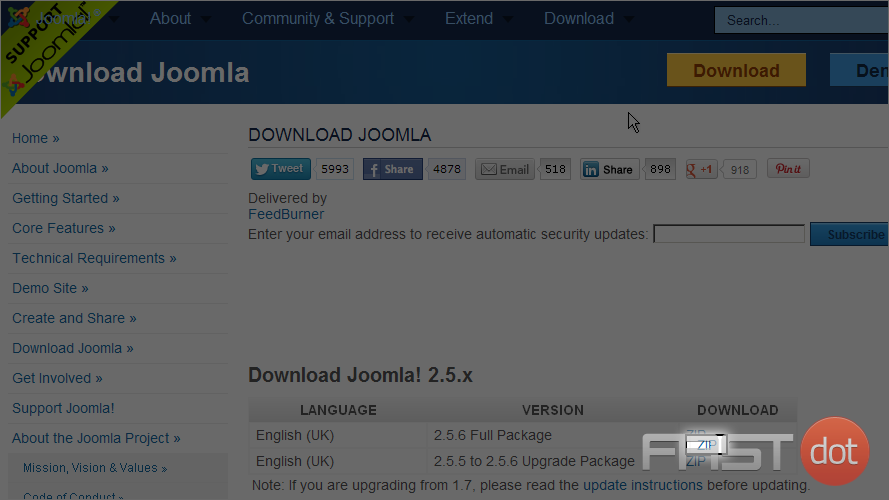
3) Now go down and select the 2.5 Full Package menu option
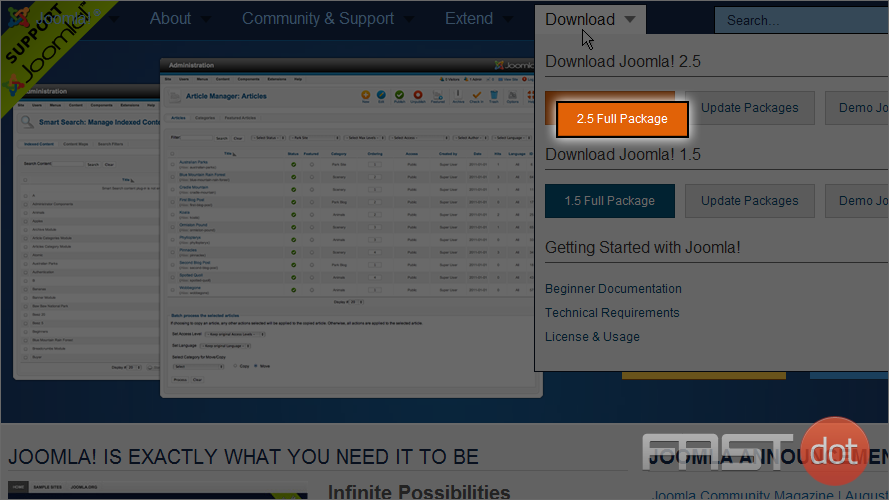
4) Click on the download link for the ZIP format of the latest version
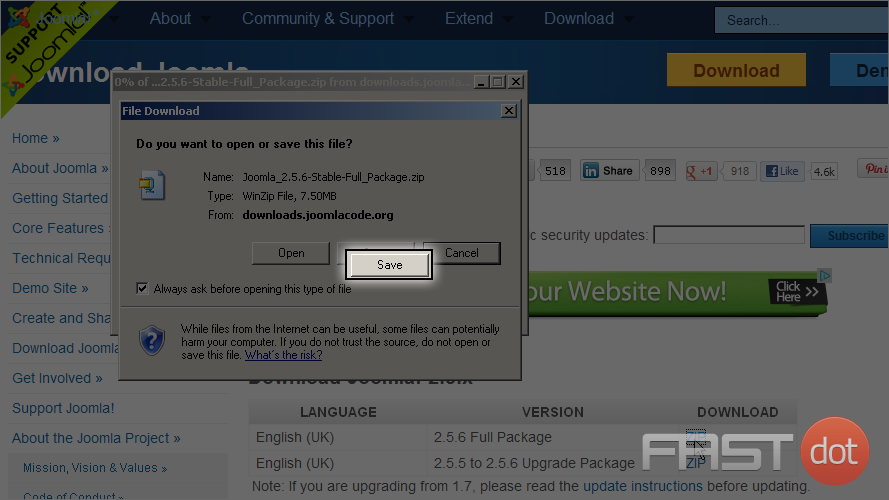
5) Select to Save this file to your local computer
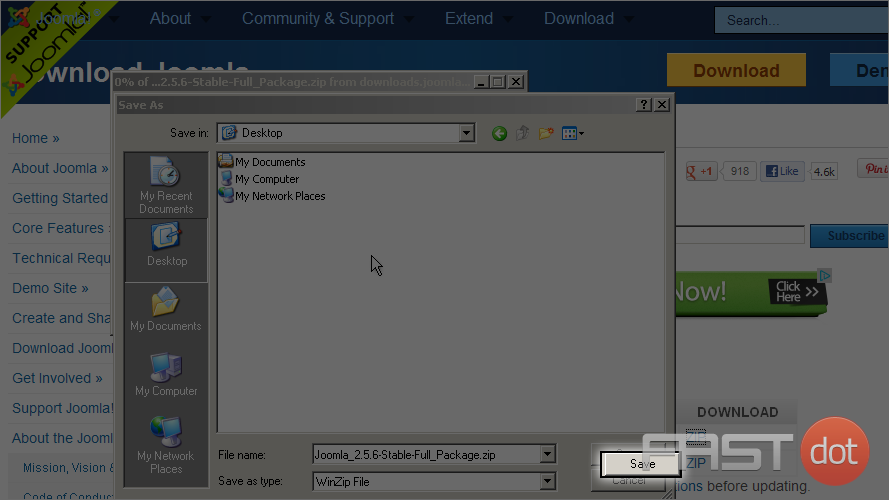
6) Select a location to save the downloaded file on your computer and click the Save button
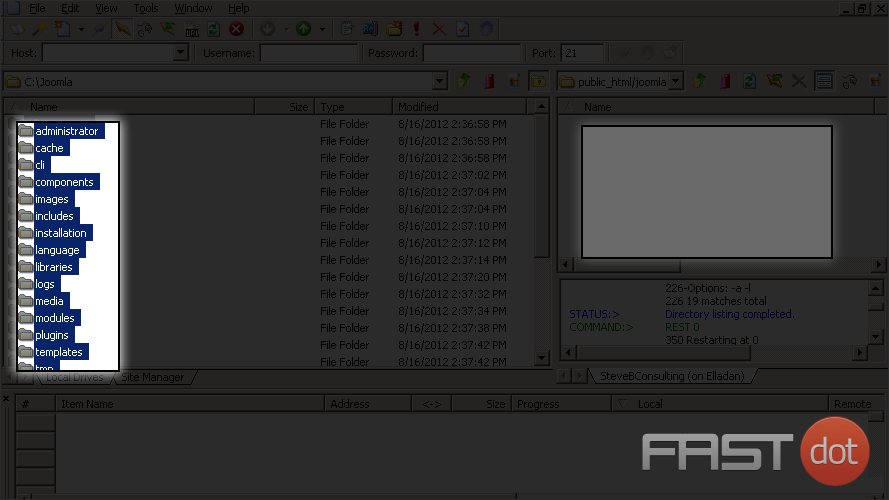
7) After successfully downloading the zip file you will need to unzip the files preserving the directory structure. Next, using a FTP application, upload the files maintaining the directory structure to your web server
8) Select all of the Joomla files you just unzipped on your local computer drive
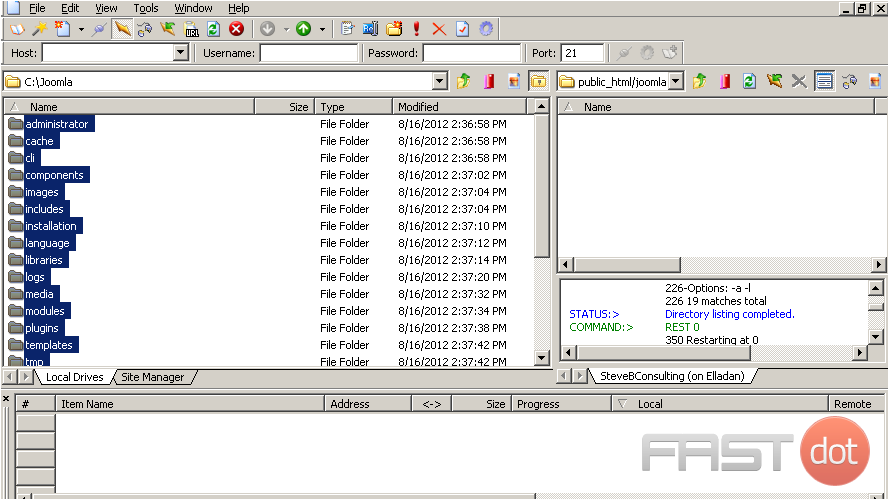
9) Depending on your FTP application, upload the selected files and directories to your web server by dragging the selection
10) Once all of the files have been transfered to your web server, open your browser and enter the directory where you have uploaded your Joomla files
For example, if you uploaded the files to your web root, public_html, you would enter you uploaded your files to a directory named joomla inside the web root, you would enter
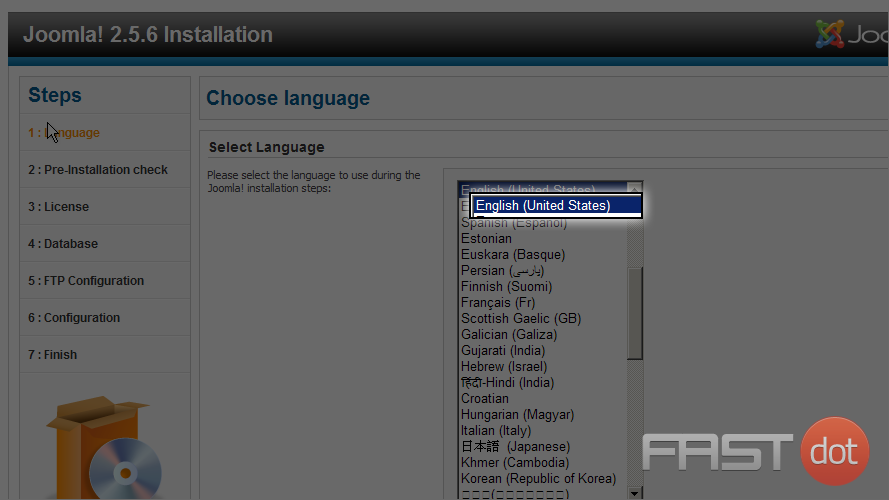
11) Joomla will sense that it needs to run the installer script and do so. Select the language to use, then click the Next button on the top right
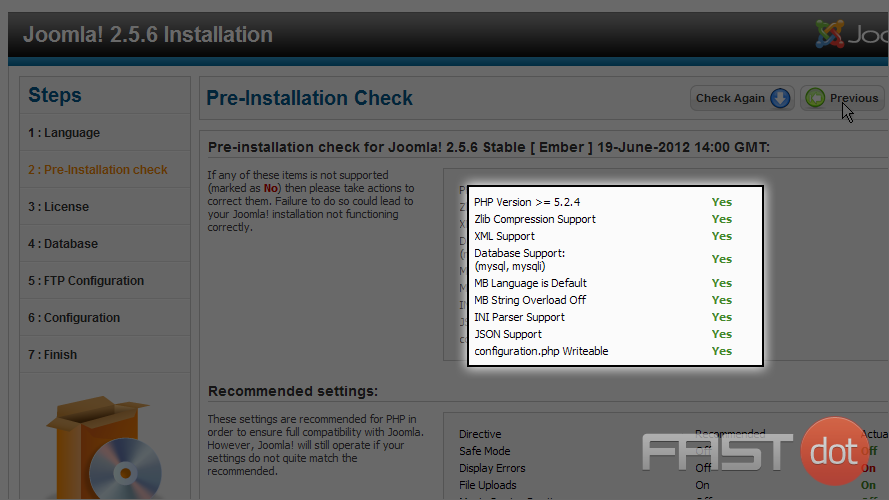
Here the installer will try to determine if your server meets the minimum requirements. All of the Pre-installation values should be marked with a green Yes. Recommended settings may have a red value and Joomla can still function
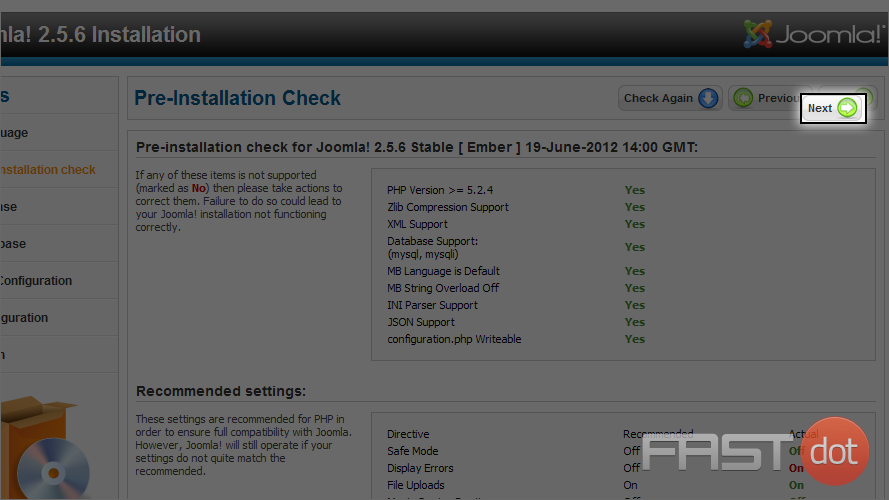
12) Select the Next button
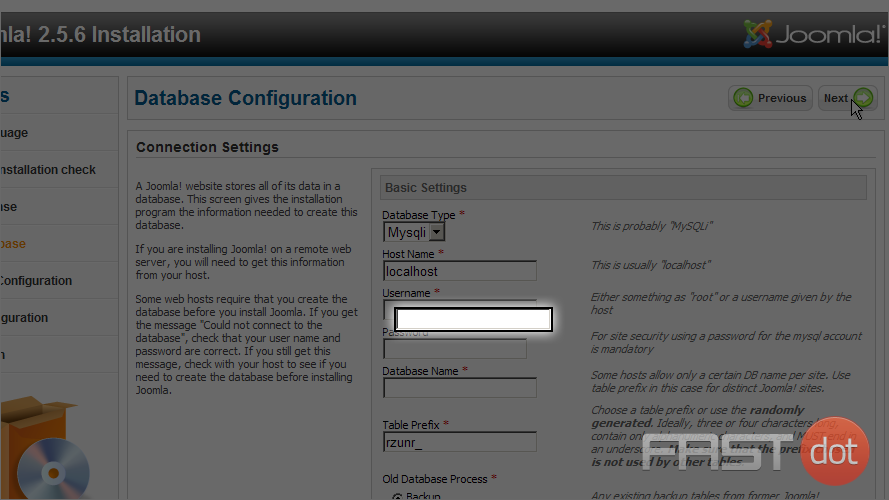
On the Database Configuration page, enter the values you used to create a database ahead of time. You can use cPanel, another control panel, or phpMyAdmin to create a database and user/password combination
The Database Type should be supported by your host server. The latest host servers generally support MySQLi
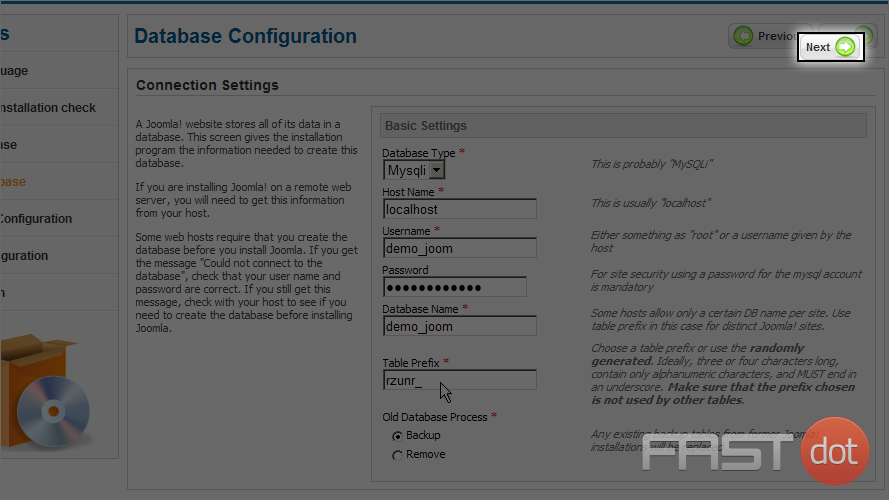
13) Generally ‘localhost’ is used for the Host Name, then enter the Username, Password and Database Name. We will leave the default Table Prefix
14) Now select the Next button
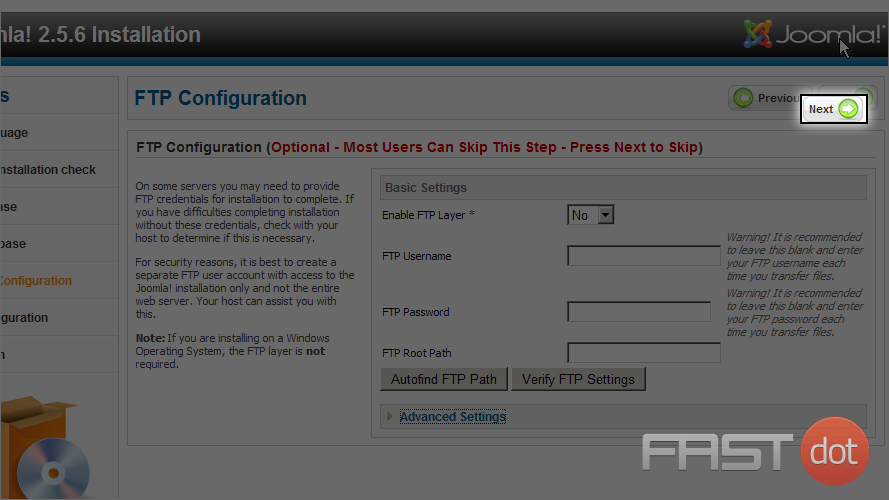
Generally most users can skip the FTP Configuration. Be cautious, using FTP credentials could create a security risk
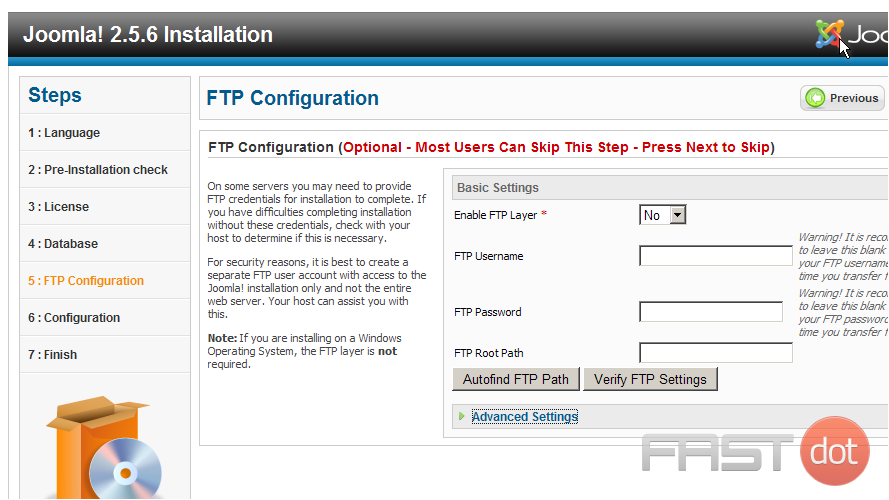
15) Select the Next button on the right
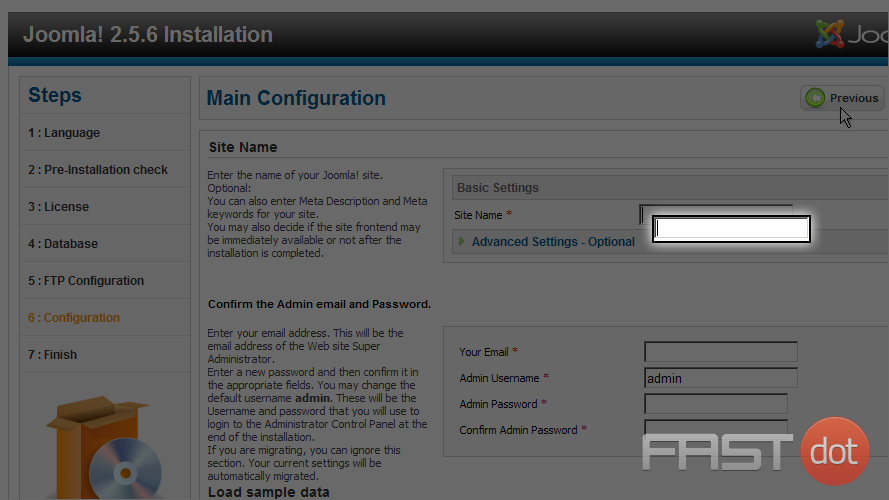
16) Next enter your Site Name
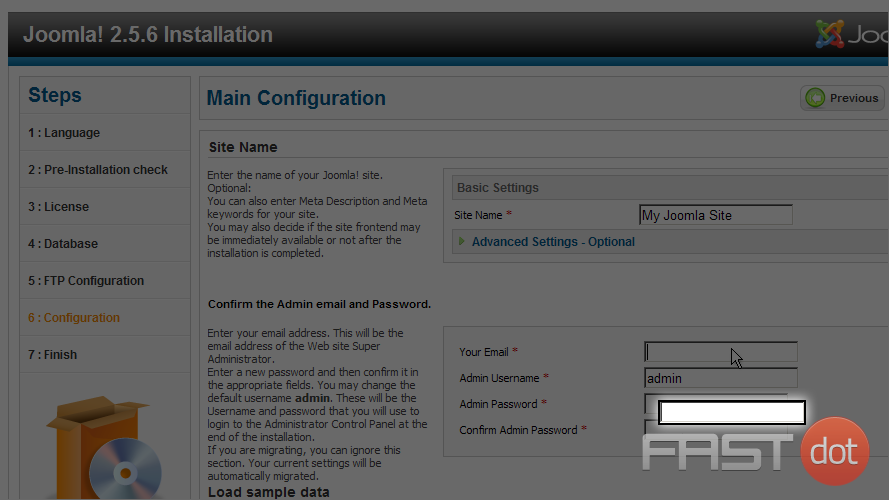
17) Enter an email address you will use for your site administrator
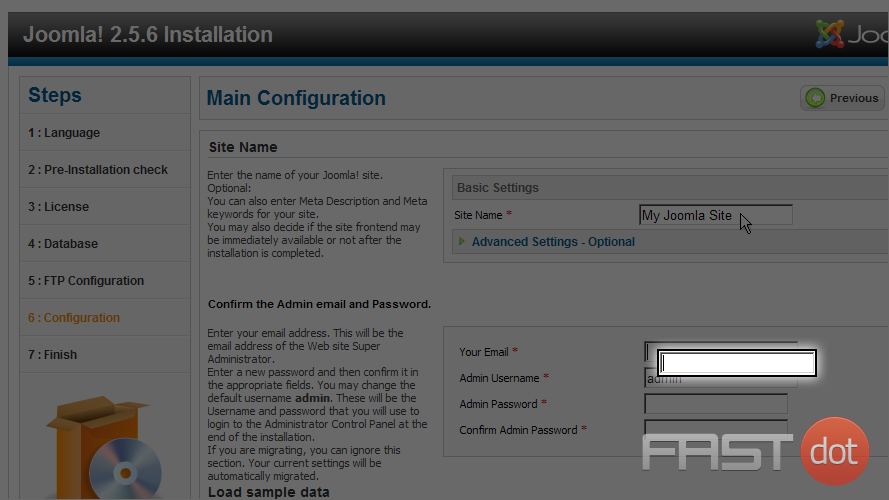
18) We’ll use the default username. Next, click on Admin Password
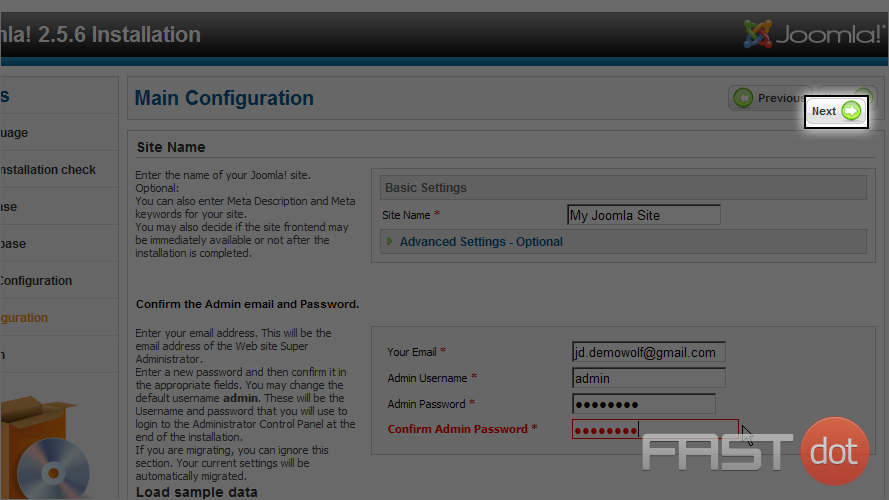
19) Reenter the password in the Confirm Admin Password field
20) Now select the Next button
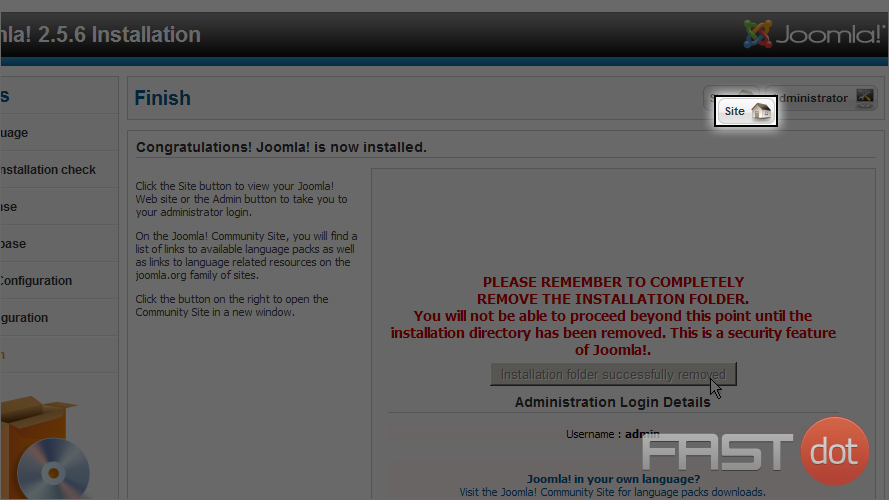
21) Your Joomla installation has completed! To view the public frontend of the web site, click the Site button. To access the web site admin, click the Administrator button
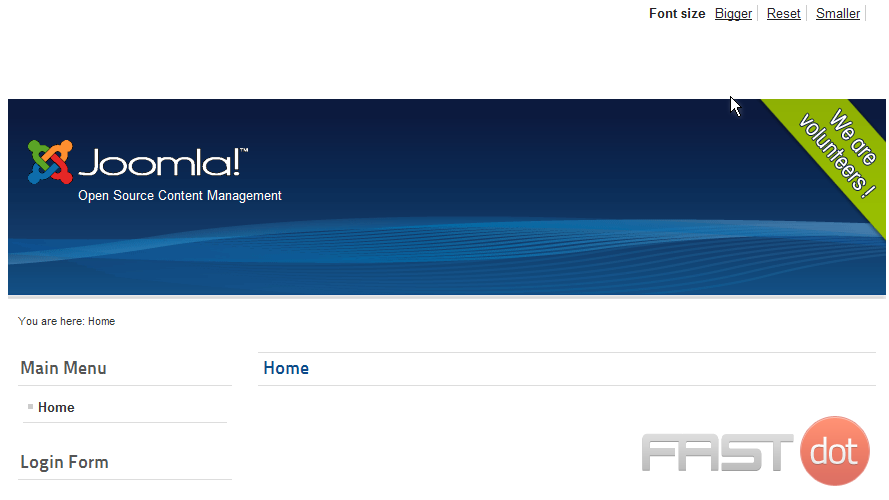
Here we see the public frontend of your web site
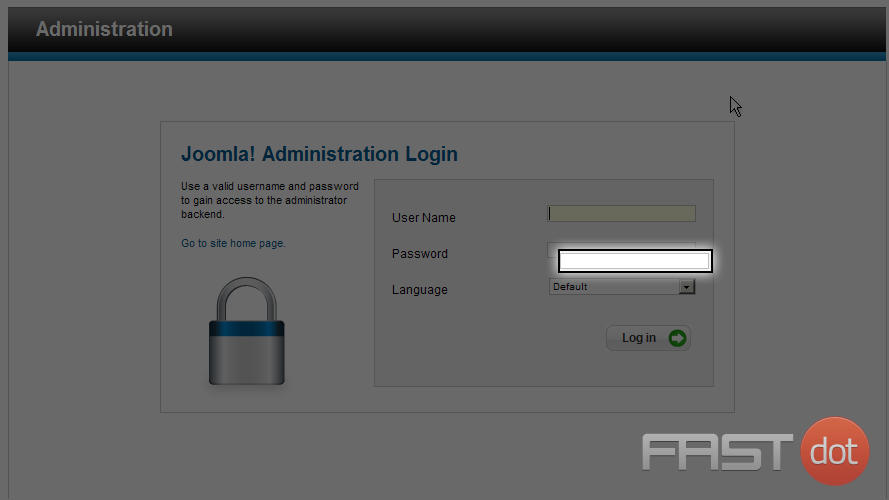
To access your Joomla admin, use the URL where you installed Joomla plus a slash and the word administrator,
22) Enter the admin User Name and Password you entered during the previous installation
You have successfully installed Joomla