This tutorial will show you how to configure custom ports in Pegasus Mail
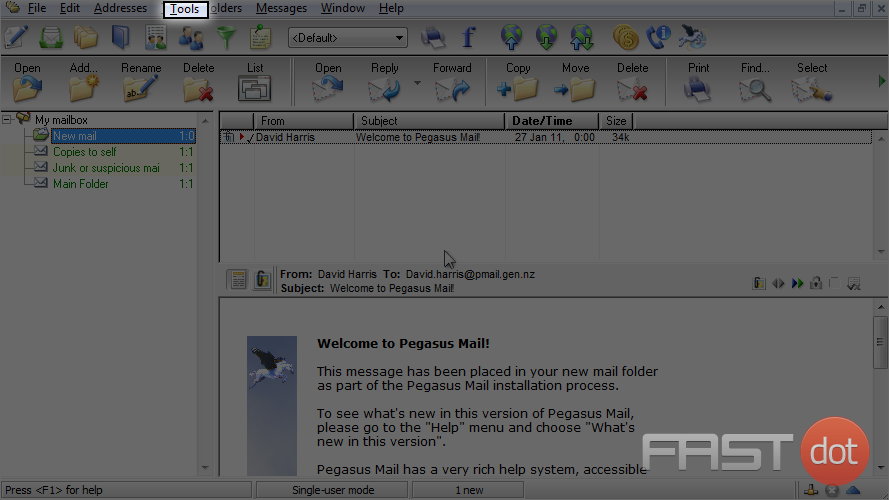
1) To configure custom ports for your email account, first click the “Tools” tab.
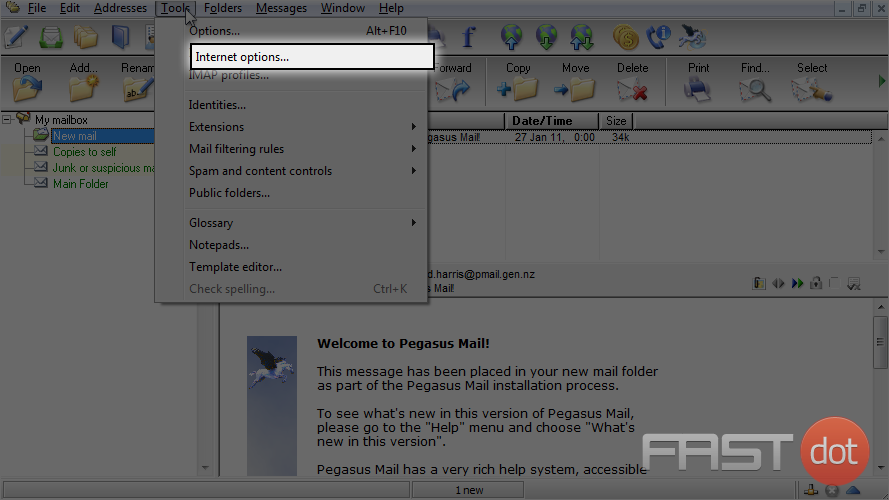
2) Then click “Internet Options”.
3) Click the “Receiving (POP3)” tab here.
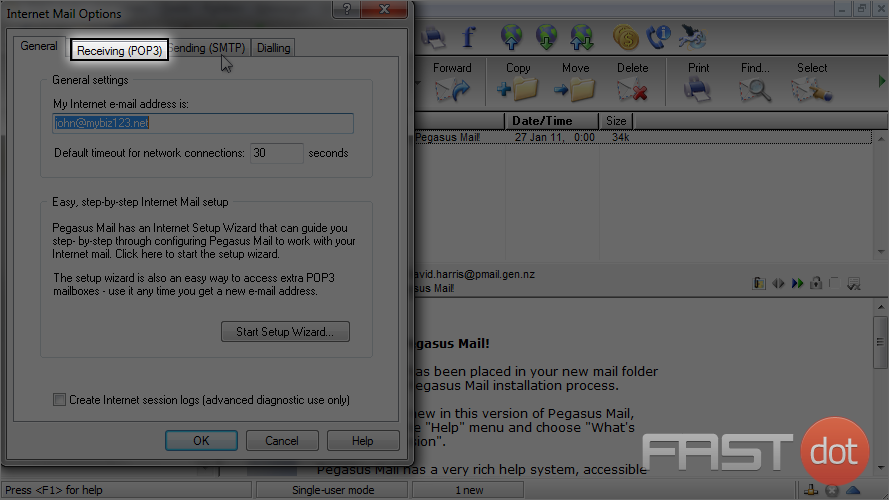
4) Select the POP3 host we already have setup, then click “Edit”.

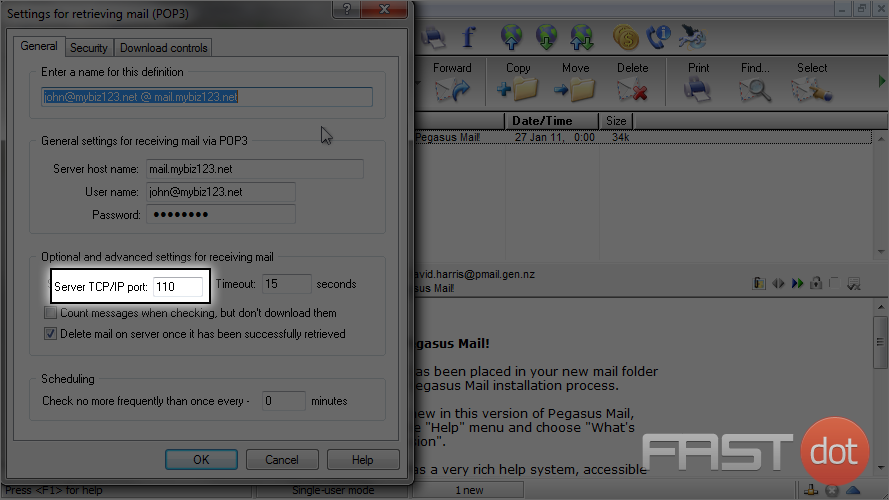
This is where you change your incoming port number.
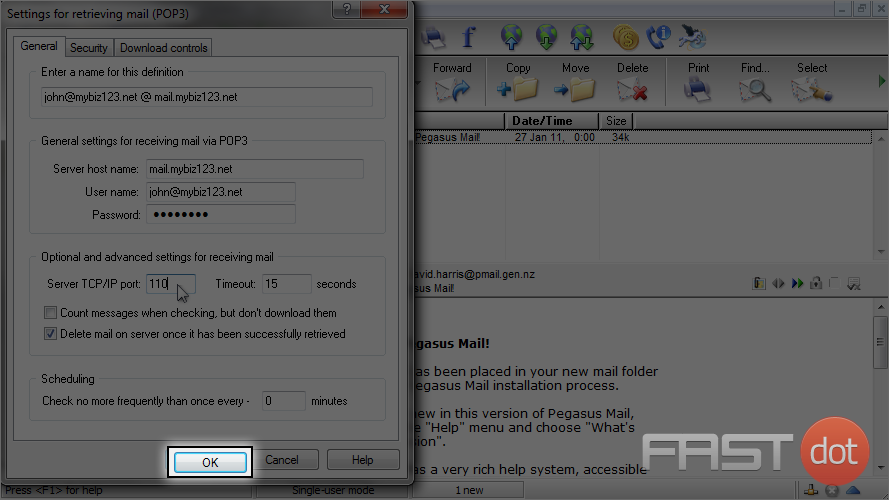
5) Click “OK” when finished making changes.
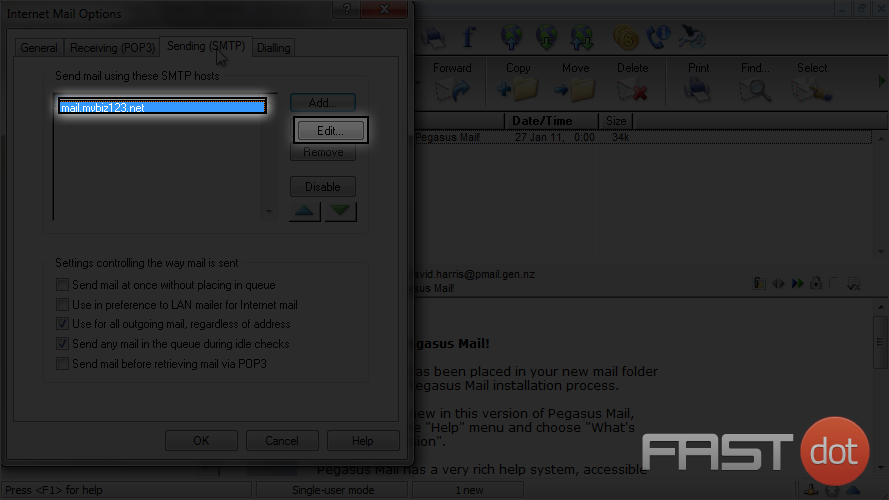
6) Next click the “Sending (SMTP)” tab here.
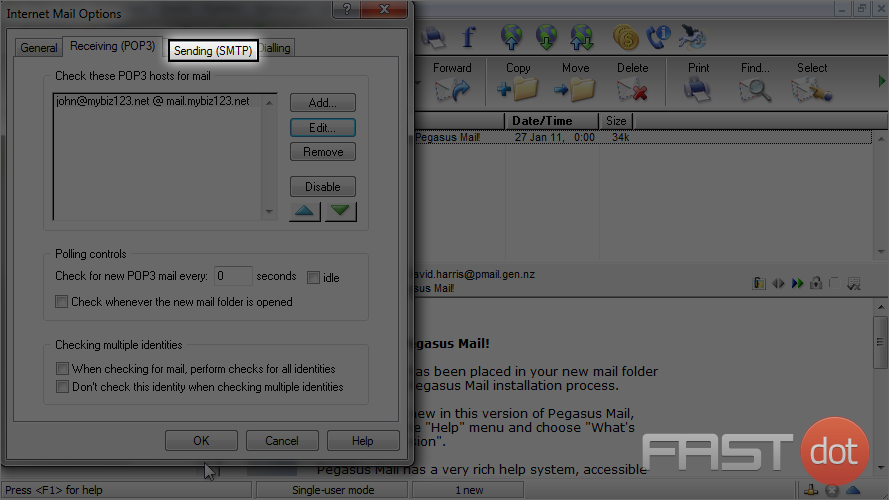
7) Select your SMTP host then click “Edit”.
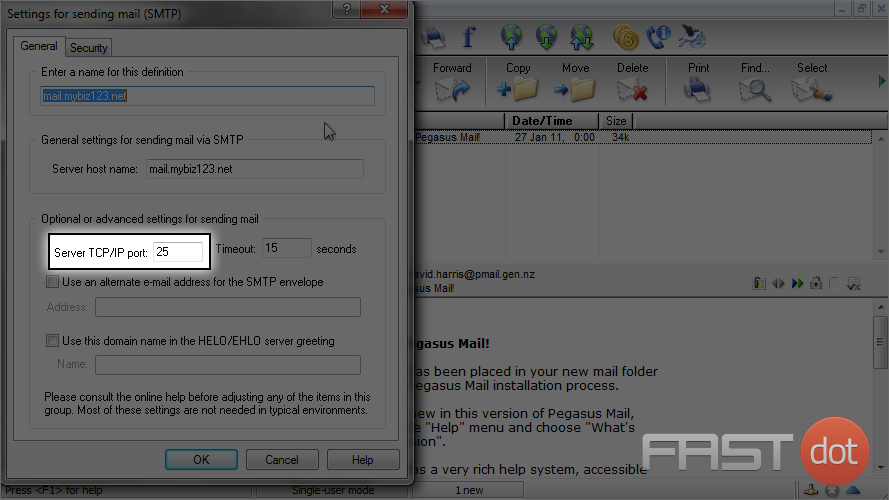
8) Now let’s change our outgoing SMTP server port number.
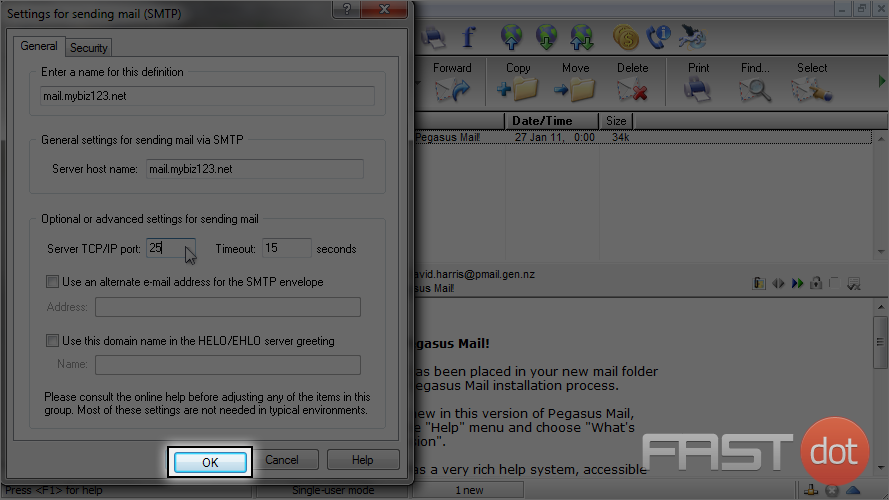
9) Click “OK” when finished.
10) Click “OK” again.
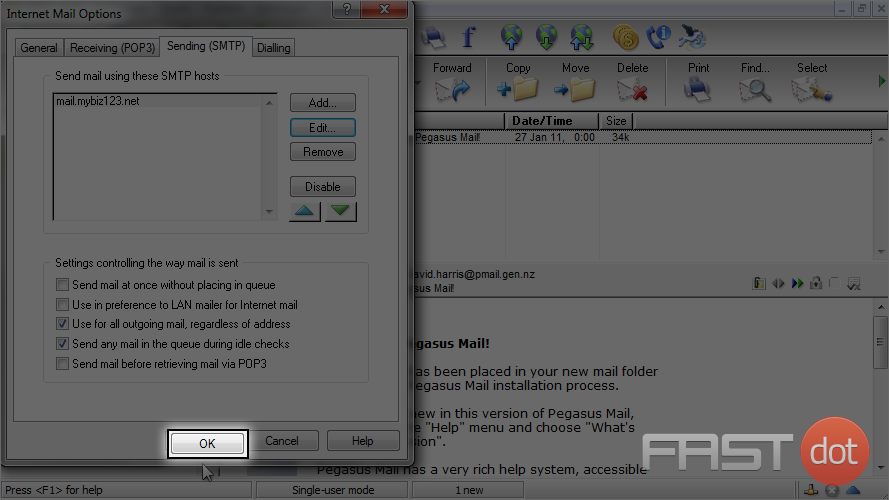
This is the end of the tutorial. You now know how to configure custom ports in Pegasus Mail.